Unexpected Accent Décor
As you’ve seen from our previous posts on achieving an industrial décor (check out Part I, Part II, and Part III if you haven’t already), Brianna and I are always looking for ways to carry our theme throughout our home. At the same time, we also don’t want to be ALL UP IN YOUR FACE about it either. The last thing we want is for it to feel like you’re walking into a warehouse when you enter our home. So how do we find that careful balance?
Focus and subtlety. We try to be very careful not to go overboard in any single space. Our mantra:
- If you’re going to have a big piece in a room – limit it to one big piece.
- If you need something more – add interesting, eye-catching accent pieces as appropriate.
- Add items you love/have sentimental value!!! (Added by Brianna)
The goal is to keep the focus where you intended (that’s why you went with that big piece in the first place, right?) and to add pops of décor that are interesting and don’t pull your focus (for too long).
You recently saw how we added a salvaged wood headboard to our master bedroom. In this post we’ll take a closer look at one of our favorite accent pieces in our bedroom, and more importantly, show you how to build it!
Building a Meat Grinder Lamp
Yes, we built a lamp out of a meat grinder. Why? Honestly, I was walking through the Antique Tobacco Barn, saw an awesome, rusted old meat grinder for a great price and declared “I’ll do something with that one day!” That something turned out to be a bedside lamp. How’d we do it? Here you go!
Supplies
- Meat Grinder (one that has seen better days)
- Steel Wool
- Light Socket
- 3 feet of 18-Gauge Lamp Wire
- 2-Wire Electrical Plug
- Edison-Style Light Bulb
- Super Glue
- Foam Paint Brush (optional)
- Small Amount of your Favorite Paint Color (optional)
Preparation
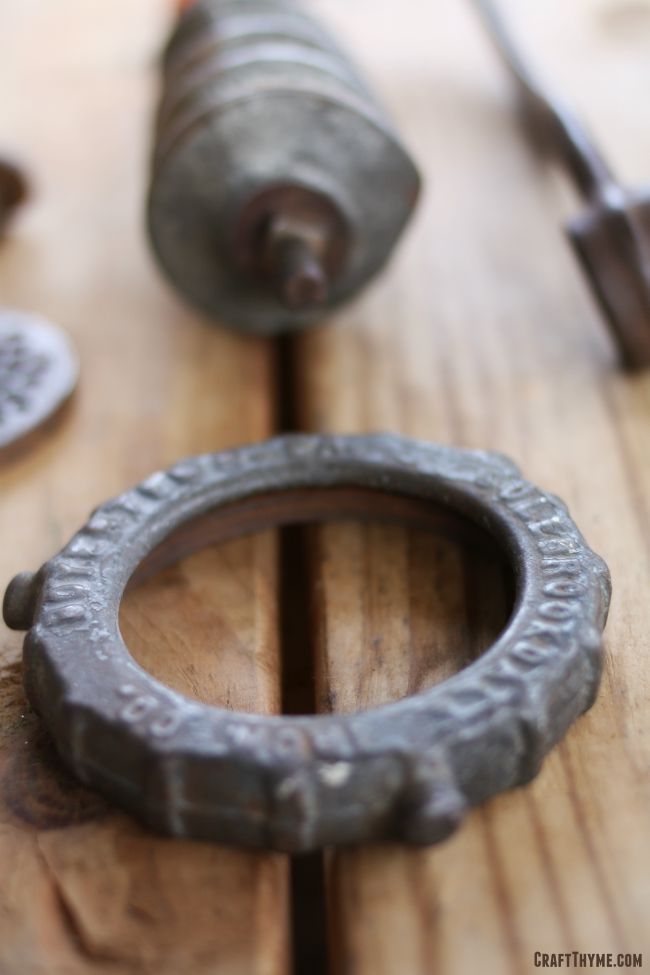
Depending on how loved or neglected your meat grinder was in its past life, you may or may not have a lot of work ahead of you. Our grinder had a lot of surface rust, an unknown white substance, and a few “bits” still rattling around inside. While we wanted to keep the repurposed look-and-feel, we wanted to clean things up a bit before putting it on the nightstand and touching it every day. Enter the steel wool.
Dismantling your meat grinder should be pretty easy. On any given model, there are typically only 5-6 parts, none of which should be sharp of warrant the use extreme caution. Remove each component, and get to scrubbing with the steel wool. The steel wool will do a great job at knocking away much of the neglect of the years while still preserving the harsh metallic look.
Our grinder’s wooden handle was pretty (ok, really) grimy. As an optional step, or for a pop of color, consider sanding or painting your grinder handle. We chose to use the same orange from our Pantry Door Project.
When done, wipe down your pieces and re-assemble the meat grinder.

Assembly
Step 1: Wiring up your light socket
Light sockets are fairly easy to come by in a number of different styles from your local big box store. We had ours from a past project where we had applied a faux cast iron finish.
Fortunately, the skill level required here is novice. I know this is scary, but I promise you, it’s not. You can do this!
- Remove the base and top sheath of the light socket.
- Slide the base of the light socket onto your lamp wire. (DO NOT SKIP THIS STEP)
- Strip one end of your lamp wire, twist the wire, and shape it into a “candy cane” that will hook around the one of the screws of the light socket.
- You’ll likely need to loosen the screw on the light socket in order to hook your newly curved wire.
- Do this, then tighten the screw with the wire snugly placed between the screw and the metal backing of the socket’s center.
- Repeat for the other wire and side of your socket.
- Replace the top sheath of your light socket and push it down into the base. You should feel/hear a click when the socket is re-attached.
Step 2: Wiring up your lamp’s plug.
This step is very similar to the light socket wiring. As in exactly similar. Here are your easy to follow steps:
- As you did before with your socket, remove the housing from your electric plug.
- Slide this housing over your lamp wire.
- Again, strip one end of your lamp wire, twist, curve, hook, and screw.
- Repeat for the other side of the plug/wire.
- Replace the plug housing.
Your lamp circuit is now complete! At this point, you can test your new creation by adding a light bulb and plugging in your lamp. Utter the phase “Let there be light”, turn your switch, and be amazed at your ability to create light!
Step 3: Attaching your “lamp” to the meat grinder
Nearly all meat grinders have a bolt at the bottom (our new top) that is used to mount the grinder to a table or counter. If not already removed, take it out. Feed the other end of your lamp wire through this hole. Get geared up for more wiring!
Bring out the super glue! Admittedly, we used Gorilla Glue, but anything will likely work. I like Gorilla Glue because it’s not activated till you add a little water. It’s my way of making sure that I don’t glue myself to myself.
Unplug your lamp! This isn’t completely necessary, because as you now know, the actual electrical connections are inside the socket, but we always err on the side of caution.
You’ll want your socket to sit directly on top of the former bolt hole. As you can see from the photo, while the very bottom of the socket just BARELY fits inside the hole, a majority of the socket rests on top. And that’s okay! Add a good drop of glue and set your socket on top. Gravity was enough to assist us in the drying process, but clamping may be necessary. Let your baby dry as long as you can. I know it’s exciting, but this is something you’re going to use regularly; let is sit so it can take the brunt of regular use.

Step 4: Completion and Admiration
When your lamp is dry, go ahead and add your favorite light bulb. We’ve collected more than 10 different styles of Edison bulbs over the last few months and opted for the “Christmas Tree” filament bulb. Plug in your lamp, flip the switch, grab a libation of your choice (wait until after the electrical work is done for this step), flip the switch, and admire your handiwork.
Pro tip: Buy Edison-style bulbs on eBay. We were able to snag our bulbs for around $2 each as opposed to $7 each in your big box stores!

Looks awesome! Thanks for sharing at Merry Monday, hope to see you again next week!
Thanks! Appreciate you hosting the link up.
That is pretty cute!
Thanks Nicole! I love it. My favorite small lamp we’ve done so far!