During my organization frenzy of 2012 I am pretty excited to tackle the spice mess in my pantry. I created a mounted spice rack using old baby food jars. Want to learn how? See the following tutorial on creating your own spice rack. Bonus organization: I not only cleaned up the spices but I used these random jars I refused to throw away.
Necessary Materials
Jars with lids (Labels removed… If you want it to be aesthetically pleasing)
Wooden board or Shelf
Wood Screws
Drill
Step 1 Painting the Lids (Not shown because spray paint comes with directions)
Depending on the look you are going for you may or may not want to spray paint the outside rim of your lids. Personally I wasn’t in love with the bright red “baby food” lid so I hit the edges with a little white glossy spray paint. It blended with the current shelf color and should be easy to repaint if when I finally repaint the pantry.
Step 2 Work Out the Spacing

This is really going to depend on the size of jars you are using. Mine ended up being about 2 inches apart. Hold up a jar with the lid and make sure you can comfortably turn the jar without getting your hand caught between the wall or another jar. Remember to keep in mind if others will be using the spice rack to leave ample space for different sized hands, i.e. you have danity hands while your husband has meat hooks.
Use a pencil and draw around the lid. Dislike the spacing and draw again. Hold a couple of jars up and try not to drop one on your foot… Decide the spacing is pretty good and move on.
Step 3 Drill, Baby, Drill

While the metal lids aren’t exactly Kevlar you will thank yourself if you drill a pilot hole for the screw through the middle of each jar. Imagine holding a jar lid, screw, and drill upside down and trying to apply enough pressure to pierce the metal. So, take the extra second to drill a quick hole. The metal is thin enough on most jars you won’t need a special drill bit.
Step 4 We’re All Screwed Now

Take a wood screw and tightly hook the lid to the underneath of the shelf or to a board you can mount later. Make sure the wood screw is shorter than the board thickness since you will want to get it as flush as possible with the lid. I didn’t really worry about the make (metal content) of the screw since the spices will not be in contact with it and I want to keep them as dry as possible.
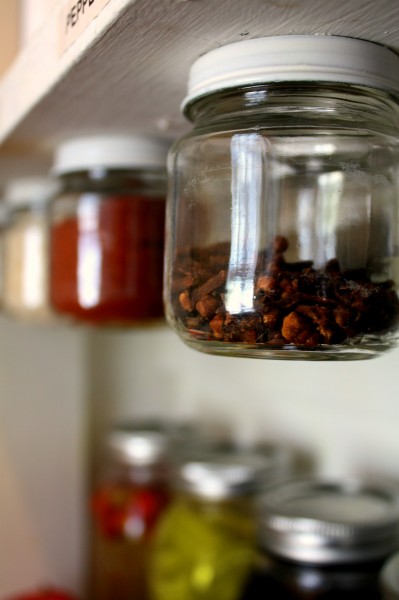
Finally fill the jars and attach to the lids!

Here’s a detail shot:

Notes:
-This idea isn’t novel and works with canning jars too. My great-grandfather hung all his nails, bolts, and screws from the rafters in the basement using old canning jars. Just make sure to mount the rim over the lid before securing with the screw.
-This makes a great space saver if you have odd height shelves ( me!) or you can always mount these to a board to hang elsewhere.
-Other than waiting for the paint to dry and being picky about the spacing this is a very fast project. I completed it while entertaining a two year old so it must not have required a huge amount of effort on my part :).
If you try this project or have done a similar spice rack please let me know! I love to see pictures.