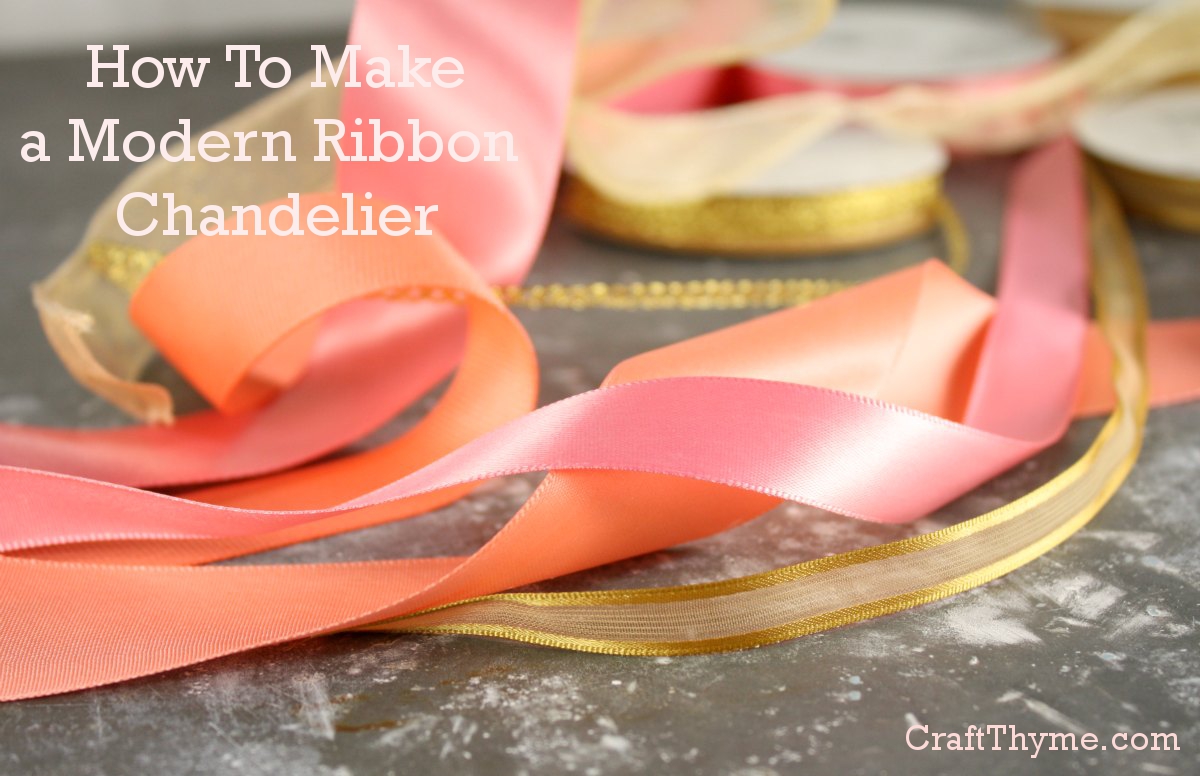
DIY ribbon chandeliers are showing up everywhere from weddings to backyard dinners. This tutorial will show you how to create a modern take on a ribbon chandelier. The pink and gold color scheme is part of an overall sea themed summer table setting I will be revealing over the next few weeks, provided no more of my crafts fail. Let’s get down to bid-ness:
Supplies:
Ribbons
2 Hoops in 2 sizes (You can use wire, hoola hoops, etc. but at 1.20 the inside of an embroidery hoop was where it was at)
Wire (Thin floral wire is fine, unless you plan on wiring a heavy light or are making a very large hoop)
Spray Paint
Hot Glue (if you have a low-temp glue gun that’s a good choice here)
Scissors
Note on Ribbon Selection:
I laid a bunch of ribbon out first to see if I liked the color combination. I wanted to make sure
Step 1: Wiring the Hoops (This step is the longest. I promise.)
The arrangement of hoops is what will give the chandelier a more modern shape so this first step is really the base of your foundation. I take my time here to give a nice sturdy start, because after that it really becomes a ribbon hot glue nightmare…
Take wire and very tightly cross from one side to the other through the center. Repeat on the other side to form 4 equal areas. Did I say tight? Pull it tighter. Take another small piece of wire and tie it around the center. I like to make a nice clean loop. To do this I simply wound it a few times around a kids marker.
Next comes the hellacious part. I suggest cutting three lengths of wire the same length, divide the first hoop (mentally) into three equal sections and tie the wire. Then get the smaller hoop figure out how far you want it to hang below the first and lightly tie wire it. You may find it easier to hang the whole thing at this point. I hung mine from a light fixture, shower curtain rod, and finally a wire I strung across my craft area. Once you have it at the proper height secure one wire well. Then play with the other two to get an off kilter angle. Secure all wires tightly.
Step 2: Holy Crap you made it through step 1… Okay. Step 2 is Spray Painting
Now that you have your base spray paint the hell out of it. This is why the ugly green floral wire didn’t matter.
Step 3: Ribbons and Glue
Now comes the fun part burning your fingers adding ribbons. To really create a modern look to the ribbon chandelier this step is more important than one would think. Draping the ribbons and connecting them to the rings in a clean manner gives a sharper look than the bohemian feel of other styles. I wouldn’t necessarily spend this time on a ribbon chandelier that would be 20 feet in the air, however my plan is for this to be right over an intimate table setting.
I cut a bunch of ribbons after figuring out around what length I needed then tightly glued all of the ribbons to the top ring on the inside and bottom so they would lay flat. Burning only my pinkie on the top ring and saying for the 1000th time that I needed to purchase a low temp glue gun. After connecting them all I then slowly began the process of looping them in an undulating pattern to the bottom ring. They are actualy glued to the outside of the ring and hang loosely in the middle. REMEMBER: The center ring is smaller than the top so the ribbons will have to overlap. While this is basic geometry I seemed to have blanked and had to rip a bunch off and start again. Cussing gleefully the whole time and burning my ring finger to the point of blistering.
Step 4: Scissor Time
I wanted the bottom to be asymmetrical like the top, so I grabbed the ribbons in a handful and chopped them at a diagonal. After that I went and finished each edge in double points and made some minor adjustments to the length. Then you are done!
Notes:
- Wired Ribbon is a BEOTCH. I thought it might be easier, but trying to get it to mimic the natural fall of the other ribbon was an exercise in patience. Oh and god forbid you hit it on anything and have to start the whole process of bending the wire again.
- The second hoop is going to swing and bend and basically act like a wild animal in your grasp. It is okay, the ribbon will cover a multitude of sins.
- Battery operated tea lights tied on fishing wire and hung from the cross wires can light the interior at night
Enjoy these articles? Get periodic updates by joining my mailing list (no spam, no way, no how) or subscribing to my RSS feed.
See more great crafts and decor at these link parties: Making The World Cuter, Today’s Creative Blog, Cherished Bliss, One Artsy Mama, I Should Be Mopping the Floor


