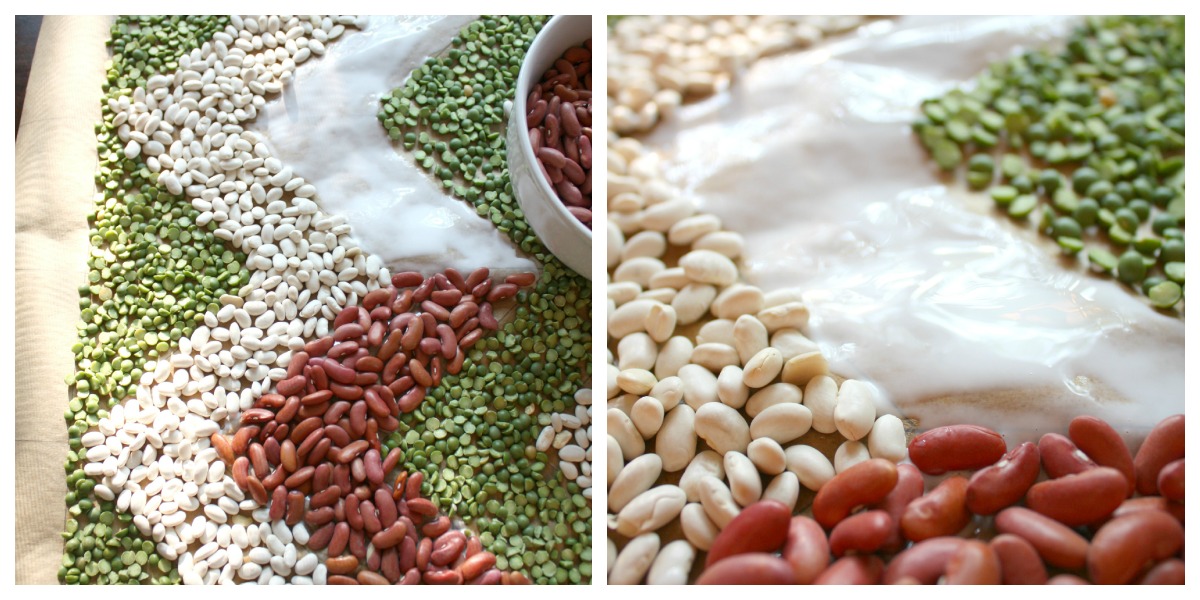
Have you had children? Were you a child? Then you should probably have made bean or macaroni art at one point and you are probably a homosapien. Have been recently gifted with some lovely artwork from my son I wondered if you could transform the homely bean art into something adult and sophisticated. Why yes, yes you can. Enter the Chevron Bean Table Runner.

Thank this is easy? Add a small child to the mix…
Supplies
Beans (various colors, split peas, rice, macaroni, whatever works)
Thick Craft Paper (this is the kind you can put down to catch paint splatters)
Pencil/Pen (to draw design)
White PVA Glue (thin lightly with water or you’ll be using a ton)
Patience
For the Chevron
Ruler
A way to mark 45 degree angles (I used a Triangle)
Step 1: Design
Decide on your design and cut out the length of paper you needed. I went with a straight forward chevron and penciled the pattern onto the paper.
Step 2: Distract Your Children
Sooo… If you have kids and there are tiny objects and glue they will want to help… Stop what you are doing cut them off some paper, add glue, beans, then begin your craft project again.

Then give up and let the kids/cats/dogs/parakeets/slow loris help in the end. Tell me you don’t want a slow loris?

Step 3: Glue beans, and glue beans, and glue beans
The technique matters, because after you put a lot of beans on the project you aren’t going to want to pick it up and shake it like when you are applying glitter. I found putting a thick layer of glue for one color of bean and pressing a single layer of beans into the project worked well. I watered the glue down until it was easy to brush (using an old brush) onto the paper, but not so much that it soaked into the paper. Don’t fill to much space with glue or it will dry before you can get it all filled in.
Allot way more time than you think this will take. Well if you are anal like me and apt to go back and fill in empty spots. Which is my final suggestion. If an area looks bare just dab a bit of glue and press in a few more beans.
Notes
Uh this is pretty straightforward. If it isn’t then feel free to comment or email me for clarification.
Check out my fall table decor to see this bean craft runner in action… Well as actiony as a table runner gets.
Enjoy these articles? Get biweekly updates by joining my mailing list (no spam, no way, no how)
See other great DIY’s, Crafts, & Decor at these link parties: Lambert’s Lately, 52 Mantels, Live Laugh Rowe, Shabby Creek Cottage, The Pin Junkie, DIY Vintage Chic, Today’s Creative Blog, C.R.A.F.T, Craft-o-Maniac, Home Coming

