Our DIY Edison bulb chandelier occasions the most comments both on and off the website. It is the second highest source of interest in our home besides the gardens. Adam designed and created this industrial light fixture with 15 Edison light bulbs shortly after we moved into the house at Burk. The original light was pretty, but small and certainly not anything to get excited over. It did feature a single Edison light bulb that kind of kick started our creativity. That bulb was what lead to our industrial and pipe theme throughout the house. Unlike many of our tutorials we do not have the step by step photos of how to build an Edison bulb chandelier, however, we can give you a rundown, tutorial links, and supplies so that you can likely make an Edison light fixture of your own.
Designing an Edison Bulb Chandelier
As I mentioned above our main fascination started with Edison light bulbs and we have been meaning to blog about this Edison Bulb Chandelier forever. Now that we are working on the new house we thought it would be good idea to catch up on some of the old projects that never made it to the blog.

Do you know how many different types of Edison bulbs there are? We didn’t either, but in researching the project we founds tons of different shapes, styles, and prices. OUCH! Edison light bulbs are not exactly cheap… Below I am going to link to some options using my affiliate links. These links make it easy to purchase everything you need but I’ll let you in on a little secret. If you are patient and willing to go the Ebay route you can cut the costs of building and Edison bulb chandelier in half, easily! We sourced all of our material by bidding on lots of Edison bulbs, brass sockets, and cloth covered wire that mostly shipped from China. That means we have a ton of extra bulbs (saving those for when others burn out) and had to wait a couple weeks for items to arrive. If you can’t wait then go the Amazon route. You will pay a bit more but the items arrive much sooner.
In designing ours we knew we wanted to match the bronze fixtures, industrial design, and incorporate modern with traditional. Wait… did I say bronze? Oh yes, I faux finished every socket. The cost savings of buying brass over bronze was enormous! We brought the traditional/vintage feel in with the cloth covered wire and worked gave it a modern feel with the salvaged wood box top. Adam did a lot of research and consultation about power to make sure that we could make a fixture that could safely handle 15 bulbs. We also decided it would be cool to have them where each individual light can turn off and on. It allows us to mix up which bulbs are showcased and when we need a really bright source of light we can turn them all on.

Edison Bulb Chandelier Supplies
- Edison Light Bulbs: I have an affinity for the tube shaped lights, but here are some options for traditional shape, and a fun round one. Next time I might try out the new LED type to save on electricity and get durability.
- Cloth Covered Wire: We went with a mix of bronze, gold, and copper. We also went back and forth between twisted wire and round cord. There are so many options available! You could go hot pink even or get a neat chevron style.
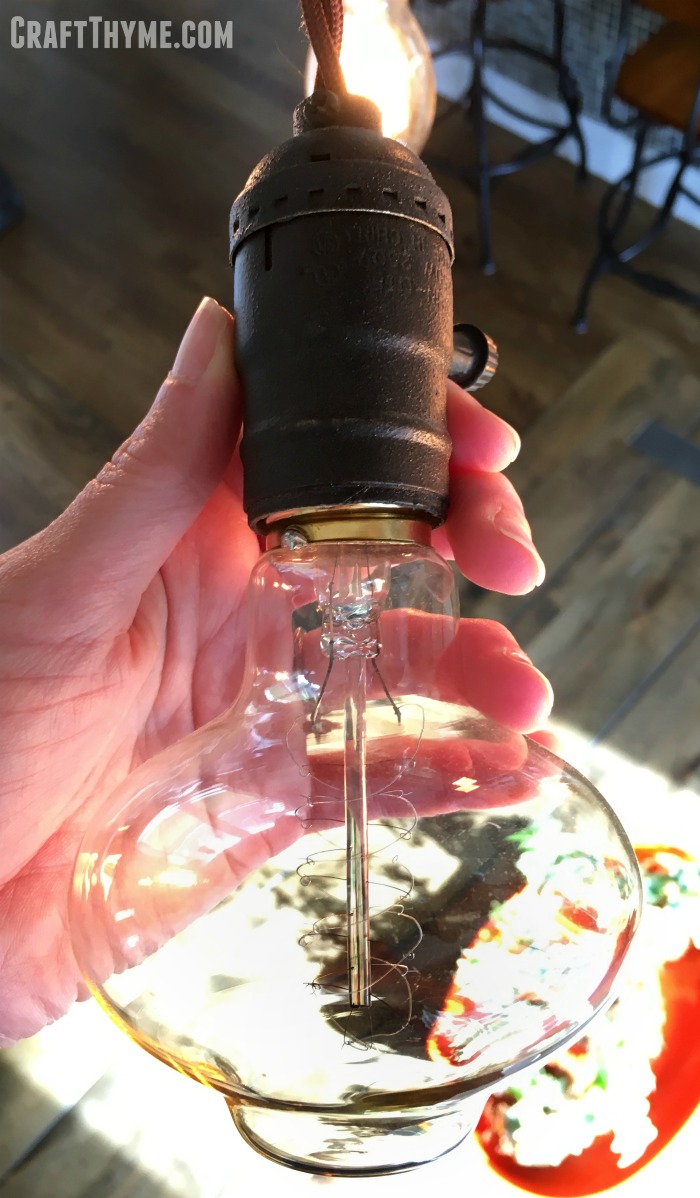
- Bulb Sockets: As I mentioned above we bought the cheaper shiny brass and then used this faux cast iron tutorial to paint them all.
- Junction Boxes: Electrical safety is paramount! We used three.
- Regular Wire: Use this to do the interior wiring as it will not be seen.
- Wiring Caps: We wanted all the connections safe and secure
- Wire Strippers: If you don’t have these you can still pull back the wire to make connections, but they make this so much easier.
- Wood Slats: Adam built took various boards and stained them multiple hues using this tutorial. He then attached them to a simple box frame.
- Screws: We went for some dark interesting square screw heads that could show on the outside of the box after assembly. You would need a special bit if you use these.
- Heavy Duty Hooks: for the ceiling and inside the box to hang the light fixture once assembled
- Chain: For hanging
Basics of Edison Light Fixture Assembly
Step 1: Assemble Your Supplies and Make Your Boxes
As mentioned above we spent a good deal of time getting our supplies hunted down through Ebay. Once they arrived we did the following:
- Created a Box: You can use this headboard tutorial to get an idea of how to stain the salvaged wood. Attach the wooden slats to a basic frame like we made in with our potato boxes
- Faux Paint Sockets: If you aren’t happy with the original color you can faux finish them to a cast iron or bronze color
- Decide on Lengths of Cloth Covered Wire: We chose varied height so we needed to cut a variety of wire lengths
- Decide on Light Placement: Since we went with varied height of wire we decided to keep the placement in three simple rows. We drilled holes that were sized to just allow the cloth wire through without have a huge gap that needed covering.

Step 2: Start Wiring
Working with wires is not my thing… I know the basics but usually Adam handles this step. We did not have pictures and suggest googling wiring tutorials. Please be extra careful when wiring anything! The basics go:
- You will need to attach the wire to each socket.
- Then each socket will need to be wired into the boxes.
- Boxes will need to be chained together
Step 3: Hanging the Fixture
We attached two heavy duty hooks to ceiling joists. The wood on this fixture makes it heavy! We used two loops of chain on either end. They are attached on the interior near each corner with smaller hooks and the loop of chain is simply hung over the hook. We used the loops, chain, and hooks for two reasons. First, so because they are heavy duty enough to hold the fixture. Secondly, the chain allowed us to hang the fixture lower than intended at first. This is important as you will need to hang the fixture and then wire it into your home’s power. PLEASE REMEMBER TO TURN OFF THE POWER BEFORE WIRING. I highly suggest turning off the main breaker while doing any wiring. It is just not as safe to turn off the breaker in the room you are in. It is waaay to easy to mistakenly turn off the wrong breaker and go to wire live wires.
Anyway, back to why we chose chain for mounting: It was way too heavy for someone to hold the entire Edison bulb chandelier while someone else wired it in. Plus you needed the space from the ceiling to the top of the industrial light fixture to actually do the wiring. Once it was all wired up, I used my small hands to reach in and hook each corner higher on the chain till we just had a tiny gap from the ceiling. It covers the hooks so that it appears to be a floating mount. It was way easier to hoist it link by link than try to tie off rope or wire in a new position.

Step 4: Testing and Finalizing Your Design
Step 4 should probably go before the hoisting mentioned in step 3. No sense getting the fixture in the final position without making sure it all works. We tested each light to make sure all connections were secure with a single light bulb. That way you do not have to wonder if the bulb is broken if a socket does not appear to work. takes out all the process of elimination. Once we were sure all the wiring was in correct working order we hoisted it to the final position and then had a blast trying out different bulbs. We fiddled with all the types we purchased and played with placement and which ones looked good on and off. It took way longer than anticipated to find a good balance with the variable lengths and sizes of Edison bulbs, but it was fun to do. The final result still changes from time to time as we turn them on and off. In two years we have only had one bulb burn out and need replacement.
Since we do not have all the step by step pictures of how to assemble the Edison bulb chandelier please let us know if you have any questions in the comments. We are always happy to help and would love to see what you create!

[…] Edison Bulb Chandelier […]
[…] Edison Bulb Chandelier This is a fun and eclectic way to show off all of those amazing Edison bulbs! […]
[…] Edison Bulb Chandelier This is a fun and eclectic way to show off all of those amazing Edison bulbs! […]
I love Edison light-bulbs, but this is truly the coolest one I’ve ever seen! I love the different shapes of the bulbs and the varying heights! You did a great job on the light box and really like the cloth covered wire you used. It really makes the whole fixture look more authentic and interesting. I would love to have this hanging over my dining table!
I love how this came out! I had to pin it because its so inspiring.
xo, Jenny
Thank you so much!
Just found your site, super amazing kitchen and nook and the lighting project is amazing!!! Love the wall color, do you happen to remember what color it is? It looks a bit beige/greyish ??? Following you now through Bloglivon. Christine from Little Brags
This looks amazing! I’m so into the Edison bulbs, but I had a hard time envisioning how they would really work in a room practically. Wow, this makes it all work beautifully.
We use them in any type of mood lighting. They make a nice warm dim glow at night. Excellent for relaxing.
[…] head over heals for this very cool and beautiful Edison Bulb Chandelier from Craft Thyme!! Go check out how to DIY this!! Brianna, I want one […]
Brianna – I am in love with Edison bulbs too – in fact, I want to put them over our stage at church and create a cool atmosphere with them.. I will check out your links, and also love your DIY chandelier! Love it – I found you at #WayWow
Aren’t they the best?
Brianna and Adam — Very well done! I showed this post to my husband and son and then I pinned it. This is the type of project they’d love to plunge into. Thanks for sharing the directions. It looks great. I saw your link at the Sweet Inspirations party.
Thanks so much!
Stunning!!! We’ve been wanting to make one forever and all the links are just so awesome. Thank you soooooooooo much Brianna.
You have to send me pictures or links if you make one!
Oh wow yall did a fantastic job on it. I love how it turned out. I love that you did the sockets in bronze and that they are all different, I’m not a big fan of brass. I love the wooden box, it’s all so unique. If we hadn’t already replaced our lighting in the kitchen I would try to talk the hubby into doing something like this. It’s beautiful!!!
Love your table too!
This is really beautiful. I just love your home and all the projects in it. How do you keep that box up in the ceiling?
Brianna, this is absolutely fabulous, I love love and love it! I wish I had a big kitchen or dining room to have this in, it’s so unique!
I really miss that light!