2025 Update:
Since 2018 we have been providing a free egg tracking spreadsheet. While we plan to maintain a free version we found helping users, updates, and enhancements were taking more and more time each year! In order to keep up with folks needs but also maintain a free tracker we have created an Etsy shop where you can purchase reusable and more in-depth tracking sheets. While we will keep a basic sheet alive for free!
To purchase our in-depth tracker that include egg size, color, breed and other factors for tracking visit our Etsy Store! Otherwise read on to get your free tracker.
For our free version read on.
Hey Poultry Enthusiasts! ?? Ready to take your egg-tracking game to the next level in 2025 without breaking the bank? Look no further! We’re thrilled to present the latest edition of our free Google Spreadsheet – your all-in-one solution for keeping tabs on your clucky companions’ eggcellent exploits. Whether you’re raising chickens, quail, or ducks, our user-friendly tracker lets you log eggs, poultry, expenses and profits. It’s like a cozy nest for all your poultry data! ?? We’ve been at this since 2018, so if you are already a fan? Skip to the bottom for the freshest version. New here? Dive in, follow us on Instagram, YouTube, Facebook, or Pinterest, and share the egg-love with your fellow feathered-friend enthusiasts. Let’s make this year’s egg tracking as sunny-side-up as it gets!
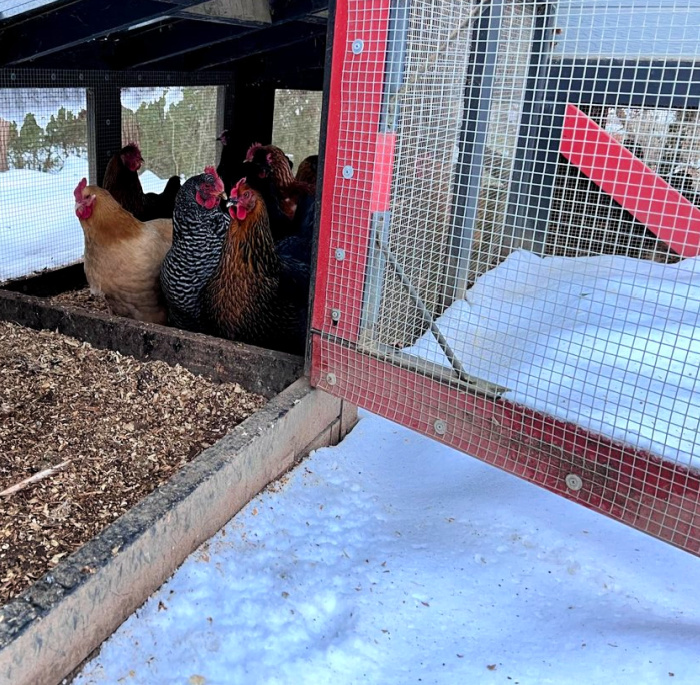
Please note you may not get all the items shown in the pictures. These are past screenshots
 What All Can I Keep Track Of?
There are four main areas you can keep track of for your flock:
- The Poultry (Chicken, Quail, and Ducks)
- The Eggs
- The Expenses (There are many)
- The Income (Not nearly enough)
The Poultry
As with previous years you can log as much or as little information about your flock as you want. Highlights include birth, deaths, lay dates and notes for ducks, chicken, and quail. The only required field is a date for laying if you want the hens of all species to average correctly. Don’t worry about perfection, I sometimes can only get a lay date within a couple of weeks depending on how many pullets I have going that year.The Eggs
Shooooo, folks really have opinions on this area. We have kept it simple by providing a egg total by day and poultry type. Remember if you want to track sizes and colors just see our Etsy shop.Wow This Is Overwhelming, Where do I start?
First scroll down and make a copy of the sheet into your own Google Drive. Then follow the instructions on sheet one. Summaries and charts are automatically created from entering your chickens and eggs in the various tabs. Don’t worry if you still need help, we have a handy guide from 2018 that still gets you going: Directions on how to use the chicken tracker We also will assist folks (when time allows) via comments or Facebook/Instagram chat. Please remember we don’t make money doing this and we work full time outside of this website.Can I get an Excel/Paper/Other Version of this Egg Tracker?
Please keep asking in the comments below, but for right now the free version is only available via Google Sheets. If we ever have enough interest we will make other options for a small fee.Can I Use This Egg Tracker For My Small Business?
ABSO-FREAKING-Lutely. While we cater to small backyard flocks, we firmly support small farm businesses and homesteads! Please let us know if you use this poultry tracker for your small business. We would love to support you on social media and make changes to assist you. Farmers are the backbone of our food supply! We just ask that no one packages this sheet up and sells it for a profit or posts it as their own work. We make this for free so everyone can enjoy so be kind and don’t take credit for our work.
How Do We Get Our Copy?!
Click the link below and you will be prompted to make a copy to your Google Drive. Make the copy and then run with it. Please note, I only give copy access to the Poultry Egg Tracking Spreadsheet. This avoids someone accidentally messing the entire sheet up.- Free 2025 Poultry & Egg Tracker (Copy Only) <—— Click IT!
- If you would like to see an example all filled out you can click this link: Poultry & Egg Tracker w/Examples (View Only)
- If you want more directions on how to use the poultry egg tracking spreadsheet I wrote a guide in 2018. Click the link below: Directions on how to use the tracker
Need More Help?
We made this handy YouTube video on how to use the tracking sheet:
How Can I Make You A Millionaire for Your Awesomeness?
If you like/use the tracker we simply ask that you spread the word about the free poultry egg tracker to others and send in suggestions via comments. Each year we try to incorporate what readers want to see. You are free to use it for personal or business use. Just don’t try to sell it as your product because that makes you a meanie, not nice person. If you really NEEEEED to give us compensation check out our Support Us page!