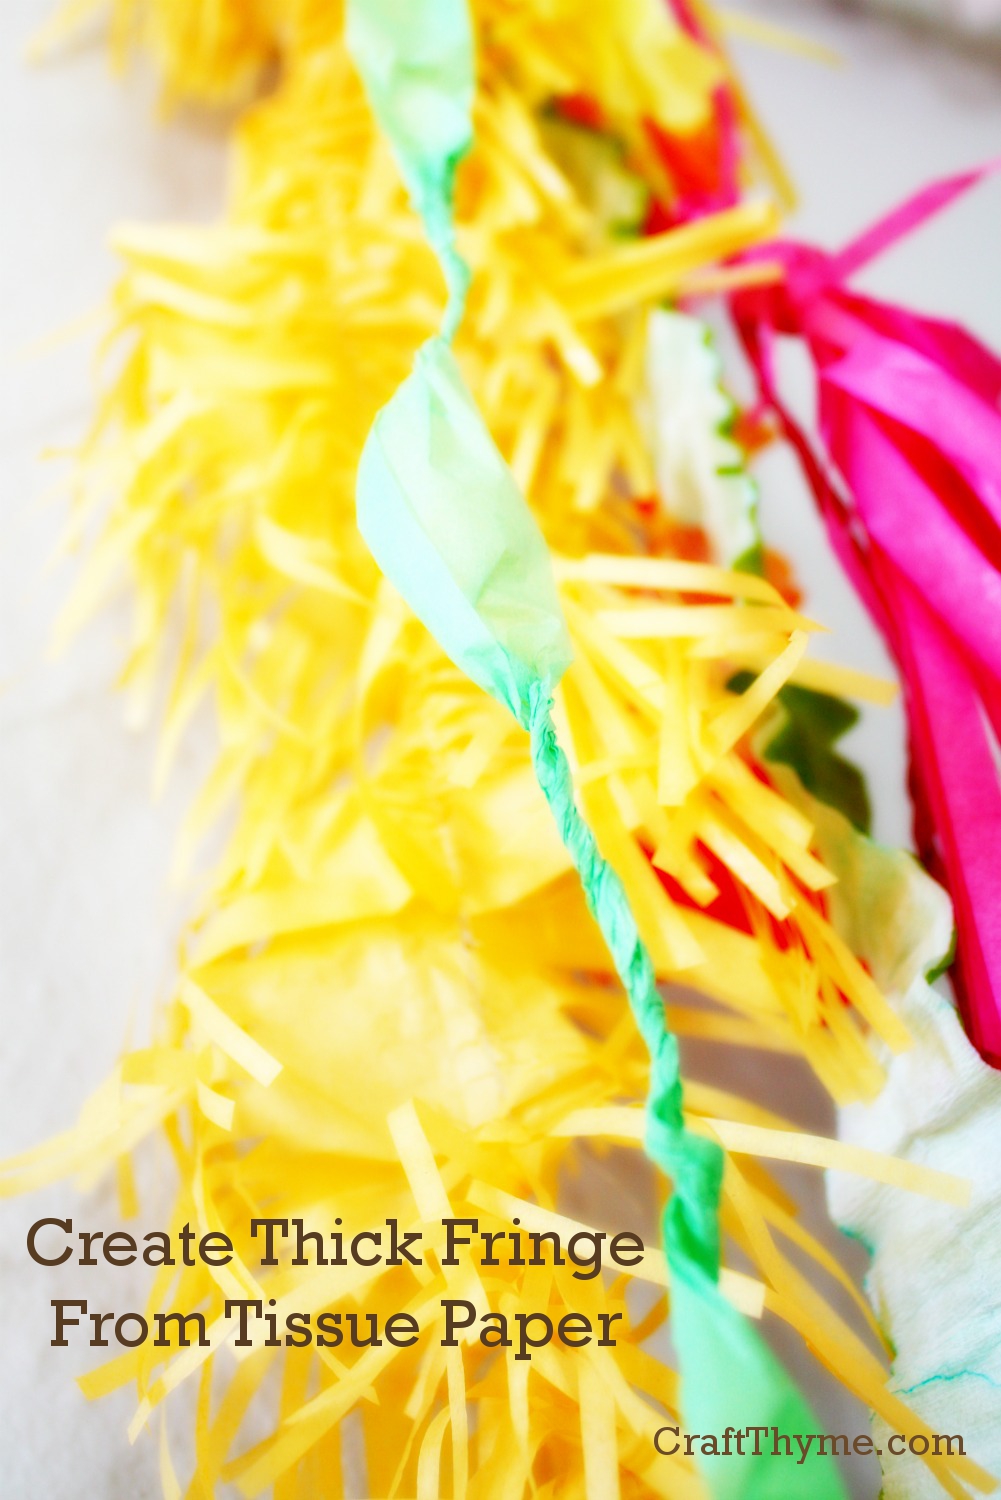
Creating a thick tissue paper fringed garland add a lot of texture to my Spring Photo Wall. As an added bonus one single sheet of tissue paper will give you 4-6 feet of garland depending on how puffy you want to make it. The picture below shows a single sheet of yellow tissue paper turned into the piece of garland:

Supplies
- Tissue paper
- Scissors
- Sewing Machine
Step 1
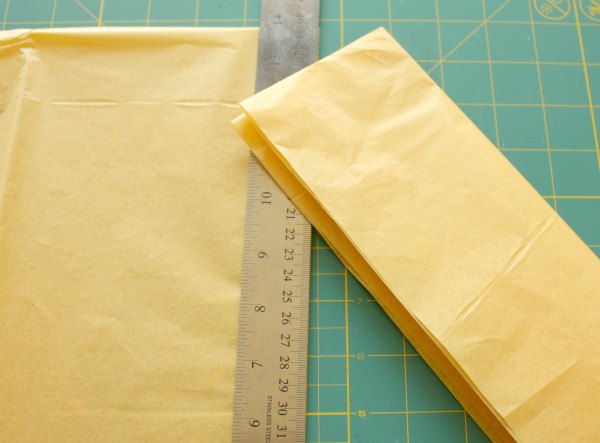
Cut a single sheet of tissue paper into thirds down the long side of the paper. Because I am lazy I folded mine in half to cut as you can see in the photo. After cutting the paper into thirds fold each third down the long/lengthwise side. This makes cutting the fringe much easier.
Step 2
This is either the very easy or very time consuming part of the project. Cutting the fringe. I stacked all three pieces that were folded in half to cut the fringe. Sure that is six layers… But six layers of tissue paper is still pretty easy to cut. You might not I have some awesome fringe scissors in the photos. You can cut them one at a time, but for 12 dollars fringe scissors are awesome. You’ll see that I left a lot of room in the middle. I’ll explain why in the final step.

Step 3
Unfold the tissue paper till each piece is flat and lay it on the sewing machine with the fringe on either side. For more detailed directions on gathering you can see the post on making Easy Crepe Paper Ruffles. But basically if you have a long stitch length and mess with the thread tension the tissue paper will gather itself a but to make the fringe fluffy and thick. When you get to the end of the first sheet just overlap about an inch and keep going sewing to make as long as a garland as you need. And then you are done!

Notes
Sometimes when I was sewing really fast the feeder teeth would rip a little hole in the tissue. It isn’t noticeable once the garland is done. The thick fringe hides any lazy mistakes imperfections.
Enjoy these articles? Get periodic updates by joining my mailing list (no spam, no way, no how) or subscribing to my RSS feed.
See more great crafts and decor at these link parties: Snippets of Inspiration
Thank you for sharing with us at Merry Monday!