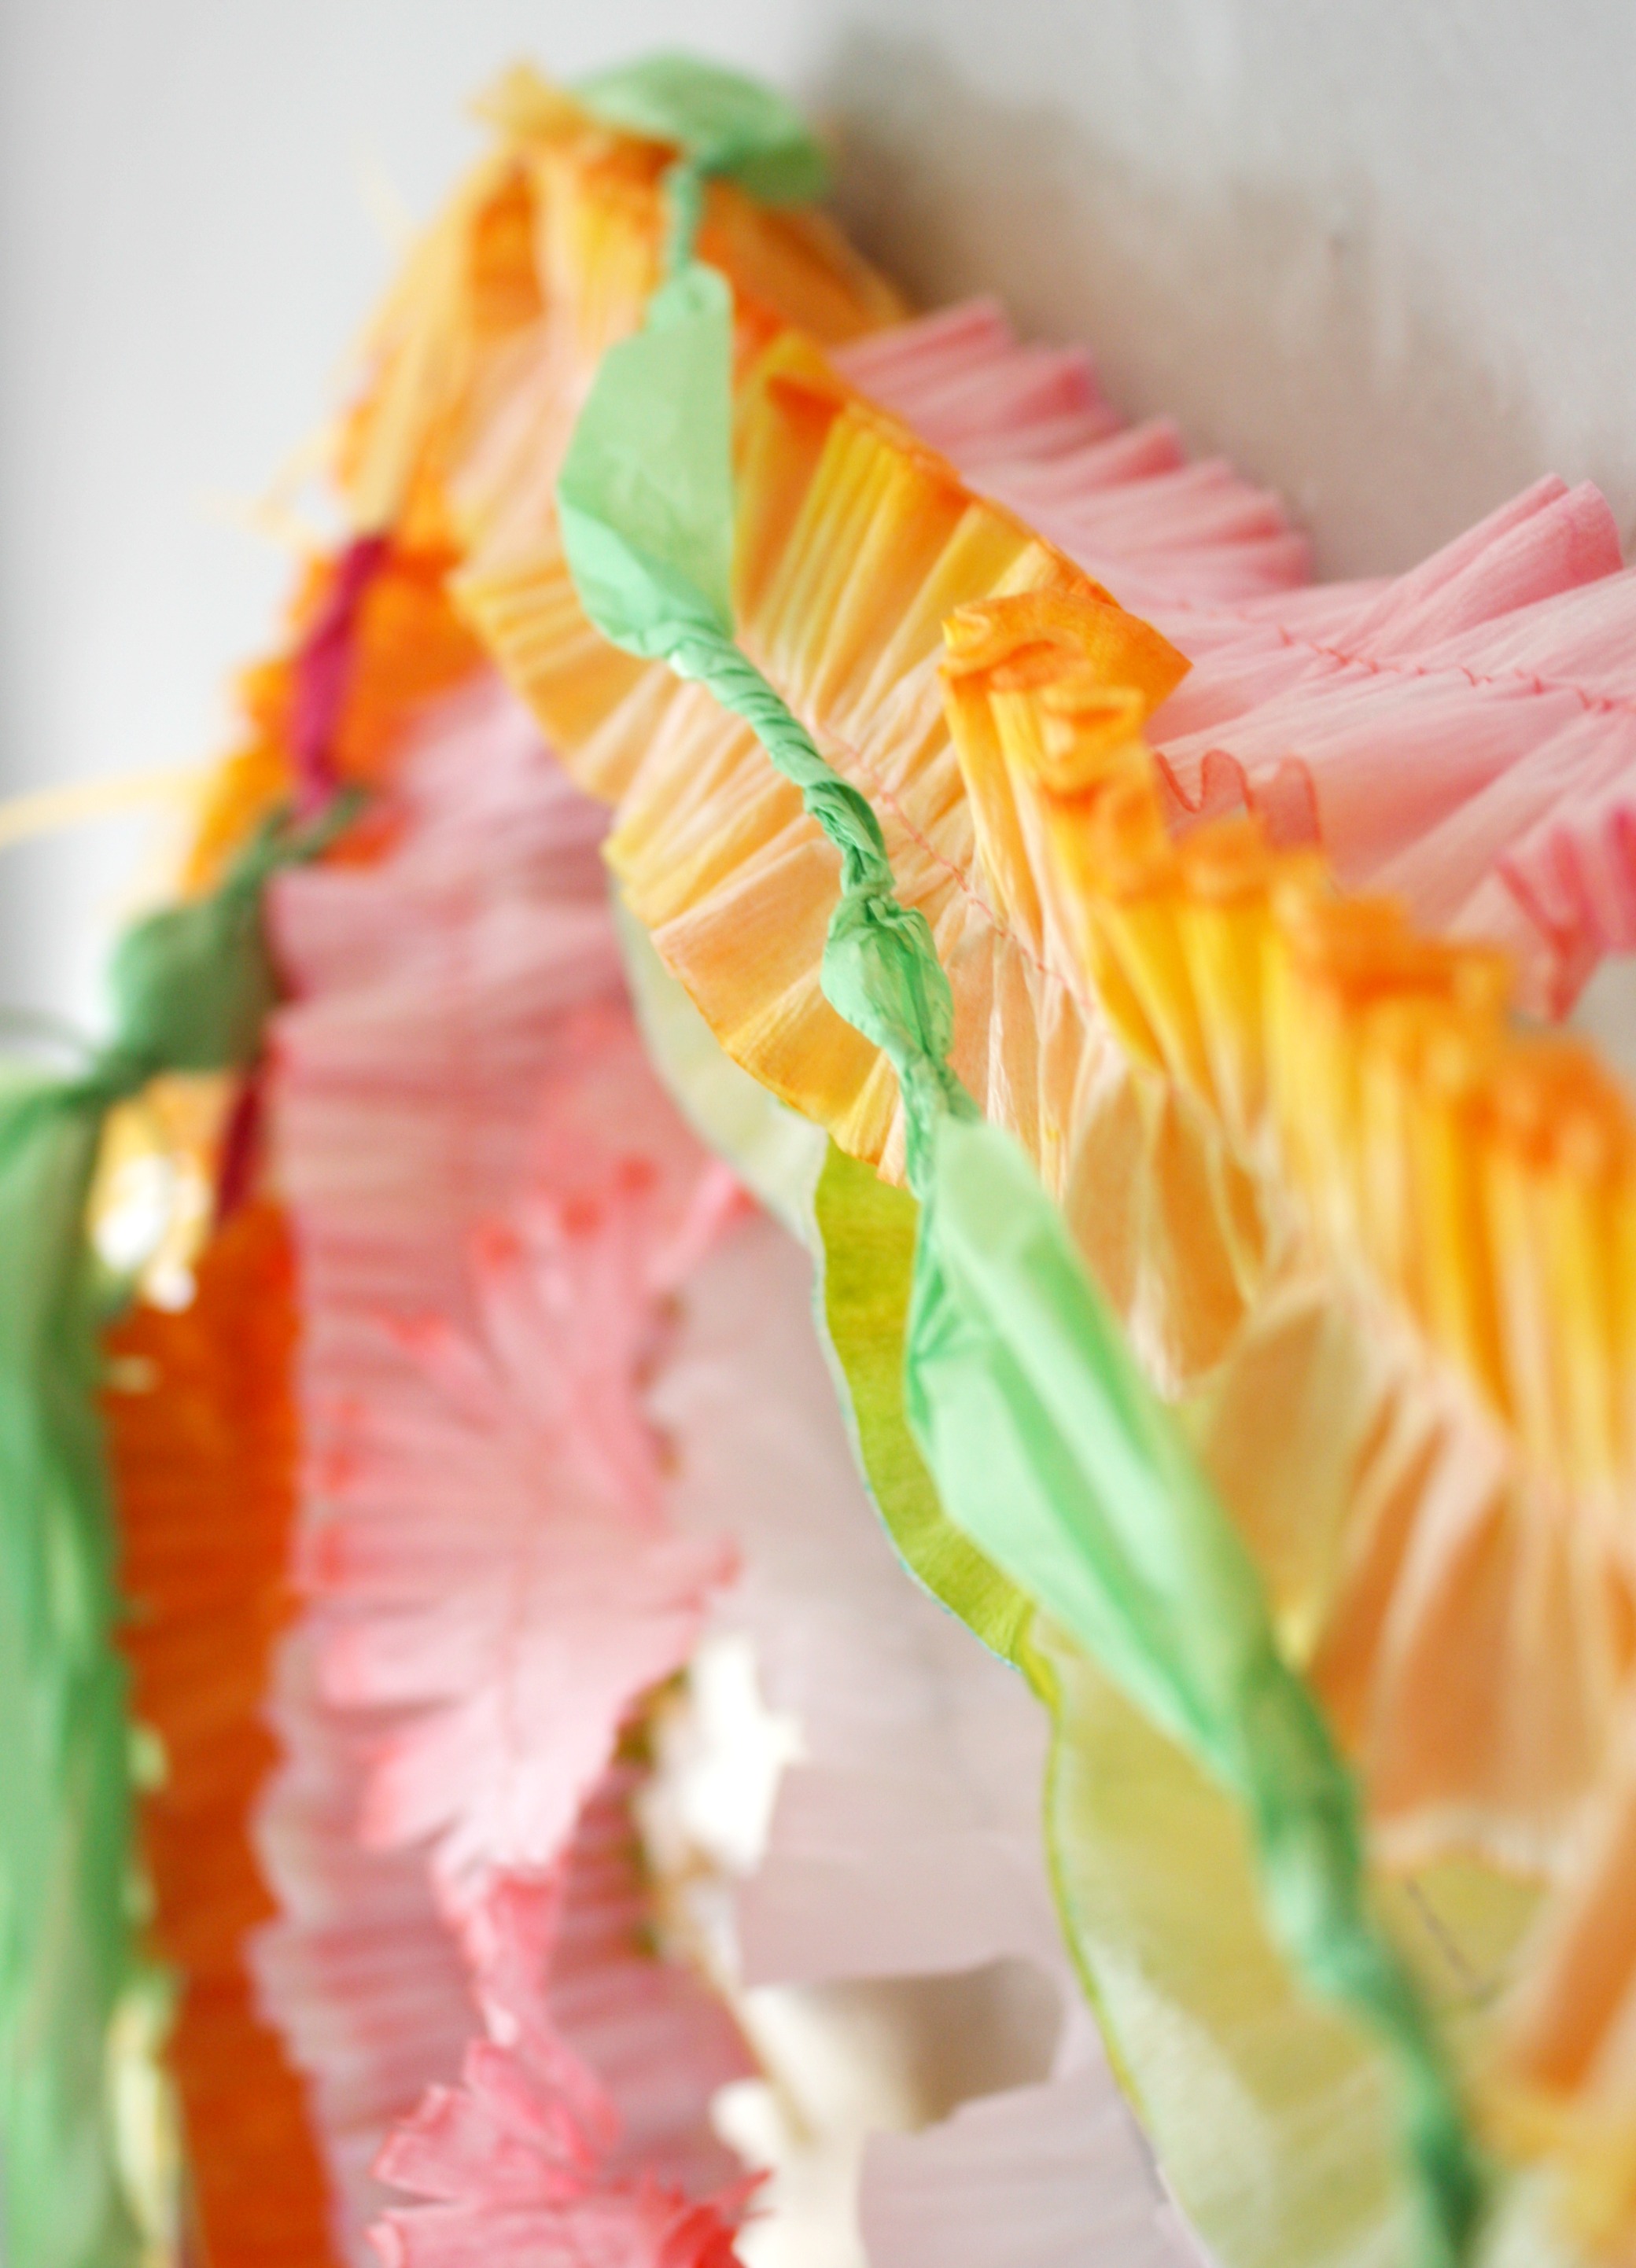
I need some Spring color! Enter: an array of tissue and crepe paper garlands, tassels, and streamers. For a list of crepe paper tutorials on how to make each and every item shown scroll on down! Instead of making the regular ho-hum mantel display I thought I would give my entryway some Spring umph. As an added bonus I set up an area to take some pictures of the kids,using the decorations as a photo backdrop.
You’ll note that none of the kids are actually sitting nicely enough for pictures. So I used myself. Yeah I am really that pale.
Crepe and tissue paper is inexpensive and can be turned into garlands, tassels, streamers, puffs. Basically it is some versatile shiznit if you want some cheap and fancy looking decorations. I really wanted a mix of textures and colors. You can see a bit of the variety in this detail shot. After making them all, I hung them from some lightweight command hooks. Easiest thing to make a temporary display, plus crepe paper is so lightweight it takes nothing to hang them.
Since I basically had a love affair with tissue and crepe paper I have a ton of tutorials to offer:
As I still seem to be pissing my fetus off and causing it to create a major pain in my back I am forced to continue on my “Imagine the Impossible” challenge of coming up with couch crafts. I have been meaning to make some doll clothes for my son’s favorite bunnies for some time and what better way to use my time than knocking that project off my list.
I did do a tiny bit of prep work off the couch. I grabbed an arm load of fabric scraps, buttons, velcro, thread, scissors, and hand sewing needles. I sat down and very quickly traced the arms and torsos of Hippity and Hoppity and came up with two tiny patterns for a bib and jacket. Then I reclined on the couch cut them out and hand-sewed the clothes.
Pile of Scrap. Of course Cheerios had to be involved.
Sure what took me a few hours laying and sewing would have taken mere minutes on a machine. However, it kept me busy and McClain Ooohhed and Aahhhed while I was fitting them. As a bonus he got to be more a part of the process. Of course when he wanted the thread, needle, and scissors I had to limit the amount of the process he could be.
Hoppity and Hippity in their new finery. The bib closes with velcro so McClain can take it off and on. The jacket just slips on and off but I reinforced the seams so he can’t easily rip it as he learns to dress them.
Anyway, for my first check in on the “Imagine the Impossible” it is still feeling pretty damn impossible to be idle for another 6-8 weeks and find crafts I can do and blog about. At least I found one I and my son enjoyed!
Here is an example of some quick patterns. McCall’s and Vogue eat your heart out.
When you are looking at scraps think about unusual layouts for the patterns. Here I used the selvage of the red fabric to make and interesting back and collar. As a bonus I didn’t have to hem/finish those edges.
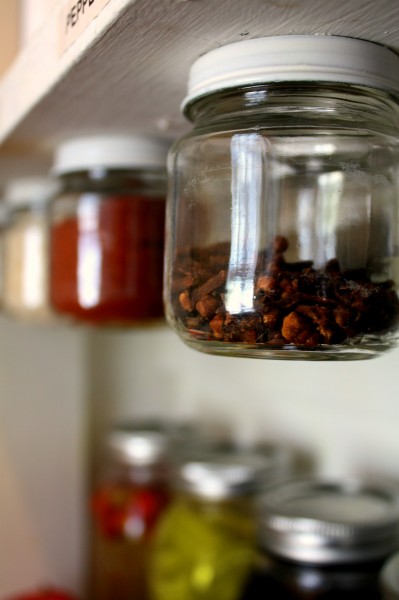
During my organization frenzy of 2012 I am pretty excited to tackle the spice mess in my pantry. I created a mounted spice rack using old baby food jars. Want to learn how? See the following tutorial on creating your own spice rack. Bonus organization: I not only cleaned up the spices but I used these random jars I refused to throw away.
Necessary Materials
Jars with lids (Labels removed… If you want it to be aesthetically pleasing)
Wooden board or Shelf
Wood Screws
Drill
Step 1 Painting the Lids (Not shown because spray paint comes with directions)
Depending on the look you are going for you may or may not want to spray paint the outside rim of your lids. Personally I wasn’t in love with the bright red “baby food” lid so I hit the edges with a little white glossy spray paint. It blended with the current shelf color and should be easy to repaint if when I finally repaint the pantry.
Step 2 Work Out the Spacing
The shelf is stained, but clean. I swear!
This is really going to depend on the size of jars you are using. Mine ended up being about 2 inches apart. Hold up a jar with the lid and make sure you can comfortably turn the jar without getting your hand caught between the wall or another jar. Remember to keep in mind if others will be using the spice rack to leave ample space for different sized hands, i.e. you have danity hands while your husband has meat hooks.
Use a pencil and draw around the lid. Dislike the spacing and draw again. Hold a couple of jars up and try not to drop one on your foot… Decide the spacing is pretty good and move on.
Step 3 Drill, Baby, Drill
Why yes, I did think it was necessary to protect my beauuuutiful 70’s faux-wood counter-tops when drilling. Also note the thin spray paint on top, you won’t be seeing that area so don’t waste your time.
While the metal lids aren’t exactly Kevlar you will thank yourself if you drill a pilot hole for the screw through the middle of each jar. Imagine holding a jar lid, screw, and drill upside down and trying to apply enough pressure to pierce the metal. So, take the extra second to drill a quick hole. The metal is thin enough on most jars you won’t need a special drill bit.
Step 4 We’re All Screwed Now
At some point I really will go back and paint these stained shelves we inherited from the previous owner. Really.
Take a wood screw and tightly hook the lid to the underneath of the shelf or to a board you can mount later. Make sure the wood screw is shorter than the board thickness since you will want to get it as flush as possible with the lid. I didn’t really worry about the make (metal content) of the screw since the spices will not be in contact with it and I want to keep them as dry as possible.
Finally fill the jars and attach to the lids!
Completed Spice Rack! Now I just need to make some pretty labels.
Here’s a detail shot:
Notes:
-This idea isn’t novel and works with canning jars too. My great-grandfather hung all his nails, bolts, and screws from the rafters in the basement using old canning jars. Just make sure to mount the rim over the lid before securing with the screw.
-This makes a great space saver if you have odd height shelves ( me!) or you can always mount these to a board to hang elsewhere.
-Other than waiting for the paint to dry and being picky about the spacing this is a very fast project. I completed it while entertaining a two year old so it must not have required a huge amount of effort on my part :).
If you try this project or have done a similar spice rack please let me know! I love to see pictures.
Tuesday we looked at the basics of a color wheel (Part I). Today we are going to jump right in and look at the theory used to select color schemes. Don’t despair if many of the colors we use today are a bit bright! We’ll touch on how to use the theories we learn and apply it to real life design next week.
A Full Color Wheel
To fully flesh out our color wheel we need to add tertiary colors. These colors are made from mixing the primaries and secondaries. For example:
red + orange = red-orange (such fancy names)
blue + purple= blue-purple
As a side note when naming tertiaries the convention is to use the primary first and hyphenate the secondary name, as in yellow-green not green-yellow.
Using the full wheel we can illustrate a number of different ways to pick color schemes.
The Triad is Not Just a Shadowy Agency
Triad color schemes rely on make an equalaterial triangle through the middle of the color wheel. For example red, blue, & yellow are a triad, and also used heavily in children’s color schemes.
In this particular triad I have picked a trio of colors that are reminescent of schemes based on the colors of India.
Simply turn the triangle and use the ends as pointers to get a triad color scheme.
Tetrad; Yeah I Didn’t Pay Good Attention in Geometry Either
Tetrad color schemes involve choosing four colors. Instead of a triangle we’ll use a square as the pointer in the color wheel.
In this case the four colors would be, well very bright. But as I described above we are working on theory here:
I promise it will come together to allow you real life design inspiration next week. Though the above color scheme reminds me of some of my outfits in the 1980’s if we want a real life example today.
Other Schemes of the Color Variety
There are a ton of other ways to use the color wheel. Each have a rather fancy name like analogous or split-complementary color scheme. This wikipedia article has good text descriptions of many different types of schemes.
Tune in next week when we wrap this series up by looking at how you can use these color theories to pick out a scheme to fit your next event.
Color makes a huge impact at any party or event. Why else would we deck the halls in red and green, go over the hill with black, and force our bridesmaids to coordinate their outfits. Obviously we intuitively know some colors just work for events. However there is a basis for picking out a good color scheme. That basis is the color wheel.
In this three part series I am going to show you the basic usage of a color wheel and how it works to pick out color schemes.
Primaries From Primary
Probably somewhere in elementary school you learned to mix your Play-doh®; blue and yellow make green, while, adding in red makes a greyish mess. But what does it all mean? (note if your into color theory or printing I’m not going into that type of depth here)
There are three primary colors you can use to mix and make every other color in the world! Red, Blue, & Yellow
For illustrations sake we are going to place these equally spaced on the color wheel.
‘Second’ary Isn’t a Bad Place to Be
Next we will fill in the secondary colors. Secondary colors are what we get when we mix two primary colors together. So back to our grade school Play-doh®:
red + blue = purple
blue + yellow = green
yellow + red = orange
Complementary Colors and Real Life
Now that we have our very basic color wheel filled in it is time to look at one of the most basic color schemes. Complementary colors are based on being exactly across from each other on the color wheel. In our very pared down version you can see we have three sets of complementary pairs; red & green, yellow & purple, and blue & orange.
While these are some of the most basic color schemes available, you may recognize two of them. Red & green are synonymous with Christmas while traditional yellow and purple remind us of Easter.
Tune in Thursday to take a more in depth look at picking three and four color schemes from the color wheel in Part II of this series.