Craft Thyme is a husband and wife craft blog (Adam & Brianna). We
spend countless hours crafting, gardening, and DIYing so you don’t have
to! Each tutorial is guaranteed to come with detailed instructions,
pictures, and an occasional behind the scenes fight about who is holding
the level straight.
Thanks, Brianna!
Would you like to be a #SoMe2 featured blogger?
Everyone who enters the Rafflecopter below each week will have a
chance to win a spot as our featured blogger. We will feature your blog,
and links to your social media. Your links will be inserted into the
Rafflecopter for that week – gaining you more followers.
So be sure to enter to win the weekly featured blogger spot!
Note:Please be sure to fill out the Rafflecopter form accurately. Entries are verified.
Please follow your hostesses and featured blogger. (first 4 links)
Please add the #SoMe2 button (found at the bottom of the post) to your sidebar or link page.
Tweet about the party! More partiers = More followers! All you have to do is click the “tweet” button! Tweet
Use our hashtag #SoMe2 when tagging or posting so we can find each other!
You will automatically be entered into our email reminder list by entering a link. You may remove yourself from the list by using the un-subscribe option.
If you need help adding your Pinterest post to the party,
this infographic explains how to do it with step-by-step photos. Just
click the photo to enlarge it!
PLEASE READ & FOLLOW DIRECTIONS CAREFULLY
1) Link up 1 recentPinterest Post. That’s a PIN – not your Pinterest account or a direct link to your blog post!!
(How? Go to your Pinterest profile page, click on “pins” in the navigation bar below your profile picture, then click on the pin you want to share, copy the URL of that pin, click on the blue “add your link” button, and paste that URL into the link party.)
2)Re-pin, like, and comment on your HOSTESSES’ and FEATURED BLOGGER’S links(first 4 links)
3) Re-pin, like, and comment on at least the 2 links in front of yours. This way everyone will get Pinterest Love! One of hostesses will make sure the last two links get comments.
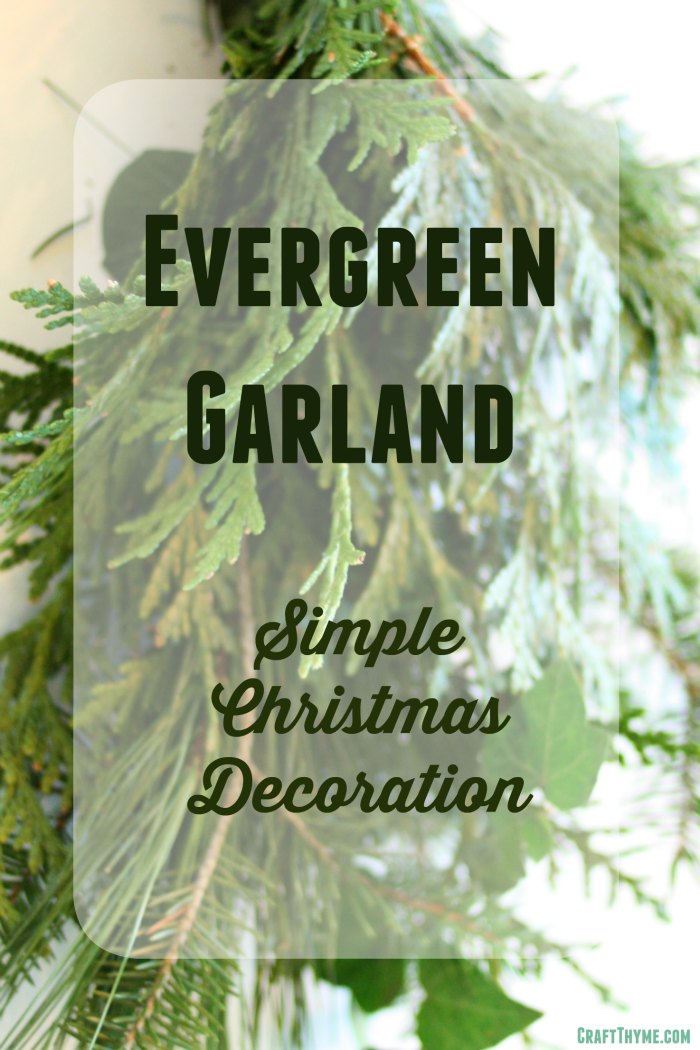
If you have come here to learn how to DIY evergreen garland for Christmas you have come to the right place! I have revamped the original tutorial with a video showing the tricks and techniques to make lovely, fresh evergreen garland for your home. You can watch the video below and scroll down for a list of supplies and detail photos. Or read the original How to Make Evergreen Garland or Swags post.
To start the evergreen garland make a loop with the thick wire. This will be useful for hanging your garland later and give you a base to anchor the floral wire.
Really, put on your gloves after this part. Otherwise be prepared for scratch, resin covered, hands.
Details: Wrapping the Evergreen
While, I may be awful at rapping, I am very good at wrapping. This simple step is all you need to repeat to make a beautiful hand tied garland.
Tips
Evergreen items are cheap to free. Walk around your back yard. Ivy, pine, boxwood all make interesting additions. Ask you neighbors and make sure to just cut small amounts so it does not even appear that you have been there.
Do not be afraid to decorate your garland. Additional branches, beads, and lights can make it look fabulous!
Work outdoors if possible. While the video was taken inside due to the wind, you are going to have a lot of pine needles around your house from the construction.
Gloves. I am bad about wearing them. Which is why my hands are always cut and rough.
Remember if you need a full pictorial tutorial you can get a recap of the video. Just visit my How to Make Evergreen Garland post.
Feel like it is too much to make your own garland? Well then read my tutorial on how to Make Artificial Garland Look Real for tips to cheat the DIY process and come out with beautiful Evergreen Christmas Garland.
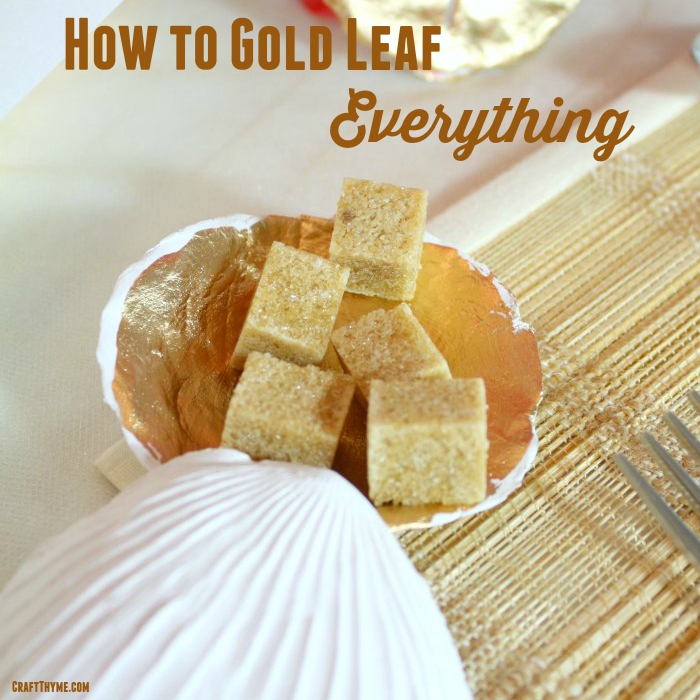
In the previous post we looked out various types of gold leaf, foil, gold paint etc. Basically a run down of all the different types of methods you can use to gold leaf items. A lot of those techniques work better with certain materials. Whaaaa???? Trust me, gold foil is going to look a lot nicer on fabric than spray paint! Not all methods work with all materials, though, traditional gold leaf is going to be pretty dang versatile and look the closest to, well… gold leaf. If you are looking for gold leaf by technique check out Part I, otherwise on to the list by material that you are gold leafing:
Gilded Business Cards – Camille Styles Take business cards to a new level with gilded edges
Plastic
Say it don’t spray it… No wait! Just spray it. Getting a good gold spray paint base can give you the ability to add more layers like Rub N Buff to give it a more authentic look
Wood is the base of paper, which makes it kind of like paper. Open to all types of applications! Just remember to prime in certain cases so the wood doesn’t suck up gold paints and rubs.
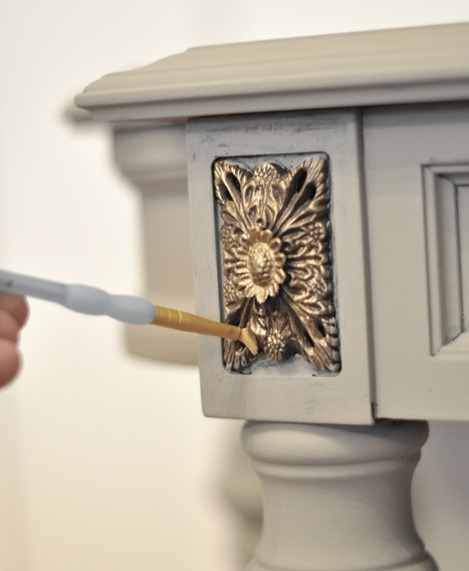
So you want to gold leaf… Fabric? Paper? Plastic? Not all gold leaf is the same and/or built for the same purpose. Different materials and different gold leafing techniques render VERY different results. I have written a number of tutorials on gold leafing, but there are so many other great guides. I wrote this post to be the source for how to add gold to all of your projects. I have broken projects down by techniques, such as gold leaf sheets, rub and buff, etc and in my second post I will go over gold leafing different materials such as fabric, wood, etc… See Part II here
How to Gold Leaf Anything and Everything Part I
Gold Leaf Sheets
This is the traditional method of gold leafing where you use an adhesive, sheets of leaf, and a protective coating. Not as hard as it sounds! I promise!
This is really a specialized paint mixture that has a heavy metallic content. Beware the smell and use in a well ventilated area. Stinky stinky! The look is somewhat closer to traditional gold leaf than a lot of other paints.
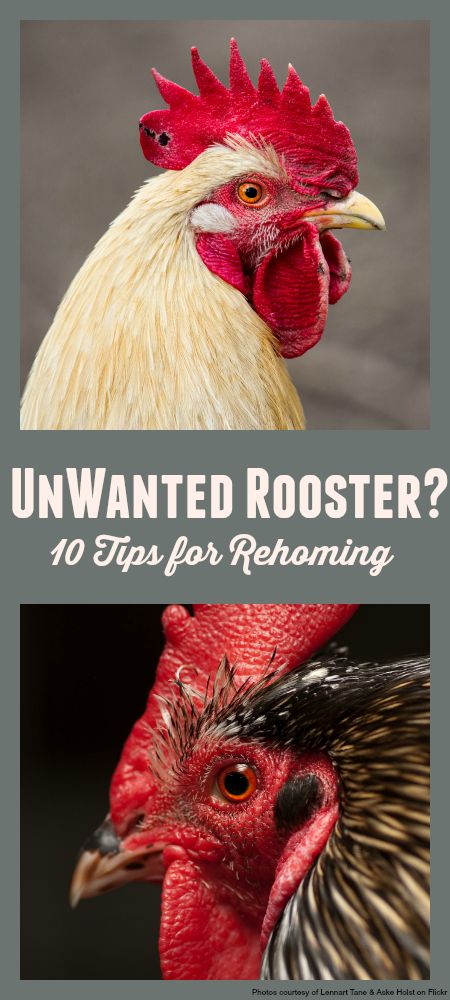
Despite our best efforts and attempts at denial we had to admit that we had a rooster among our hens. We had wondered about the growing comb on his head and larger tail, but the crowing that began right around 11 weeks of age was the final straw. We had to re-home the unwanted rooster pronto or find out if we really were capable of culling the flock. If you are trying to deal with an unwanted rooster you can scroll to the bottom for 10 tips on how to deal with your unexpected cockerel.
Being responsible people we tried the absolute best we could to not have a rooster. We knew it was illegal to have a rooster in town so we bought from a company that guaranteed 98% accuracy on sexing of small batches of chickens… Clearly we should have bought lotto tickets the day we ordered our chicks since we fell in that lovely 2%. We were obviously concerned that we would be unable to find a home for Ginsburg (yes we had a rooster named after Ruth Ginsburg, the irony…). After asking around our facebook friends and getting no where we put a post up on our local freecycle boards. With in an hour we had a bite and we were sooooo lucky.
Around 8 weeks we started to get nervous… See the tail feathers? None of the other hens had those.
A gentleman with a 15 free range hens wrote that he had been considering a rooster; could meet us after work that very day and take the rooster off our hands. Personally, I did not care if he came in a van marked “Chicken Meat for Sale”. We needed rid of the unwanted rooster before we became the neighborhood pariah. He had already been crowing all weekend long. When our rooster savior and his family appeared we spent a bit chatting and I really thought our rooster was going to go to a good family. His name was Adam too so that alone seemed like good luck. They were so thrilled to have him and told us all about their flock.
Oh yeah. That is clearly a rooster. No doubt about it.
Little did we know that Ginsburg was going to the proverbial motherland of hens with awesome chicken owners. Chicken-Adam has been excellent. It has been like the open adoption of roosters. He has awesomely let us know how he fared his first night, how he was learning to integrate with the flock, asked us some questions about his breed, and sent us some amazing photos! If I had to end up with a rooster I couldn’t be happier with how it turned out.
Now this is a happy rooster. You can see his flock and free range home in the background. So lucky to have found such a great owner for him. Thanks Adam for keeping us up to date!
If you do not end up as lucky as us here are some ideas on how to take care of your unwanted rooster!
10 Tips on Re-Homing Your Unexpected Rooster
Craigslist – You might be able to get $5-$15 for an unwanted rooster, but your best bet for quick placement is FREE. Make sure to hit the free section and the farm + garden.
Freecycle– Obviously you will need to offer the rooster for free on this site. It is not quite as ubiquitious as Craigslist, but our Asheville, NC group seems pretty active
Facebook groups – We have a local and very active group (+16K members) who buy, sell, trade and generally chat. They help rehome all types of animals on the West Asheville Exchange. If you search the name of your town or a close city you can usually find a number of groups to join.
Local Feed Stores – They probably will not take your rooster BUT they know every poultry keeper in the surrounding area. Ask them if they know anyone looking for a rooster. If you are willing to let the bird be culled they will often know a farm or two that take free roosters for the eating
Do the Deed – Oh yes, the traditional way to get rid of unwanted roosters! Frankly, as a chicken owner I feel like you may need to know this technique even if you never plan on killing your chickens. If one of them gets incredibly hurt or sick you may need to complete a mercy killing. I thought this video was not terribly graphic but gave a good idea of how to complete the deed.
Call your local animal control – They may take the bird (which will likely end with its death) or know local organizations that will help.
Contact local 4-H groups – Please do not do this is you have an aggressive rooster, but if you have a nice one then their may be kids looking for a rooster for their flock.
Photos – With any of the above posting places you need photos. Let me repeat add a photo. People want to see what they might be getting. A nice, healthy, plump rooster is much more appealing than a text ad.
Words – Although I think a photo is a key ingredient in re-homing a rooster, the text you type is also really important. You also need to tailor it for your audience. The local facebook group will band together if you have a good reason to need help. I would have made certain to discuss how gentle he was, how good with the hens, the attempts we had gone to to NOT have a rooster etc. Craigslist I would have made sure to discuss statistics like size, breed, feed, general health. Make sure to give the information each platform needs and wants
Bundle your rooster – If you can stand to lose a hen, or feed, or a cage etc it can make the offer that much more attractive. Especially if the rooster is a fancy breed. You can sell a breeding pair or just require that if someone wants to buy a hen they have to take the rooster too.
Bonus tip:
American Poultry Association – I am adding this as a bonus option. They deal with clubs all over the US, but they are really only going to be helpful if you have a very nice purebred rooster on your hands. You can look through a list of contacts by state to contact.


