As luck would have it I am in the gardening mood and four free orchids were available at work. Two of them came in lovely, rustic, aged terracotta pots. Two of them in plastic. Last time a I checked plastic cups are not the most attractive or healthy means to display an orchid. I loved the look of the rustic terracotta pots, but in reality even the two pretty pots were to small for the plants they were holding. So what is a person to do? I don’t have time to soak and cover four pots so they organically mineralize and grow moss. I decided to take my hand at creating faux aged garden pots.
After some practice, playing around, and testing I came up with the following how-to:
How to Faux Finish Terracotta Pots for an Aged, Rustic Look

Materials Needed
- Terracotta pots
- Cream acrylic paint
- Plaster of Paris (Optional if you have matte paint)
- Old toothbrush: I guess you could use a new one, but seems like a waste to me.
- Sponge or paint brush
- Plastic cups (2)

Step 1: Making Matte Paint
Here comes my world famous guestimate instructions. First, take around 1 ounce of water and put it in a plastic cup or whatever you will be using to mix paint. Then take a couple of spoonfuls of plaster. Mix with the water till it makes something around the consistency of pancake batter. Then pour in some paint. I would guess and try to keep a 3 paint to 1 plaster ratio. Now that I have told you that ratio it is time to ignore it, because you are attempting to make two types of paint. One thick and one watery. I started with the same base on both paints and then added more water to one and a little more plaster to the other.
Step 2: Painting
I looked at my first pots for reference and made a few changes. First I took the old toothbrush and dipped it in the wetter paint. I laid the pot on a suitable surface. Meaning I laid out an old Christmas paper plate, and when that didn’t prove large enough to handle the paint splatter I put more cardboard underneath. Of course this was after cleaning the table of paint splatters… Just run your thumb along the bristles 3-4 inches above to give it some splatter.
I looked at the original pot for reference. The water marks happened in bands of white mostly focused on the bottom. I took a sponge brush and lightly dipped it in the thick paint and started brushing around the pot. I also dribbled some water in the wet paint and let it wick a bit to give it a more realistic look. I find it is easier to start lighter and add more. I also went back and added more paint on top of the previous areas so it would have a thick dimension like the source material.

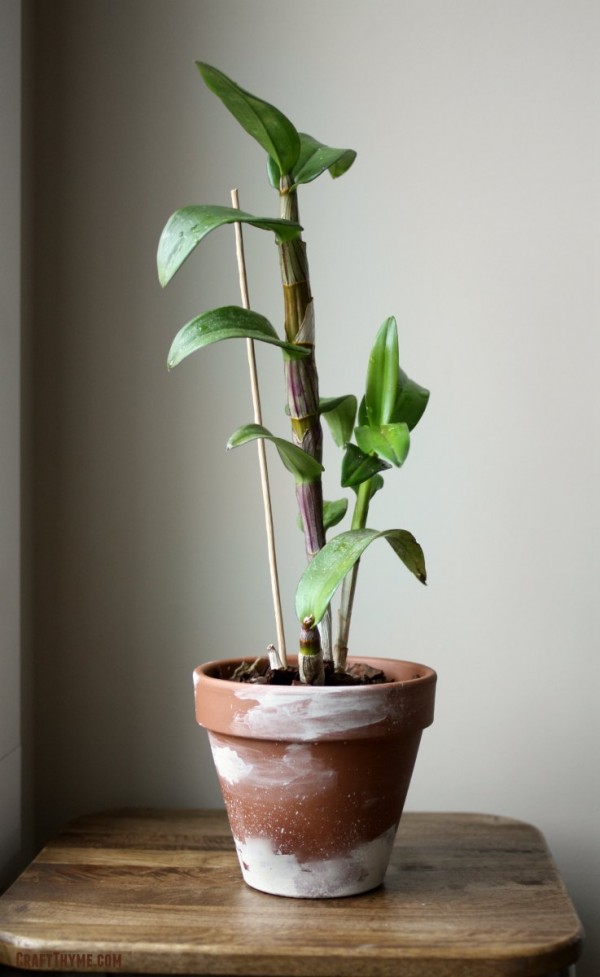
Notes and the Final Look
- The paint dries super quickly on the terracotta. Which is great for layering and a PITA when you are trying to feather it out.
- I have had no issues with water harming the finish. That being said these are indoor orchids. I water them in the sink and set them back in their various places. I have not subjected the finish to the turmoil of actual weather. Though, I assume a natural finish would slowly replace the paint. In fact… I may need to give that idea a go.
After I replanted the orchid this was the final look:
