If you have read anything on our site you might have realized we are a bit nerdy. So after finding a set of Star Wars stockings for the whole family it only made sense to make our own Star Wars Christmas tree. However, have you seen how much Star Wars ornaments cost? Holy night! We had to turn to our DIY know how to make a full Star Wars Christmas tree complete with BB-8 topper and custom ornaments from all of the movies. Here is a tour of our Star Wars Christmas tree with a few DIY and money saving tips, in case you want to make your own.

I love these stockings and you can still order them when I published this article (Affiliate links to follow).
Star Wars Christmas Tree
Here is the tree in all of it’s glory. We stuck with colors of the light and dark side. Blue, silver, red, and black. With a touch of gold here and there for shimmer and C-3PO. It is Christmas after all! You can see here that the BB-8 tree topper is lit. We created the topper from paper party lanterns. I cut the excess metal from the frames and glued the lantern’s together. Then I stuffed a small pack of battery lit LED lights. They are on a timer and come on each evening. They also stay cool to the touch making sure the paper lantern is nice a safe. We got the lantern from the party section of Target but you can also order them off Amazon.

Star Wars Christmas Lights
If you look carefully you can see we sprung for a couple strands of Star Wars lights. Yoda is donning a festive Santa hat and BB-8 is glowing. We stumbled across these at CVS while waiting for flu shots. They were way cheaper than Amazon and we got a 20% off coupon for getting flu shots in store. You can opt to order them from Amazon. We also got some R2-D2 lights on sale recently, but we had already decorated the tree so we will save them till next year.

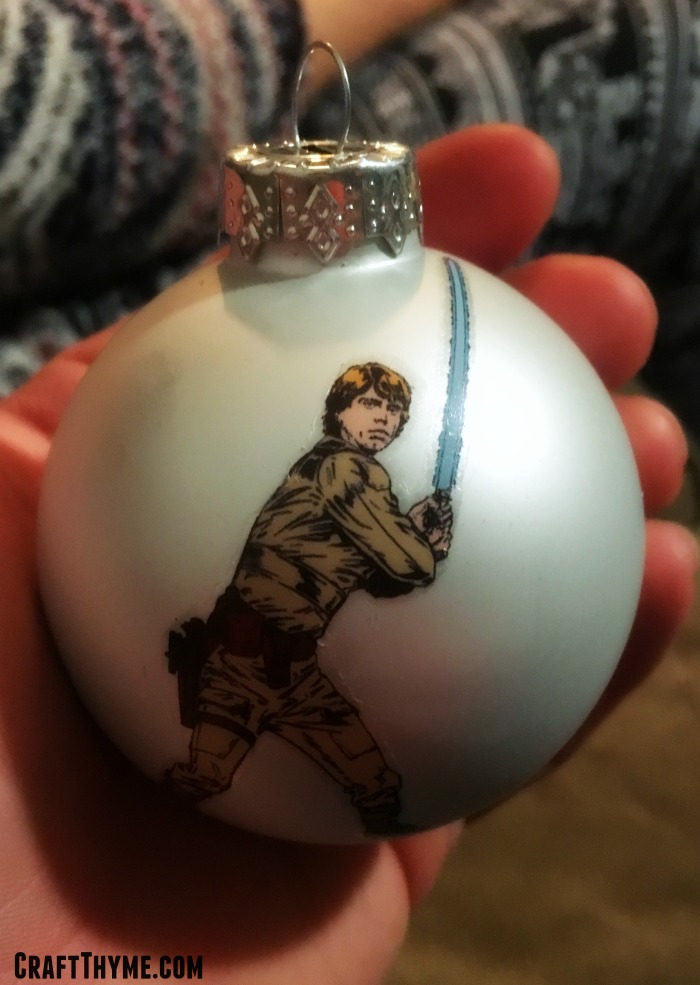
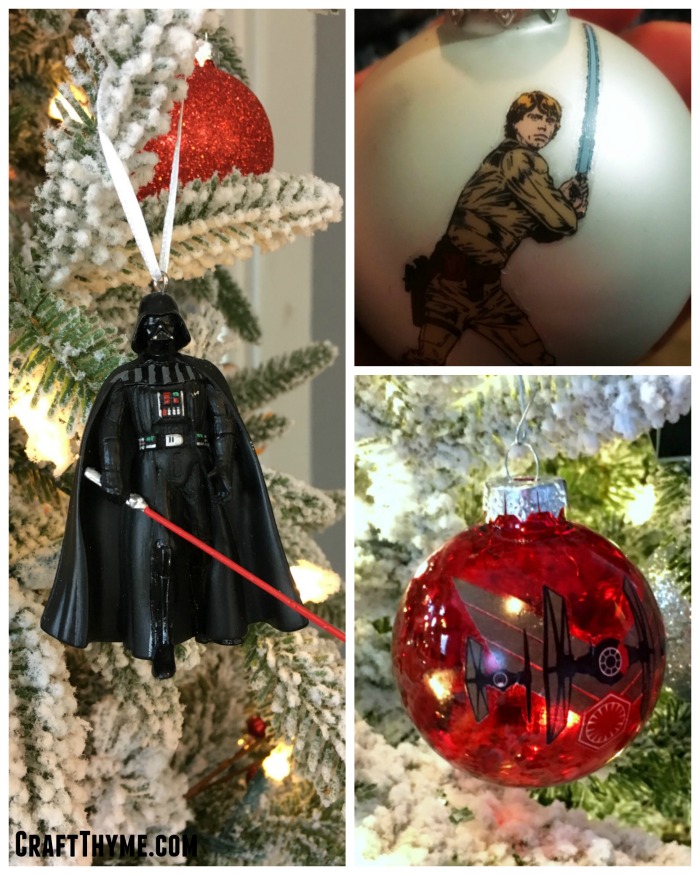
DIY Star Wars Ornaments
Most of the rest of the Star Wars Ornaments were made by us. You can read all about how to make your own DIY Star Wars Christmas Ornaments on our detailed tutorial. They came out for less than .50 an ornament and we got to have most of the main characters from all of the films. Though we might have opted to skip Jar Jar Binks… Some of my favorites were Yoda and just the general Star Wars logo on a nice matte red Christmas ball. You can see those details on the tutorial mentioned above.

While, we didn’t exactly DIY we did reuse lots and lots of Star Wars ships. Our kids have quite a collection of ships and they chose to keep a few to play with and let us use the rest for the tree. The gold millennium falcon made a nice touch near the top. I would have loved to add Boba Fett’s Slave that we have in gold, but alas, I couldn’t get Conlan to part with it for the tree.

Finishing out the Star Wars Christmas Tree
To finish it off we opted to use some large paper cutouts of Tie Fighters and X-wings that we had left over from McClain’s birthday party. They had been ceiling decorations that we cut apart and used as large focal points on the tree. The most perfect coincidence happened when we had just finished decorating the tree. Granny & Papaw came by with the yearly gift of Christmas ornaments for the boys and what should appear? Darth Vader (Conlan), Yoda (McClain), BB-8 (Cooper) and Olaf (Keaton’s went on another tree). These ended up being the perfect complement to the tree.
If you are looking to purchase ornaments here are some options:
I grabbed some black flannel fabric on sale and wrapped it around the base for a tree skirt. We made sure to find wrapping paper with lots of silver, black, red, and blue. We even found some silver with geometric shapes that looked “Droid” like and blue “Galaxy” paper. All in all the Star Wars Christmas Tree and presents ended up being the perfect compliment to the Star Wars stockings we had found. I am really happy with how our Star Wars themed Christmas room turned out. Especially since it didn’t end up costing a fortune!