Posted on 16 Comments

How to Ombre Dye Fabric

Ombre dyed napkin in peach and pink

I seriously doubt I am the First Hundreth blogger to give a tutorial on how to ombre dye fabric.  However, I am very particular about getting smooth even transition from color to color and this tutorial shows you how to achieve a better finish.  I used to dye costumes in college to match a certain director’s choices (I worked in a semi-pro costume shop as a stitcher) and I learned a lot about fabric and how it holds color. On to the directions for how to have a smooth ombre dye:

Ombre dyed napkin in peach and pink
See the smooth transition from pink to white…. Oh that is sooo nice.

Supplies

Supplies to ombre dye napkins

Dye (I tried Dylon Dye* for the first time in this post.  Rit Dye* works fine too)

Multiple large pans for dyeing

Water (very hot if you can’t heat it)

Salt or other chemicals to set the dye

Fabric (Cotton, Silk, and Rayon work best with most dyes.  Specialty dyes, temperatures or agents may be required for other fabrics.  Don’t be obstinate, read the directions)

Iron

Old Towel or piece of fabric

Pre-Step:

I can’t emphasize enough that the fabric be pre-washed.  Even if it ‘claims’ to be ready to dye.  During that pre-wash detergent that is used must be thoroughly rinsed out.   UNDER NO CIRCUMSTANCES use fabric softener in the pre-wash.

Step 1 Bathing the Dye or Preparing the Dye Bath :)

Preparing a dye bath with Dylon dye.
I’ll admit, I’m a little kid inside. I love to watch the dye swirl around.

Follow or Discard the directions on your dye.  While this may seem counter-intuitive what I mean is ask yourself a question.  Do I want the color of my fabric to come out even and exactly like the dye packet?  If yes, then follow the dye manufacturers guidelines.  If you are going to mix colors and experiment then go for it!  I added a ton of extra water and a little orange to get a pastel-peachy dye.  Totally not kosher according to the package.

Important: prepare the dye for the darkest color you want to achieve.

Step 2: How the Hell Do I Know How Dark It is?

Dye test strips
The more dye you mix the better you are at gauging how much you need. I thoroughly ‘fubar’ed my first bath up because Dylon dye is waaaay darker than Rit. Wasted a ton of dye which makes me angry. It isn’t exactly cheap.

Here is one of the MOST important steps in dyeing.  Test Strips.  I don’t care if you are peeling a string out of a hem. Get a thread to test with at least.  Because the chances the color is going to be right on first dye dip are slim.  You’ll need to adjust color or time in the bath.  And maybe even more important RINSE AND DRY THE TEST FABRIC.  I rinse under cold water and iron mine because I am impatient.  See how the middle sample is so much darker?  That is still wet, while the one on the right is partially dried by the iron.

Note: the old towel is used because a little dye comes off while ironing.

Step 3: Dilution

Watering down the original dye to make three colors

Once you have gotten the dye to your liking take some of it and add it to a bowl and dilute it in half. Basically add the same amount of water as you did prepared dye.  Then take the diluted solution and add it to a third bowl and dilute it in half again.  I like to test my dye and make sure the three colors are different enough to be noticeable.  Sometimes this requires adding a little dye or water to make three distinct colors.

Once you have them to your liking take your fabric and dip it in the lightest color as high as you want your ombre to go.  Finally set a timer and move it around a little (up and down) every few minutes. This will make the dye line more subtle.  My first dip was 15 min and I moved it around a little every 5.  I don’t pre-wet my fabric as I like the dye to wick up the fabric slightly during an ombre process.

Step 4: Dying for Dyeing

Three stages of ombre dyeing

Here is the boring part.  You have to do the same process as step three for all three solutions.  Next you dip in the medium strength solution about halfway up the dye part.  Wiggling it in and out of the dye line to make the edge more gradual.  Finally, you hit the tips with the darkest.  As you can see I did multiples at a time; moving one from one bath to the next in rotation.  It is really tempting to put a bunch of fabric in each pot to speed up the process…  Resist.  I repeat: Resist.

When you are done rinse them well under cold water BEFORE washing.  Extra dye will stain the white or light portion of the fabric no matter what.  Rinsing keeps this to a minimum.

Finally wash and dry your items as suggested by the dye manufacturer and fabric type.

Pink ombre dyed napkin
I folded the fabric in half and did both ends at once to get this ombre look on both sides of the napkin.  Also didn’t iron it… In case you were admiring the wrinkles.

Notes

As usual gloves are useful for not dyeing your hands… And as usual I did not have any and ended the day with nice pink fingers.

Fabric with washable gold foil or leaf added
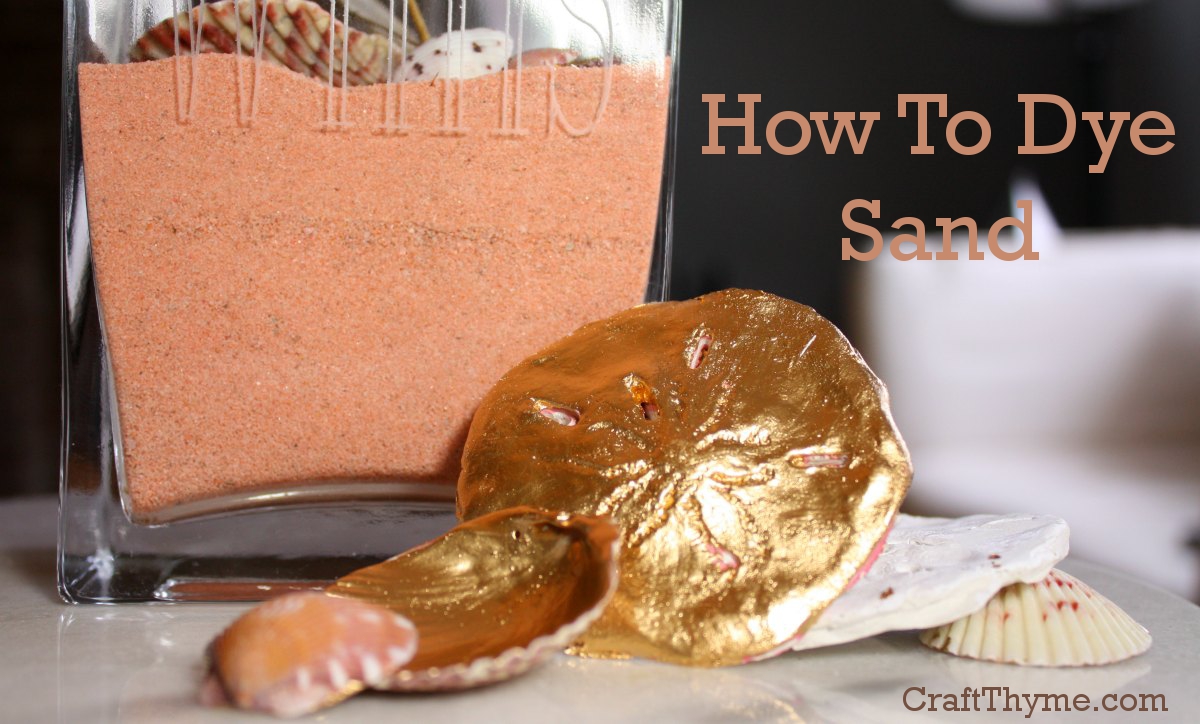
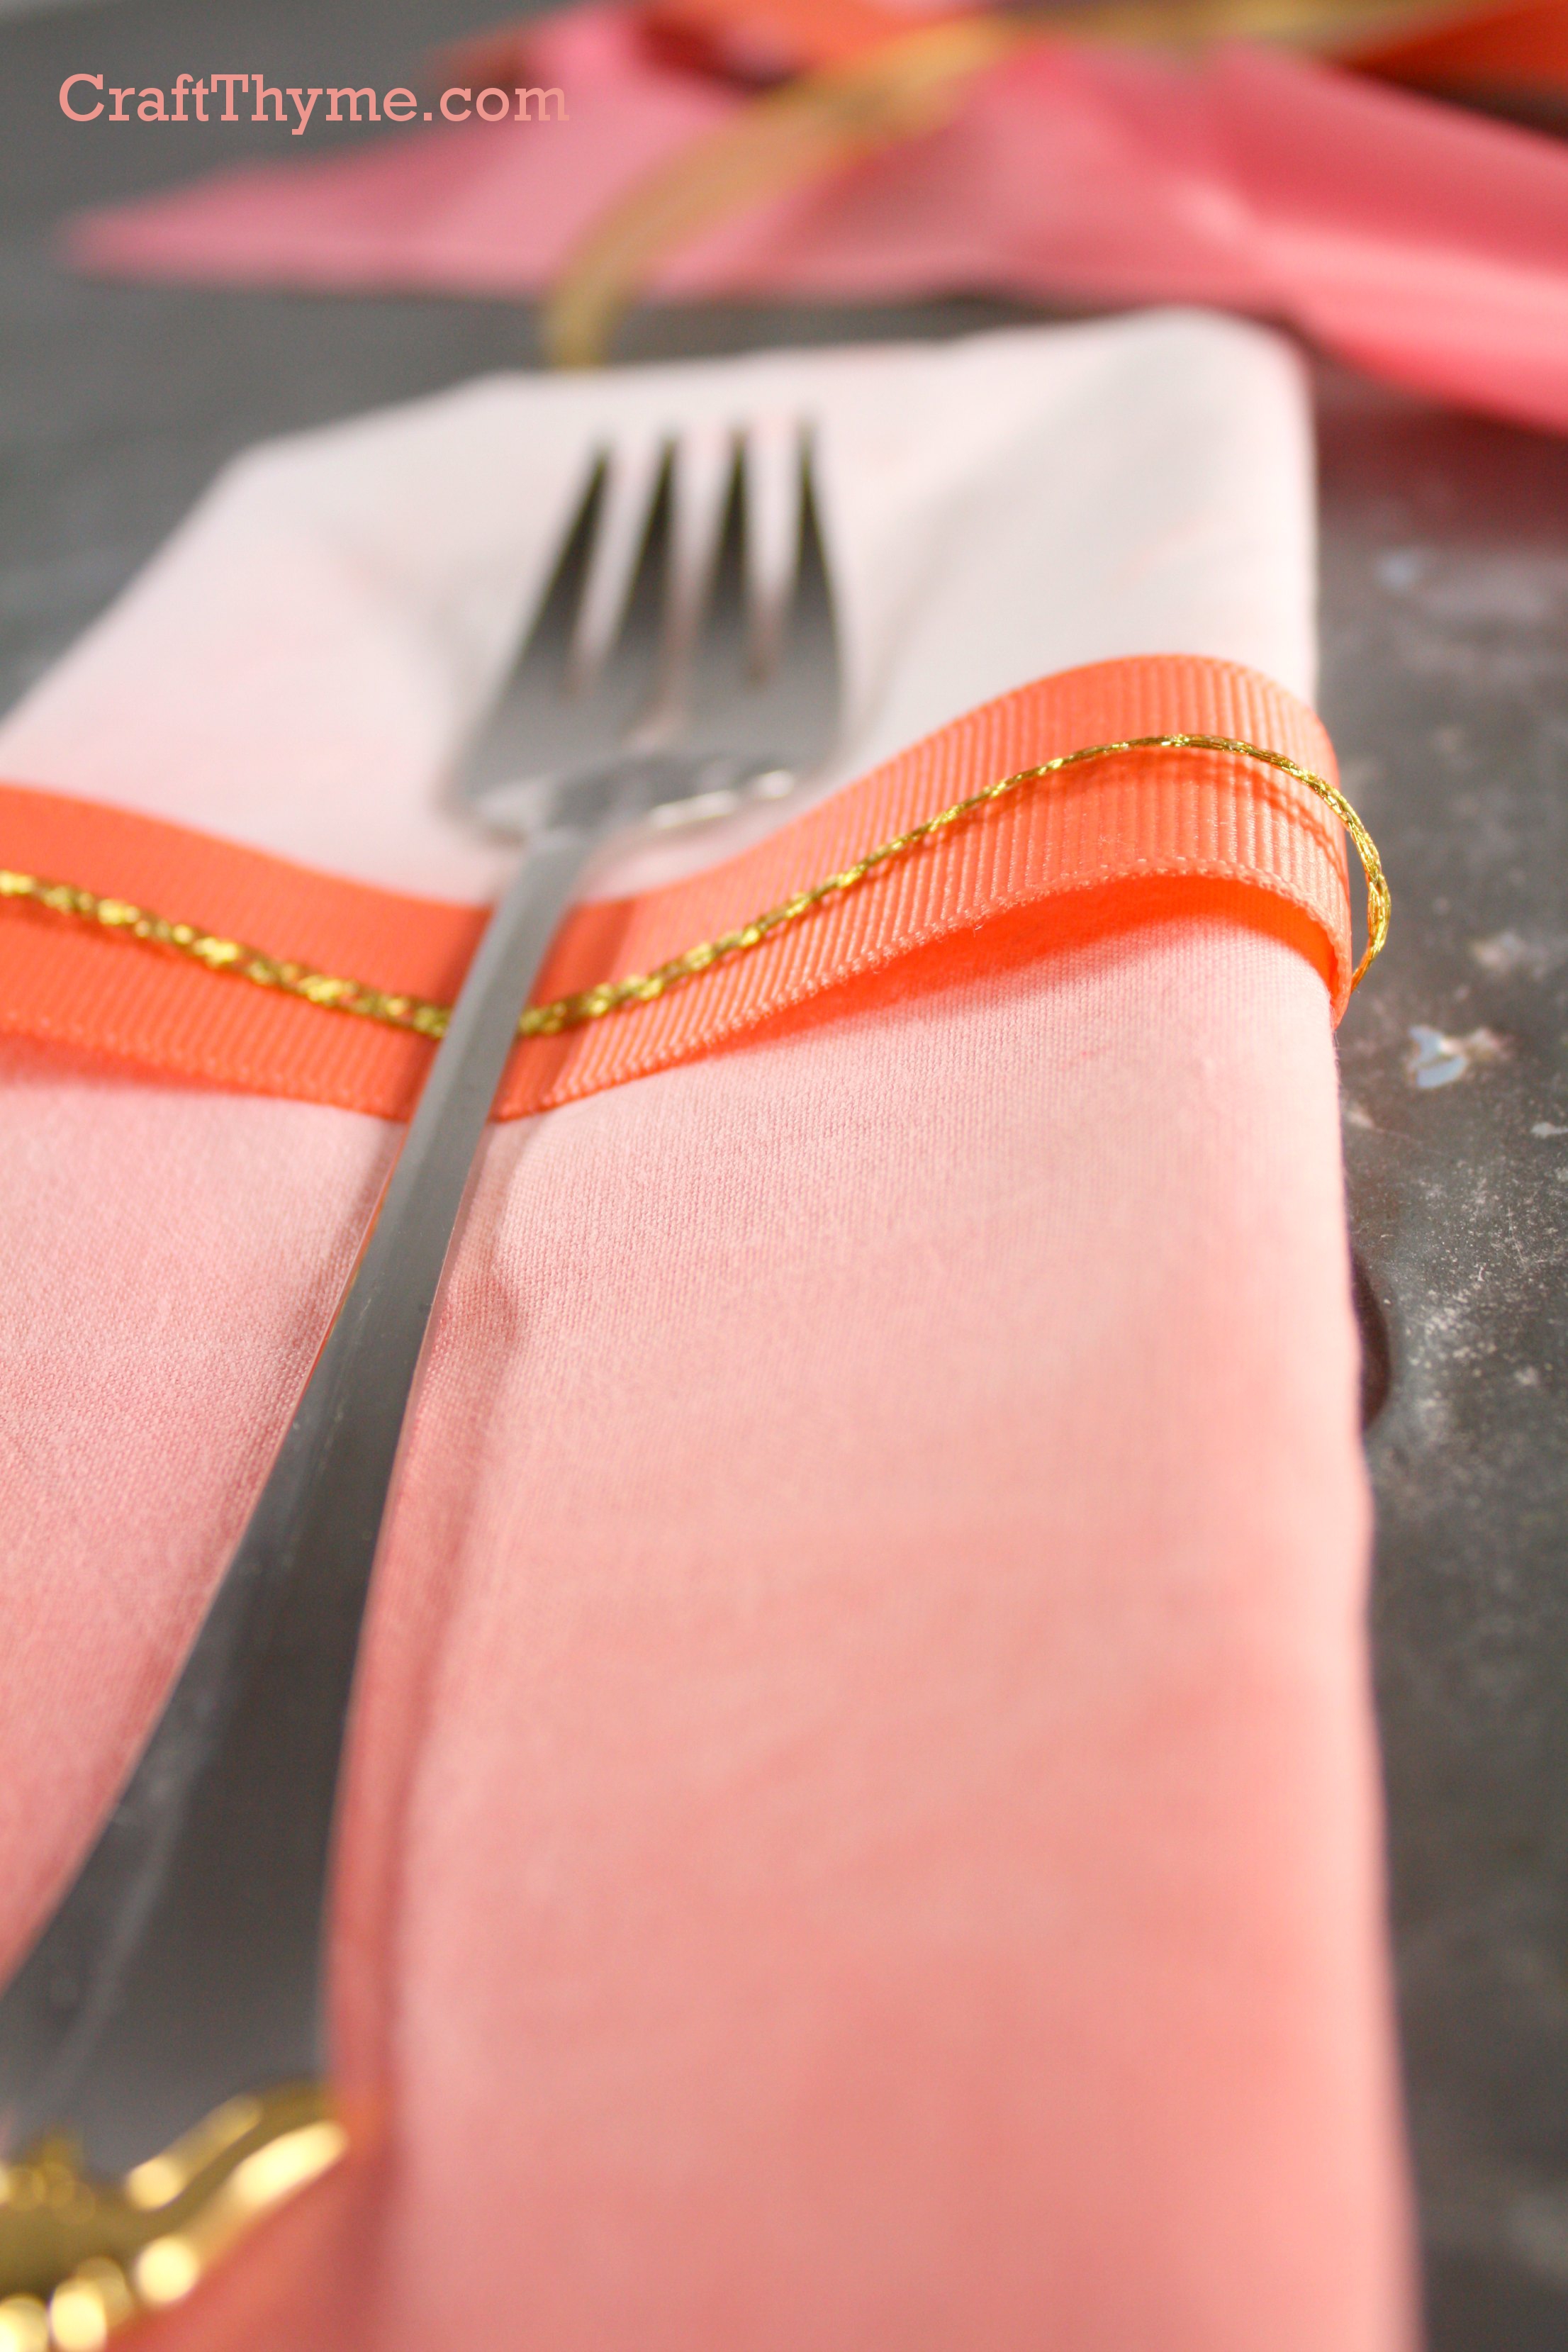
While these napkins look pretty good, I took them one step further by adding gold foil (a kind of fabric friendly gold leaf) to the edges.  Tutorial for gold foiling fabric will be up 8/8.  Here is a preview.


Posted on 13 Comments

Faux Permanent Sea Glass Tutorial

Tutorial to create permanent faux sea or beach glass

I saw a how-to for creating beach glass from Elmer’s Glue and food coloring on Pinterest.  While lovely, I wanted to create a more permanent sea glass finish for some cake stands (NOT FOOD SAFE FINISH please don’t sue me if you eat off this and get sick) I was making.  That way they could be gently washed and I wouldn’t have to worry about moisture making the finish tacky or white.  After, oh so many attempts…. I came up with a good working finish. Thank goodness glass plates are cheap at Goodwill.  On to the tutorial:

Tutorial to create permanent faux sea or beach glass


Supplies

Translucent Glass Paint/Stained Glass Paint (A watered down enamel did not work)

Glass Frosting Spray Paint

Water or Glass Paint Thinner w/ a container to mix them in

Soft brush or Foam Brush

Clear Glass Items

Supplies to create faux beach glass
Your eyes are deceiving you.
You do not see the stiff paint brush in this picture… You see a foam brush.

Step 1 Clean & Paint

Clean your glass well.  Did you get it clean?  Good clean it again, wipe it down with rubbing alcohol and try not to touch it.  I may sound a little crazy here but if you want your paint to adhere clean the glass.  Depending on the paint you have chosen you may water it down with water or a specific thinning agent.

Why am I watering it down?  Because you want to achieve a nice thin even coat of transparent to translucent paint.  The thicker the paint the more brush strokes showed.  The more brush strokes that show the less it looks like sea glass and the more it looked like a hot mess.  You can still see some drips and mess ups if you look closely in these photos.  The key is multiple coats of thin paint.

Oh and some paints say to dry of oh… 20 days… Um hell no. Ain’t nobody got time for that.  Usually you can bake them for a faster finish, but read the directions for your particular paint.

Painting translucent finish on glass as the first step in faux sea glass tutorial
You can now see why I have such a large and well used drop cloth. I am messy.

Step 2: Spray Paint Against All Directions

Take the frosting spray….  Now I know you are supposed to be well away from the object etc when spray painting.  Ignore all that.  You want a THICK coat.  Get in close with that spray bottle!  You want it to pool in the niches and look glossy and wet before it dries.  This will insure a white textured finish akin to actual sea glass.  And if it just looks frosted when done, get closer and spray more!

Using glass frosting spray paint to mimic beach glass finish
Spray Away!

Step 3: Use As Is

That is really the only steps to making a more permanent beach glass finish, suitable for hand washing.  I went and finished mine with a little E-6000 glue.  Just simply attached my plates to a cup and candle stick to make two cake plates in two shades of pink.  The frosting spray says nothing, zip, zero, zilch about being food safe.  So I plan to use a paper doily under any food, just to be safe.

creating faux beach glass cake plates

Notes:

Spray Away!, Hand Wash, and not food safe!  Otherwise you should be good to go.

The key is piling on the frosting spray!

DIY faux beach glass cake stands

Posted on 3 Comments

Creating a Modern Ribbon Chandelier

How to make a modern ribbon chandelier

DIY ribbon chandeliers are showing up everywhere from weddings to backyard dinners.  This tutorial will show you how to create a modern take on a ribbon chandelier.  The pink and gold color scheme is part of an overall sea themed summer table setting I will be revealing over the next few weeks, provided no more of my crafts fail.  Let’s get down to bid-ness:

How to make a modern ribbon chandelier

Supplies:

Ribbons

2 Hoops in 2 sizes (You can use wire, hoola hoops, etc. but at 1.20 the inside of an embroidery hoop was where it was at)

Wire (Thin floral wire is fine, unless you plan on wiring a heavy light or are making a very large hoop)

Spray Paint

Hot Glue (if you have a low-temp glue gun that’s a good choice here)

Scissors

Note on Ribbon Selection:

I laid a bunch of ribbon out first to see if I liked the color combination.  I wanted to make sure

Supplies for a diy ribbon chandelier

Step 1: Wiring the Hoops (This step is the longest.  I promise.)

The arrangement of hoops is what will give the chandelier a more modern shape so this first step is really the base of your foundation.  I take my time here to give a nice sturdy start, because after that it really becomes a ribbon hot glue nightmare…

Take wire and very tightly cross from one side to the other through the center.  Repeat on the other side to form 4 equal areas.  Did I say tight?  Pull it tighter.  Take another small piece of wire and tie it around the center.  I like to make a nice clean loop.  To do this I simply wound it a few times around a kids marker.

Next comes the hellacious part.  I suggest cutting three lengths of wire the same length,  divide the first hoop (mentally) into three equal sections and tie the wire.  Then get the smaller hoop figure out how far you want it to hang below the first and lightly tie wire it.  You may find it easier to hang the whole thing at this point.  I hung mine from a light fixture, shower curtain rod, and finally a wire I strung across my craft area.  Once you have it at the proper height secure one wire well.  Then play with the other two to get an off kilter angle.  Secure all wires tightly.

creating the chandelier frame with wire and hoops

Step 2: Holy Crap you made it through step 1…  Okay.  Step 2 is Spray Painting

Now that you have your base spray paint the hell out of it.  This is why the ugly green floral wire didn’t matter.

Step 3: Ribbons and Glue

Now comes the fun part burning your fingers adding ribbons.  To really create a modern look to the ribbon chandelier this step is more important than one would think.  Draping the ribbons and connecting them to the rings in a clean manner gives a sharper look than the bohemian feel of other styles.  I wouldn’t necessarily spend this time on a ribbon chandelier that would be 20 feet in the air, however my plan is for this to be right over an intimate table setting.

I cut a bunch of ribbons after figuring out around what length I needed then tightly glued all of the ribbons to the top ring on the inside and bottom so they would lay flat.  Burning only my pinkie on the top ring and saying for the 1000th time that I needed to purchase a low temp glue gun.  After connecting them all I then slowly began the process of looping them in an undulating pattern to the bottom ring.  They are actualy glued to the outside of the ring and hang loosely in the middle.  REMEMBER:  The center ring is smaller than the top so the ribbons will have to overlap.  While this is basic geometry I seemed to have blanked and had to rip a bunch off and start again.  Cussing gleefully the whole time and burning my ring finger to the point of blistering.

Construction of the ribbon chandelier

Step 4: Scissor Time

I wanted the bottom to be asymmetrical like the top, so I grabbed the ribbons in a handful and chopped them at a diagonal.  After that I went and finished each edge in double points and made some minor adjustments to the length. Then you are done!

Completed pink and gold ribbon chandelier

Notes:

  • Wired Ribbon is a BEOTCH.  I thought it might be easier, but trying to get it to mimic the natural fall of the other ribbon was an exercise in patience.  Oh and god forbid you hit it on anything and have to start the whole process of bending the wire again.
  • The second hoop is going to swing and bend and basically act like a wild animal in your grasp.  It is okay, the ribbon will cover a multitude of sins.
  • Battery operated tea lights tied on fishing wire and hung from the cross wires can light the interior at night

Enjoy these articles?  Get periodic updates by joining my mailing list (no spam, no way, no how) or subscribing to my RSS feed.

See more great crafts and decor at these link parties: Making The World Cuter, Today’s Creative Blog, Cherished Bliss, One Artsy Mama, I Should Be Mopping the Floor

Posted on 7 Comments

How to Dye Sand

Tutorial on How to Dye Sand

Honestly, one of my absolute favorite things to do is change the color of things.  You would be amazed the number of things you can dye, sand just being one of them.  See how to dye sand so you will never need to go buy the colored stuff for arrangements, crafts, and kid friendly art.  On to the tutorial:

Tutorial on How to Dye Sand
You might guess from this photo there are a bunch more tutorials in the works. (I made that gold sand dollar and will have a tutorial in the next bit)

Supplies:

Supplies needed to dye sand
Please don’t comment on the state of that cookie tray.

Sand: $2.50 (US) will snag you 50 lbs of play sand at the hardware store or you can simply steal some from your kid’s sandbox while they are napping

Rubbing Alcohol: Higher the alcohol content, the faster it dries

STURDY Plastic Bag

Food Coloring: Cheap liquid will do just fine

Cookie Sheet or something on which the sand can dry

Step 1: Pour Everything In a Bag

Adding food coloring to dye sand

I already knew what container my sand was going to go in, so I poured in slightly more than I needed to measure it.  Then I simply poured sand in the STURDY bag.  Shall I repeat sturdy? Start with only a few drops of the color you want to achieve.  I was going for a coral-pink so I put about 5 drops of red and 3 of yellow to begin.  Then throw in some alcohol.  I’m not much for measuring, just give it a splash.

Step 2: Smoosh and Repeat

Matching colors of dyed sand
I hope you don’t need an action shot of smooshing a bag. If you do email me, I’ll send you a picture of my white arms kneading a bag of sand.

What is the technical term we need for this step.  Umm… Squeeze the bag?  Smoosh the sand around?  Knead the color in?  Whatever you do, move the sand around until the color is evenly distributed.  If it is really hard to mix add a splash more rubbing alcohol.

Perhaps you are thinking “whoa that is a little light/dark/fugly” while looking at the color.  Hold up! before you go messing with it.  Make sure it is fully mixed before making assumptions.  If you are trying to match a color (see the ribbon above) then make one special note: It dries much lighter.

I wanted sand a couple shades lighter than the above pink ribbon so I matched it to the exact shade before drying.

Step 3: Remember that gross cookie sheet?

Spreading DIY dyed sand to dry

Once you have the color you want spread the sand out on a cookie sheet. Might I suggest gloves unless you also want to DIY dye your hand?

You can bake the sand at the lowest setting on your oven until dry (always check on the sand to make sure you aren’t about to cause some sort of oven fire, though I am unaware of spontaneous sand combustion) or leave it out overnight to dry.

That is pretty much all there is to dyeing sand.  So go “borrow” some sand from your kids and get crafty.


Posted on 6 Comments

FAIL: Homemade Paperclay Disaster

I haven’t done any personal blogging here on Craft Thyme and think it will likely be a rare occasion because I want to keep the topics relevant and craft oriented.  However, a little behind the scenes sometimes puts crafting in context and honestly this crafting fail was too good not to share.

While there are a lot of abandoned projects that just don’t make it up to par, usually, when I am building on the tutorials of other sites they turn out alright.  Or hell they at least turn out…  And since I am being personal there are a lot of projects that just require too much time.  I work outside the home and I have two children ages 3 and 1.  Let me repeat that: two boys ages 3 and 1.  Not close to 4 and 2…  We got a barely potty trained and a crawler.  I’m surprised I remember my name and that is often why things don’t reach fruition.

Back to the Point (If there is one to this post):

I should have known something was desperately wrong when the first ingredient was an entire roll of toilet paper.  Have you ever actually seen how much paper is on a roll?

Well you have now.  Thats a whole lotta TP in front of a blender.
Well you have now. That’s a whole lotta TP in front of a blender.  Though I am digging my new photo setup I am working on so I can do tutorials at night. :)

I have probably sealed my fate by allowing the boys to help remove the toilet paper from the roll.  I did at least have sense enough to take the roll away from the bathroom so as not to reinforce removing paper from the regular area.

Pulling copious amounts of toilet paper off the roll.  Every child's dream!
Pulling copious amounts of toilet paper off the roll. Every child’s dream!

It was only downhill from there…

Plaster the Second Issue:

I worked with plaster throughout art school.  I know it has a short set up time, thin consistency, and works best for smoothing and casting.  Why I thought its properties would suddenly transform with the addition of toilet paper and glue, I will never know.  I mean toilet paper is magical…  So it made a little sense at the time.

The Final Fail:

The first time, the plaster set up too fast, the second time it was liquid then the plaster set up too fast.  Sensing a theme?  If there had been a third time I would have been insane.  I am still removing tiny bits of plaster-coated TP from under my nails as I type this.  And let me tell you there is an undesirable ick factor to a bucket of wet toilet paper.  And since this is “nice” blog we won’t discuss what wet toilet paper looks like ground up, and then splattered down your front.  Feel free to discover that gem on your own.

Plus it makes a huge freaking mess.

I adore Twigg Studios and regularly follow their blog, but honestly, in this particular case she must have some kind of plaster voodoo to have achieved this light, smooth, and airy texture.  Possible sanded the shit out of it was Patrick’s (My Husband’s) suggestion.  I found a similar recipe using joint compound, but now having worked with the texture of the mix I think that this might be a DIY that requires a commercial product.

All I can say is my faux barnacles did not equal her sea urchin or barnacle tutorial inspired by Design Sponge.

Take a guess which one I created?  The lump on the left?
Take a guess which one I created? The lump on the left?

Anyway, I’m off to order some real paper clay and take a stab at making these in a different way. That way I can get back to crafting and not craft-failing.

Enjoy these articles?  Get periodic updates by joining my mailing list (no spam, no way, no how) or subscribing to my RSS feed.

See more great crafts and decor at these link parties: Cherished Bliss, Crafty Confessions, The Gunny Sack Uncommon Slice of Suburbia