The following is a quick and easy tutorial on creating faux cherry blossoms from crepe paper. I have followed the rather tedious tutorials on making different crepe flowers before. Yes, they look lovely… But with two small children underfoot I will sacrifice a bit of my accurate-compulsive tendencies artistic integrity to make a final arrangement that beautifies my space. And doesn’t take 30 damn hrs to painstakingly cut tiny petals. So read on for Quick and Easy Cherry Blossoms:

Supplies (For some reason I always want to type ingredients here…)
- Shown: Glue Gun with glue sticks (don’t run out!)
- Crepe Paper
- Scissors
- Floral wire that matches your branches (this is optional)
- Not Shown: Branches
- Spray Paint
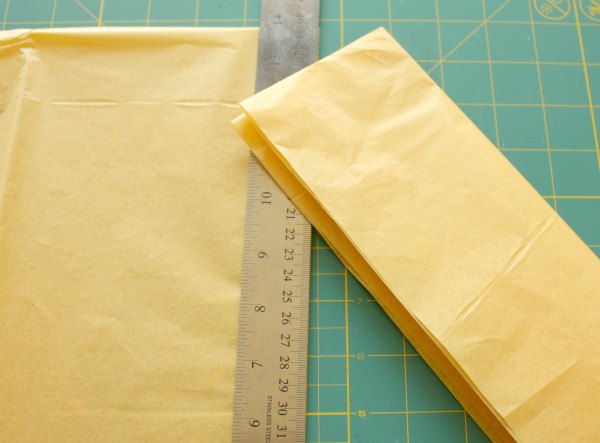
 Step 1
Take your crepe paper and accordion fold it up. In this picture I am using two shades of hand dyed crepe paper (You can see the tutorial here). I make it as thick as I can still cut because I hate cutting. Cutting, to me, is just a process to get through before the fun begins in crafting. So thicker = less cuts.

Step 2
Cut out a circle-like shape. Trust me here, no need to go get a compass. As long as it ends up kinda rounded you are all good. I thought about using a circle punch (might have given up trying to find it in the basement) but I like the more organic shape in the end.

Step 3
Here is where the magic happens! Take your petals to the bedroom… Just Kidding! The magic I am discussing is what makes crepe paper so nice for creating organic items like flowers. Pull lightly on the outer edges of the petals. The crepe will stretch a bit and ruffle; making for a more realistic looking shape.

Step 4
Take your super-technical-amazing-implement, in this case a pen and wrap the petal around the bottom to make a cup shape. You may have done the exact same thing on a pencil eraser as a kid to make tissue paper crafts. I couldn’t find a regular pencil in the house so a pen worked just as well.
 Step 5
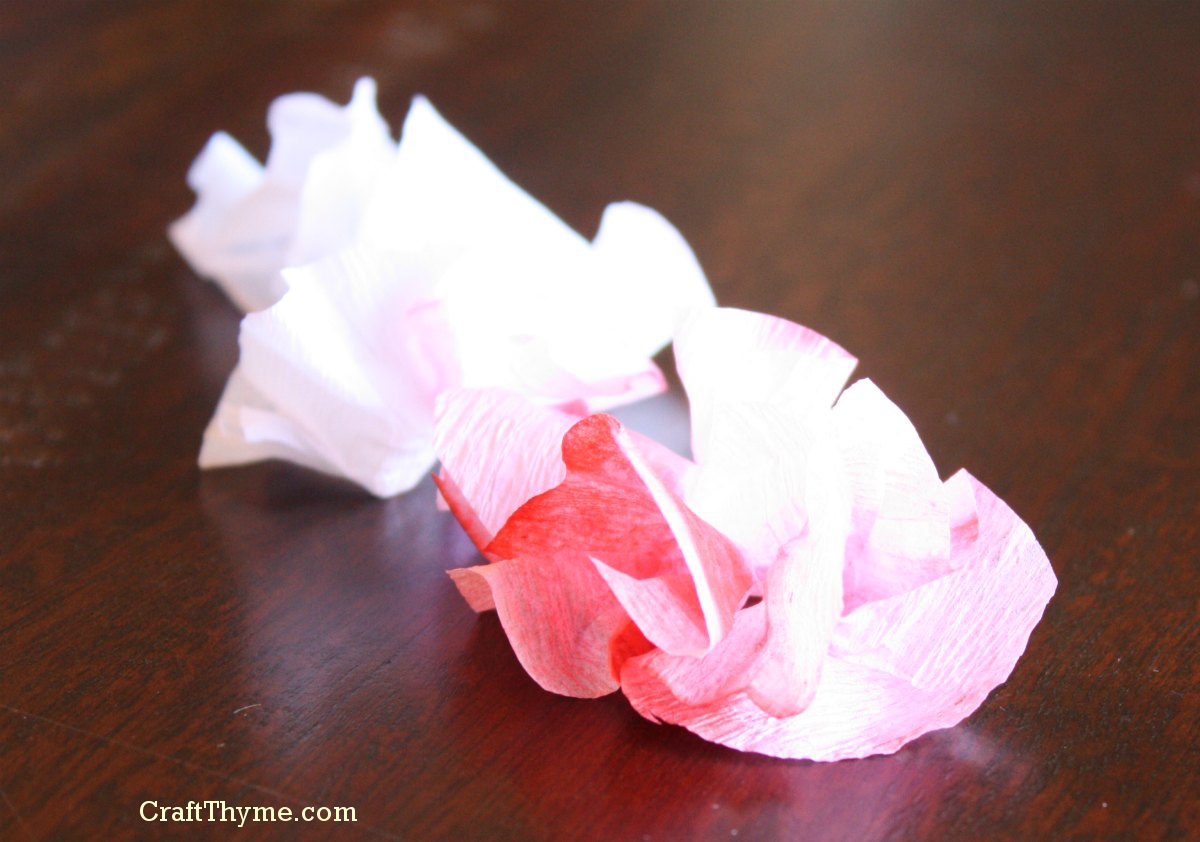
Technically at this point you are done. The flowers look pretty just laid on objects. You can see inspiration by clicking here. However, to fully assemble a branch you will need, well… A branch. For mine I used some old maple limbs from the yard that I spray painted white. Since they didn’t have a lot of small limbs I made extra places to glue the flowers with matching white floral wire. Again you can see the final result here. Simply use a tiny dab of hot glue and stick on a flower.

Notes:
To make thicker flowers that look fully open try gluing two smaller flowers together. Also for tight buds twist the petals tightly together around the pen. I was able to make 40 or so flowers in less than half an hour. It is always a race to see who will finish first. Me with the craft or Conlan with his nap, so, I know this one was quick and easy. I hope you all enjoyed.
Enjoy these articles? Get periodic updates by joining my mailing list (no spam, no way, no how) or subscribing to my RSS feed.