Posted on Leave a comment

How to Make Elegant Tassels From Tissue Paper

Elegant Tissue Paper Tassels

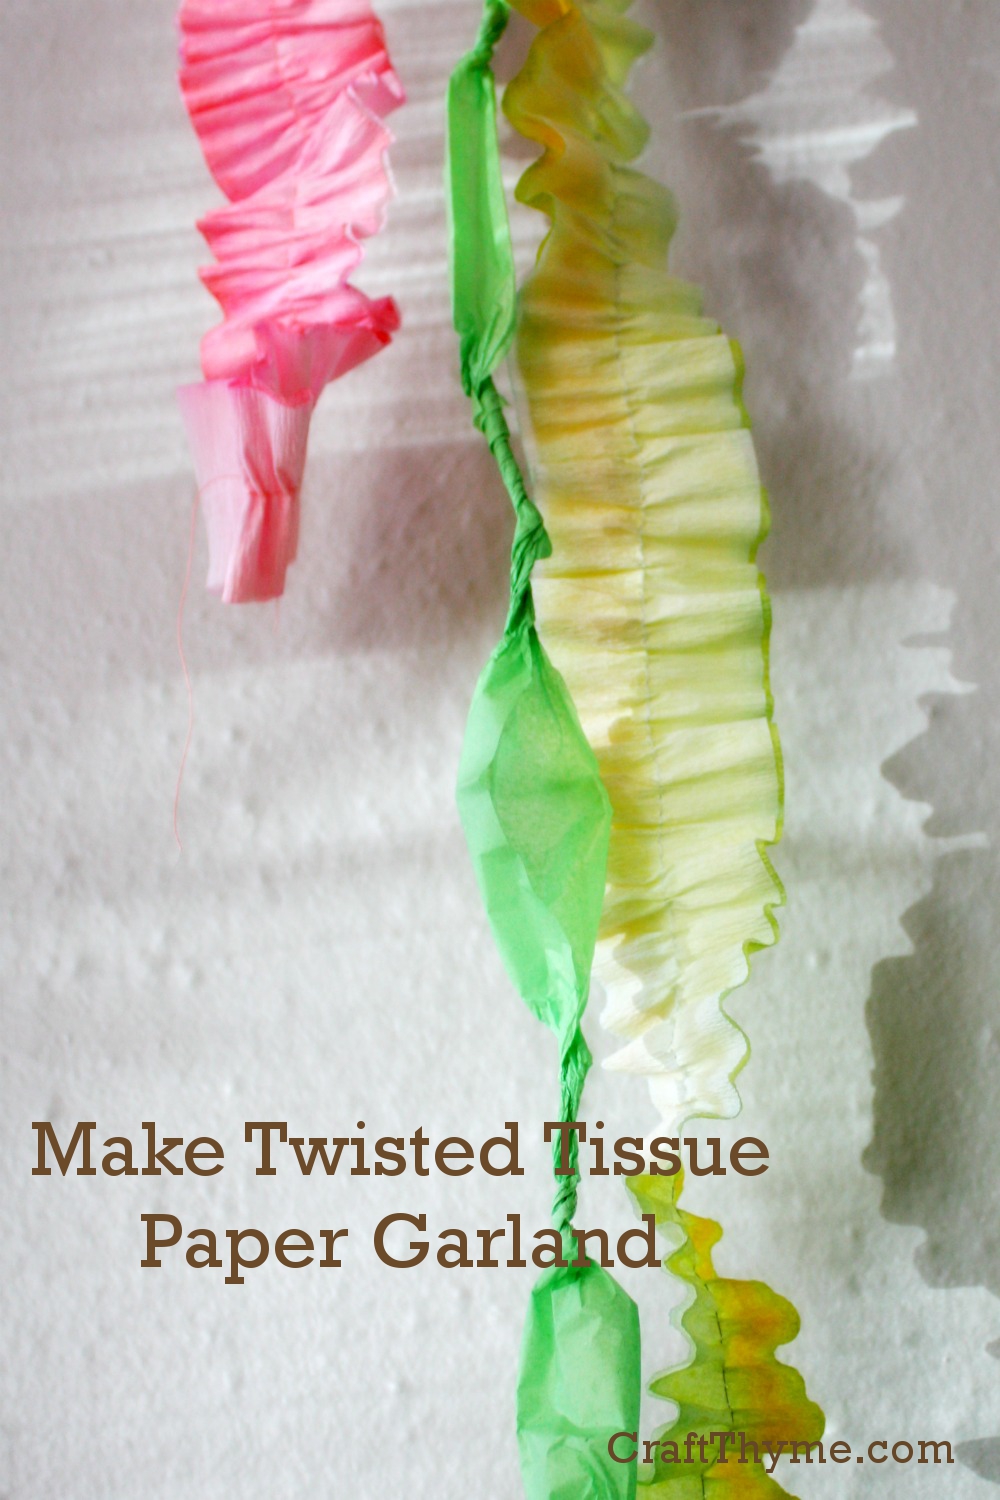
I spotted some tissue paper, tasseled garland on Pinterest and immediately wanted to make some for myself.  It was pretty plain, just some twists hung together.  But something about the fluttery colored tissue looked so good.  I started thinking about how it would be nice to replicate the tassels but make them more elegant, more like a home decor tassel.  So I came up with a quick way to add a rounded portion to the middle.

Elegant Tissue Paper Tassels


Supplies

  • Tissue Paper
  • Scissors (Rotary cutter speeds this along)
  • Cotton
  • Wire (Only if you really need to reinforce the tissue)

Step 1

I wanted to make a number of tassels in different colors at once so I stacked various colors together and cut long strips about 1/4 to 1/2 inch (and frankly all sizes in between).

Cutting tissue paper to make tassels

Step 2

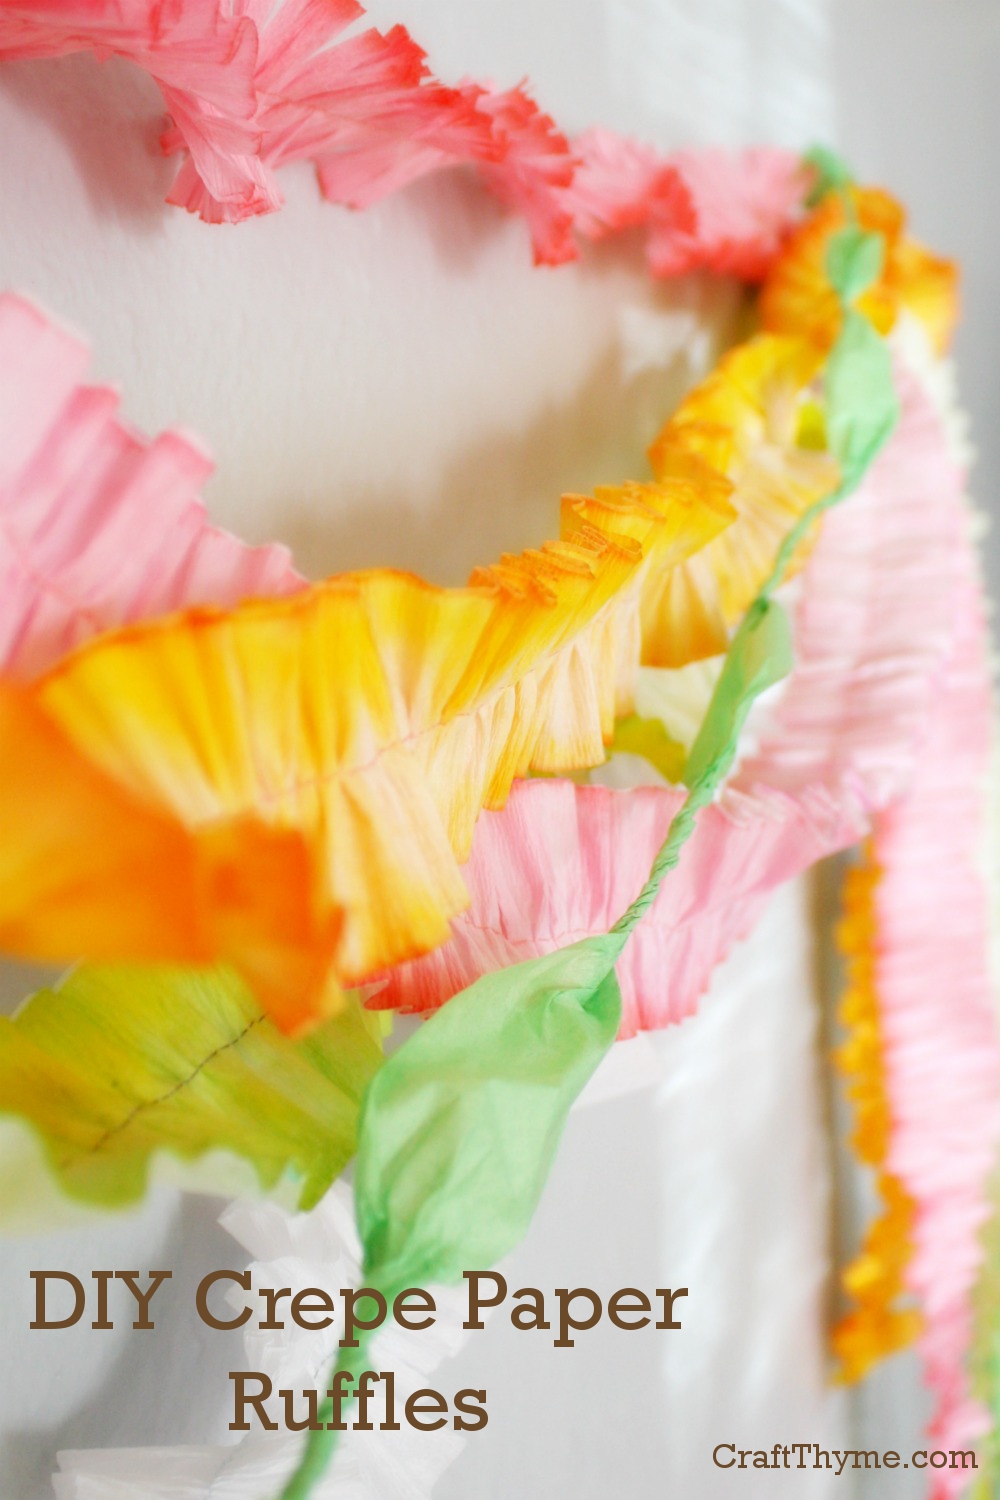
Take two strips of paper and twist them together to make a tiny tissue paper rope.  Then repeat.

Making tiny tissue paper ropes
Twist and Shout!

Step 3

Make two bundles with about half of your strips.  Twist the middle together.  Uh…  Take a look at what I am talking about here:

Somethings are easier to show than describe

Step 4

Twist the two bundles together, curve them into a loop and tie with one of the tiny tissue paper ropes.  If you want added strength you can twist the two bundles around a wire, but I found they were pretty sturdy without it.

Creating the tassel top


Step 5

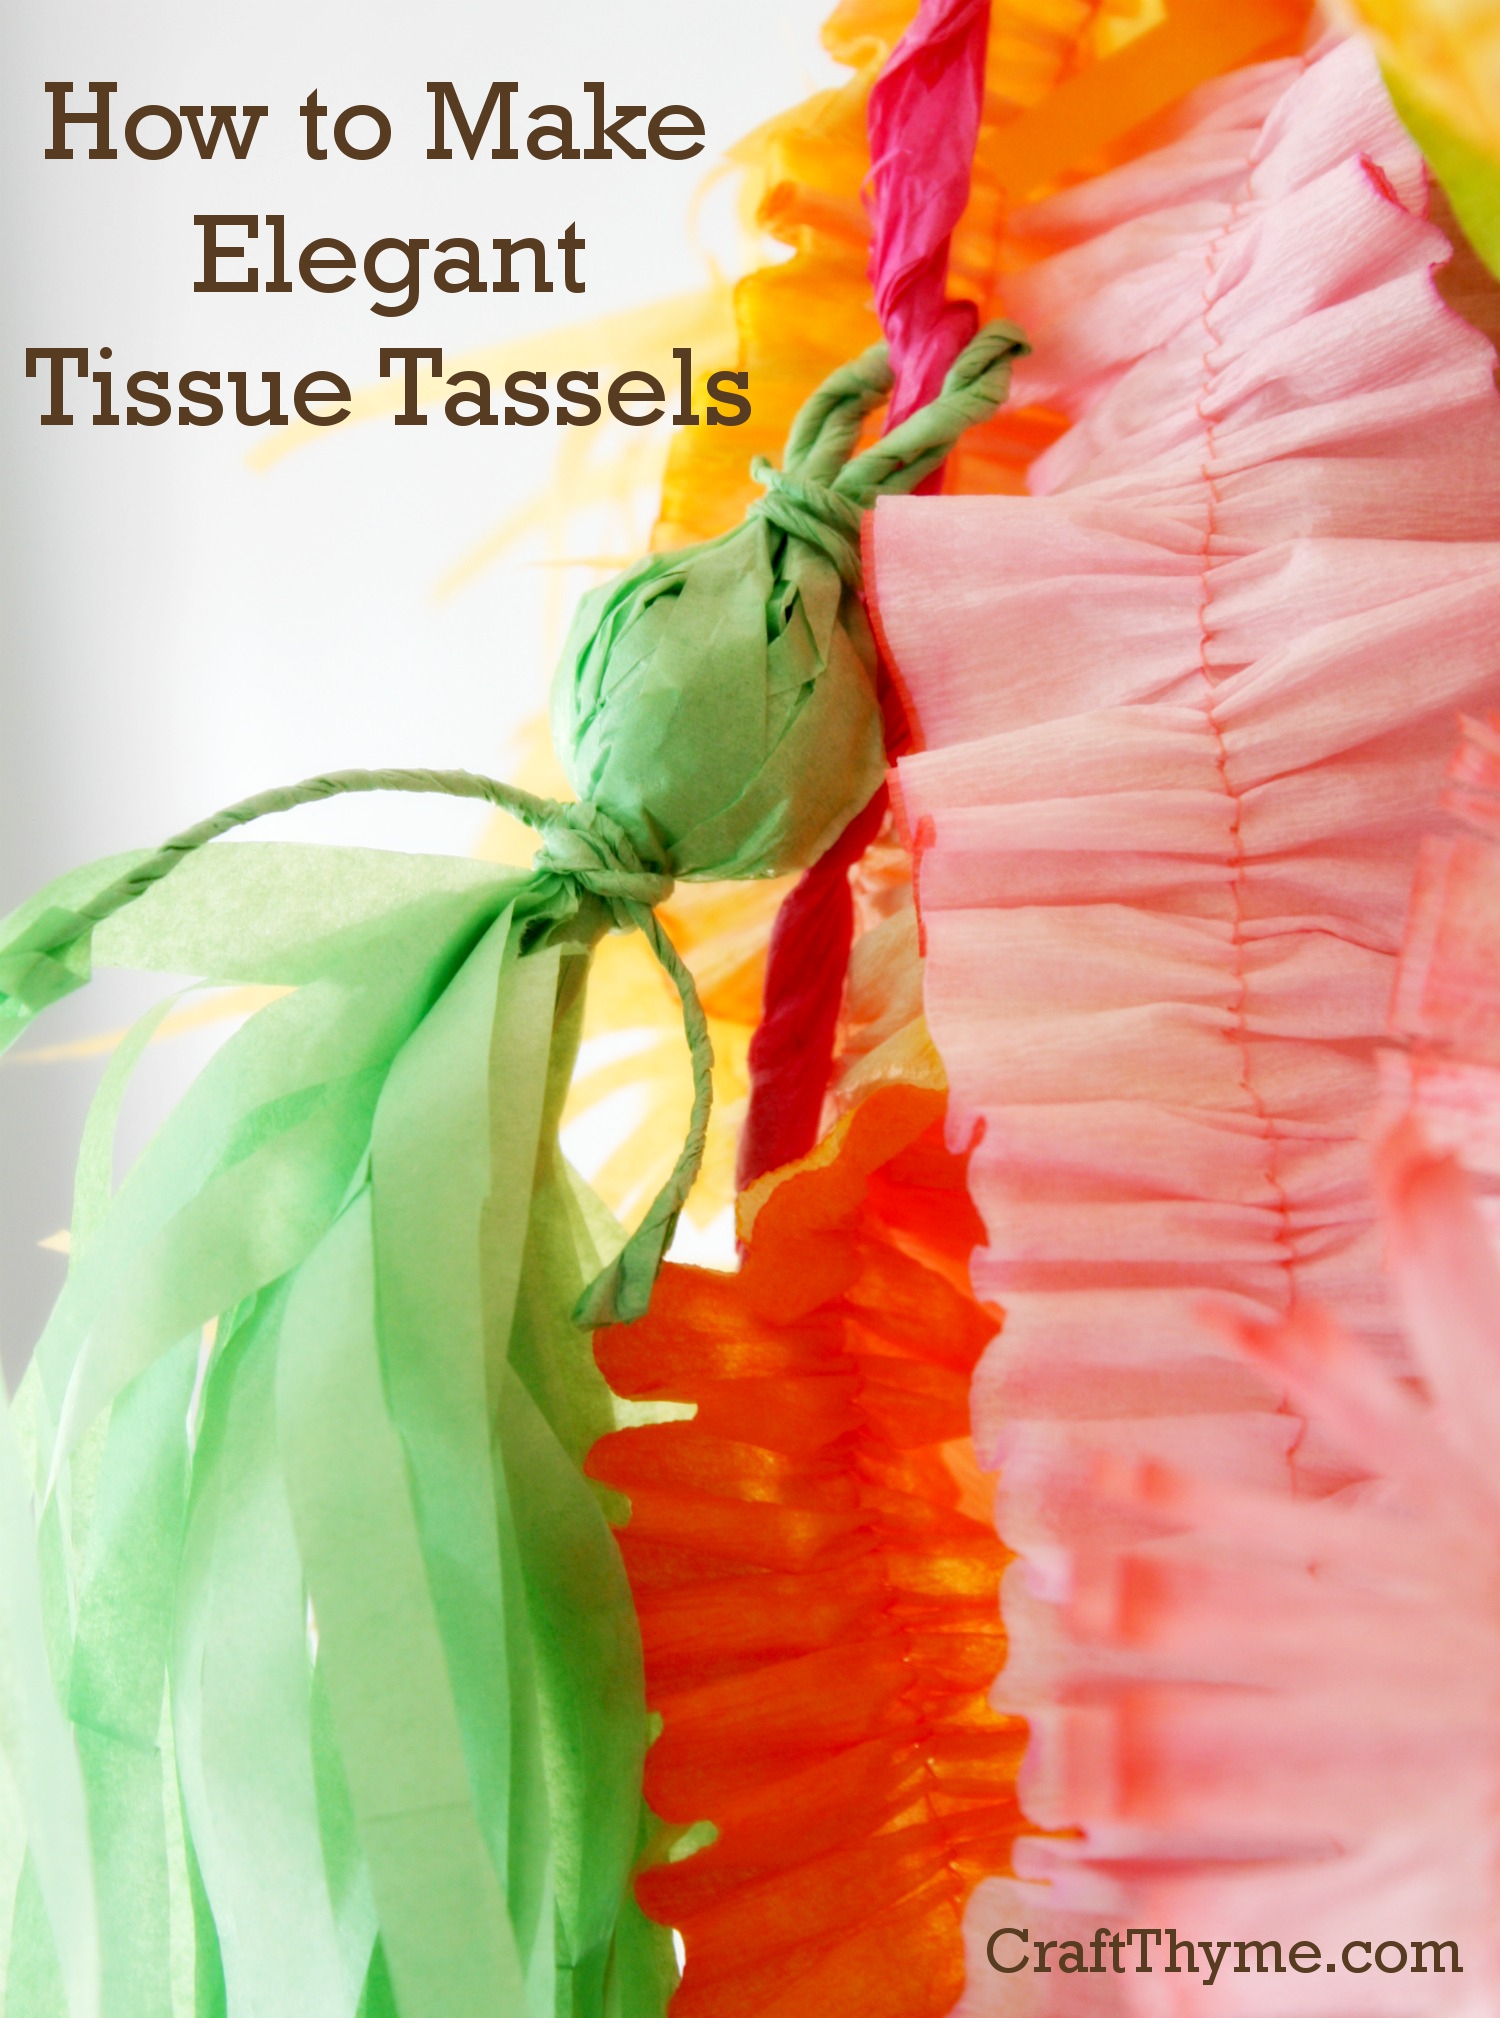
Take 1/3 of a cotton ball and roll it in your hands to make a tighter ball.  Gently separate the tissue paper pulling it back so you can get the cotton as close to the underside of the knot as possible.  Then pull the tissue around the cotton to cover it and secure with the second rope.  You can leave the rope ends or trim them off.  I also tended to straighten the bottom of my tassels after they are complete by trimming them a bit.

Creating the puff portion
Yeah, I consider the puff to add elegance. I mean we are discussing something made from tissue paper… how elegant can it get?


Notes

Pushing the bottom rope up gently will make the ball portion a bit more rounded.  You can get one tassel per half sheet of tissue paper.  Plus you can see the tassels in more detail at my Spring Garland Photo Wall post.

Enjoy these articles?  Get periodic updates by joining my mailing list (no spam, no way, no how) or subscribing to my RSS feed.

This post was entered at Shabby Creek CottageSomewhat Simple, Craft-o-Maniac, & Today’s Creative Blog.  Visit there for more great DIY’s, crafts, and recipes.

Posted on Leave a comment

Simple Garland: Twisted Tissue Paper Puffs

Twisty tissue paper garland

Want to make a cheap, quick and easy garland?  Then enter tissue paper.  The green garland in the picture is the one we are going to learn how to make:

Twisty tissue paper garland
Okay, so technically there are two green garlands in this photo… Focus on the bright one.


Supplies

  • Tissue paper
  • Scissors

Step 1

Cut long thin strips out of the sheet of tissue paper.  I made mine around 2 inches in thickness.  Feel free to eyeball it, you are going to be twisting it anyway.  So no cutting judges will be out to check your work.

Cutting strips of tissue paper
Do as I say and not as I do. An astute observer might note I cute these on the shorter side. It still works but you have to attach a ton more pieces together.

Step 2

If you folded the paper because you are lazy to make the strips quicker to cut then unfold each piece until it is a single thickness.  Take one end and begin to twist the paper through your fingers.  Gross, but useful tip: If you lick your fingers the twist will take tighter.  I mean you could probably dampen them with a sponge, but really…

Strips of tissue paper
If there was ever an action shot. This is it. #sarcasm

Step 3

Every 6 inches or so leave a gap in the twist of about two inches.  This will make the puff part.  When you come to the end of the strip overlap another piece by about 1 to 2 inches and twist it in.  It will take a little planning as you near each end so a puff doesn’t occur right as you are trying to add another piece.

Twisting the garland
Overlap, pinch, and twist. That is all there is to it.

Notes

The tissue paper is light enough that the twist holds all the pieces together without glue or tape.  However, I wouldn’t try scaling any castle walls with it.  Also one piece of tissue paper makes 12-16 feet of length.  So this project is very inexpensive.  Also to see more details of the garland in action you can go to my Spring Garland Photo Wall post.

Enjoy these articles?  Get periodic updates by joining my mailing list (no spam, no way, no how) or subscribing to my RSS feed.

Posted on 2 Comments

Easy Crepe Paper Ruffles

Crepe Paper Ruffled Garland

There are thousands of how to’s and tutorials on making crepe paper ruffles.  But really it is easy to make this gathered garland.  Each tutorial out there offers many good tips, like gather foots, pleating etc.   But in reality if you can thread a sewing machine (or con someone into threading it for you) and press the foot you can get a ruffle.  You don’t really even need to be able to sew straight.  It is that easy.  Plus who isn’t thinking about feminine ruffles and dainty pink items on Valentine’s day?

So if you want to make these crepe garlands follow along:

Crepe Paper Ruffled Garland


Supplies

  • Crepe Paper Streamers
  • Thread
  • Sewing Machine
  • Wine/Beer/Mixed drink (Just a suggestion for most crafts)

Step 1

Grab some extra crepe paper streamers.  Especially if you have hand-dyed yours, use some extra at first because you will need to play with two settings on your machine.  One is the length of the stitch and the second the thread tension.  I set the length pretty long and the tension high.  When you get it right the paper will come out the back automatically ruffled as you sew.  The tension will also make your ruffles tighter or looser.  Just pick what you like.

Sewing Machine Settings
I bet this is the most exciting picture you have ever seen in a tutorial.

Step 2

Start the crepe paper a little past the presser foot.  You waste a little paper but it keeps it from getting stuck in the feeders.  Then “Sew, Sew like the wind” (Please tell me someone else is a fan of the Three Amigos).  The last picture demonstrates how to hold two different colors together and sew off the roll.  Doubling the crepe paper makes a thicker ruffle.  I like to mix a light and dark color together.  Yep, it really was that easy.

Creating crepe paper ruffles
Easy as 1, 2, 3.

Variations On The Theme

While, it is very easy to make these ruffled crepe paper garlands.  You still have the option of adding some variation to them.  Here are two different options Fringed Ruffle Garland and Twisty Ruffle Garland:

Fringed Ruffle Garland

Take the completed ruffle garland and fold it in half.  Make tons of tiny snips down each side making sure to leave the middle intact.  The ruffles will cause some little pieces to be snipped out but it adds an overall fluffiness to the crepe garland.  You can see the completed fringed garland in the first picture, the top one in pink.

Creating Crepe Ruffled Fringe
Yeah those are some awesome fringing scissors. If you are doing more than a few feet they are totally worth the $12 investment.

Twisty Ruffle Garland

Simply move the stitches back and forth as you sew.  This makes the garland automatically twist around when you hang it.

Twisty Crepe Ruffle
This is a good one to do if you happen to not be able to sew straight or you imbibed any of the wine listed in the above supplies.


See it really was easy.  No pulling threads or special presser feet.  Just crepe paper, wine, and someone to thread the dang machine.

Want to see what you can do with all this crepe paper?  Check out the inspiration for this tutorial in my Spring Garland Post.

Enjoy these articles?  Get periodic updates by joining my mailing list (no spam, no way, no how) or subscribing to my RSS feed.

This post was submitted to 504 Main. Where you can find more create crafts, DIY, and recipes.


Posted on 6 Comments

Crepe Paper Tutorials

Crepe and tissue paper decoration detail

I need some Spring color!  Enter: an array of tissue and crepe paper garlands, tassels, and streamers. For a list of crepe paper tutorials on how to make each and every item shown scroll on down!  Instead of making the regular ho-hum mantel display I thought I would give my entryway some Spring umph.  As an added bonus I set up an area to take some pictures of the kids,using the decorations as a photo backdrop.

Crepe and tissue paper decorations
You’ll note that none of the kids are actually sitting nicely enough for pictures. So I used myself.  Yeah I am really that pale.

Crepe and tissue paper is inexpensive and can be turned into garlands, tassels, streamers, puffs.  Basically it is some versatile shiznit if you want some cheap and fancy looking decorations.  I really wanted a mix of textures and colors.  You can see a bit of the variety in this detail shot.  After making them all, I hung them from some lightweight command hooks.  Easiest thing to make a temporary display, plus crepe paper is so lightweight it takes nothing to hang them.

Crepe Paper Tutorials


Since I basically had a love affair with tissue and crepe paper I have a ton of tutorials to offer:

Crepe Paper Tutorials

In the mean time check out some of the details:

Crepe and tissue paper decoration detail

Enjoy these articles?  Get periodic updates by joining my mailing list (no spam, no way, no how) or subscribing to my RSS feed.