I seriously doubt I am the First Hundreth blogger to give a tutorial on how to ombre dye fabric. However, I am very particular about getting smooth even transition from color to color and this tutorial shows you how to achieve a better finish. I used to dye costumes in college to match a certain director’s choices (I worked in a semi-pro costume shop as a stitcher) and I learned a lot about fabric and how it holds color. On to the directions for how to have a smooth ombre dye:

Supplies

Dye (I tried Dylon Dye* for the first time in this post. Rit Dye
* works fine too)
Multiple large pans for dyeing
Water (very hot if you can’t heat it)
Salt or other chemicals to set the dye
Fabric (Cotton, Silk, and Rayon work best with most dyes. Specialty dyes, temperatures or agents may be required for other fabrics. Don’t be obstinate, read the directions)
Iron
Old Towel or piece of fabric
Pre-Step:
I can’t emphasize enough that the fabric be pre-washed. Even if it ‘claims’ to be ready to dye. During that pre-wash detergent that is used must be thoroughly rinsed out. UNDER NO CIRCUMSTANCES use fabric softener in the pre-wash.
Step 1 Bathing the Dye or Preparing the Dye Bath :)

Follow or Discard the directions on your dye. While this may seem counter-intuitive what I mean is ask yourself a question. Do I want the color of my fabric to come out even and exactly like the dye packet? If yes, then follow the dye manufacturers guidelines. If you are going to mix colors and experiment then go for it! I added a ton of extra water and a little orange to get a pastel-peachy dye. Totally not kosher according to the package.
Important: prepare the dye for the darkest color you want to achieve.
Step 2: How the Hell Do I Know How Dark It is?

Here is one of the MOST important steps in dyeing. Test Strips. I don’t care if you are peeling a string out of a hem. Get a thread to test with at least. Because the chances the color is going to be right on first dye dip are slim. You’ll need to adjust color or time in the bath. And maybe even more important RINSE AND DRY THE TEST FABRIC. I rinse under cold water and iron mine because I am impatient. See how the middle sample is so much darker? That is still wet, while the one on the right is partially dried by the iron.
Note: the old towel is used because a little dye comes off while ironing.
Step 3: Dilution

Once you have gotten the dye to your liking take some of it and add it to a bowl and dilute it in half. Basically add the same amount of water as you did prepared dye. Then take the diluted solution and add it to a third bowl and dilute it in half again. I like to test my dye and make sure the three colors are different enough to be noticeable. Sometimes this requires adding a little dye or water to make three distinct colors.
Once you have them to your liking take your fabric and dip it in the lightest color as high as you want your ombre to go. Finally set a timer and move it around a little (up and down) every few minutes. This will make the dye line more subtle. My first dip was 15 min and I moved it around a little every 5. I don’t pre-wet my fabric as I like the dye to wick up the fabric slightly during an ombre process.
Step 4: Dying for Dyeing

Here is the boring part. You have to do the same process as step three for all three solutions. Next you dip in the medium strength solution about halfway up the dye part. Wiggling it in and out of the dye line to make the edge more gradual. Finally, you hit the tips with the darkest. As you can see I did multiples at a time; moving one from one bath to the next in rotation. It is really tempting to put a bunch of fabric in each pot to speed up the process… Resist. I repeat: Resist.
When you are done rinse them well under cold water BEFORE washing. Extra dye will stain the white or light portion of the fabric no matter what. Rinsing keeps this to a minimum.
Finally wash and dry your items as suggested by the dye manufacturer and fabric type.

Notes
As usual gloves are useful for not dyeing your hands… And as usual I did not have any and ended the day with nice pink fingers.
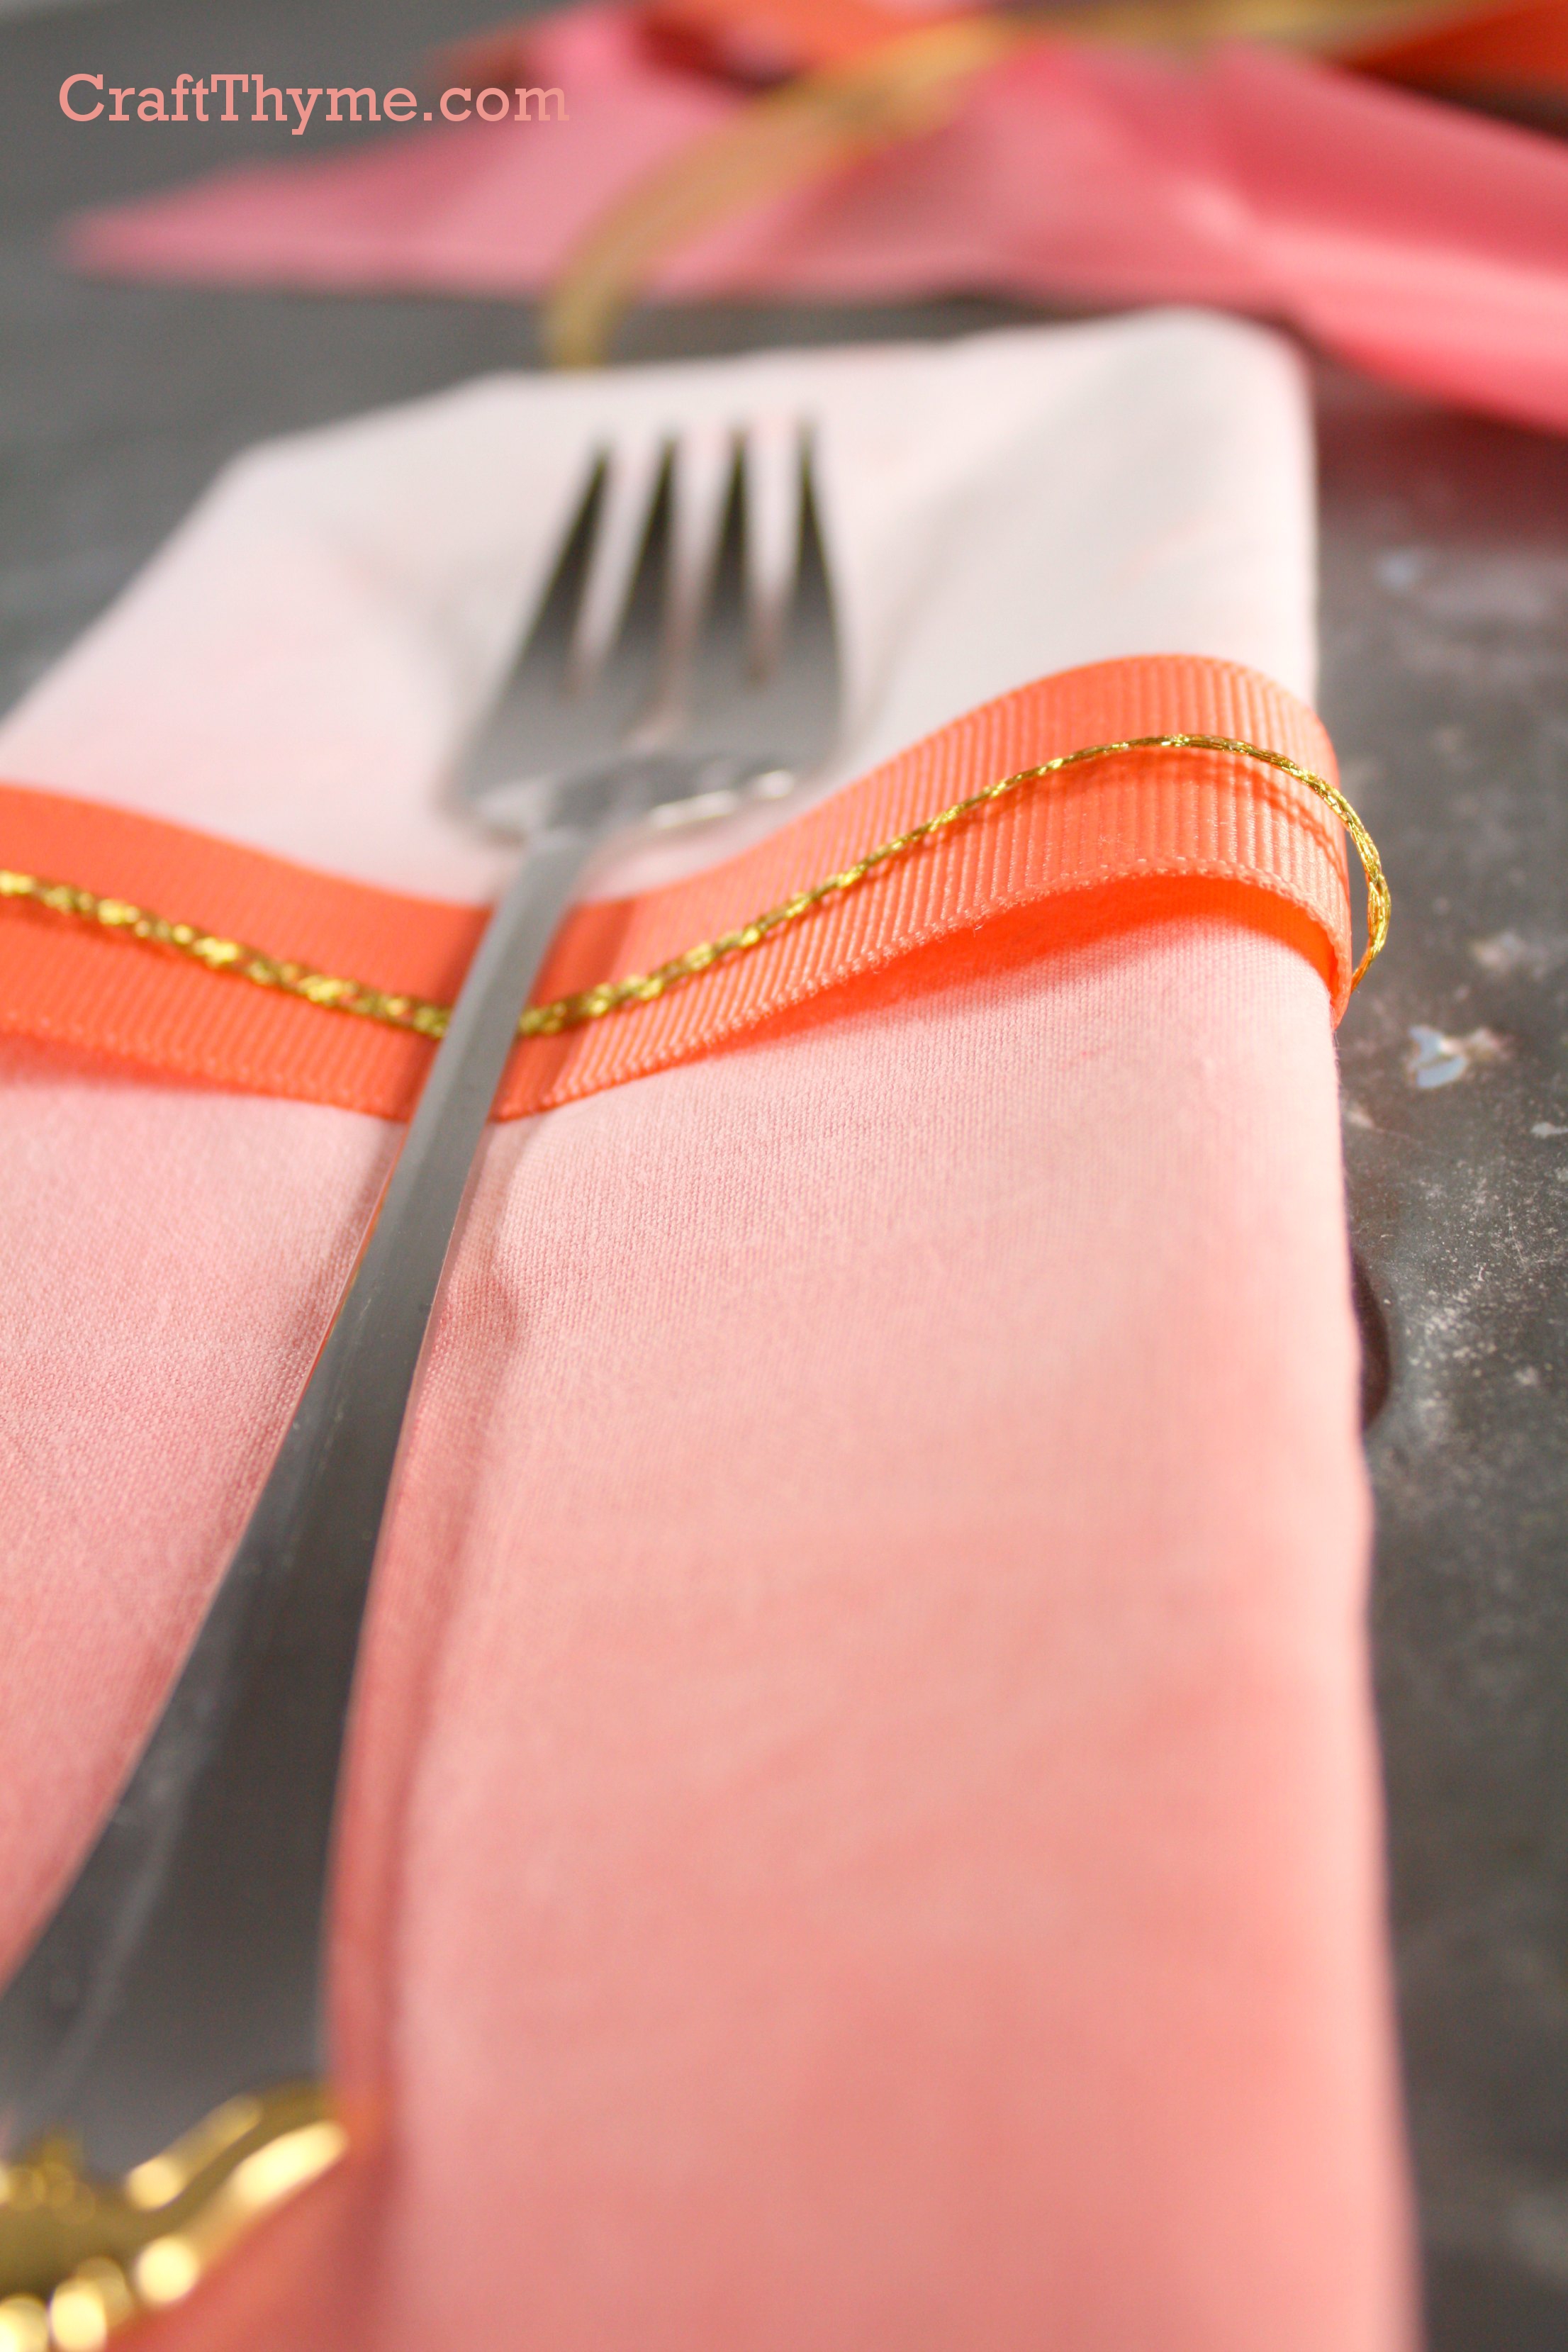
 While these napkins look pretty good, I took them one step further by adding gold foil (a kind of fabric friendly gold leaf) to the edges. Tutorial for gold foiling fabric will be up 8/8. Here is a preview.
[…] http://craftthyme.com/how-to-ombre-dye-fabric/ […]
I’ve been searching all morning for a “sensible” tutorial on how to dye ombre fabric. This is perfect. Well explained and encouraging.
I am about to attempt test dying some spandex I am making an ice skating dress out of and I am nervous about the synthetic fabric accepting the dye. But with this tutorial I feel a little more confident that at least I have the basic dye process figured out and my arms will thank you for the tip on using different batches rather than just dunking it by hand forever in the same color to get the gradient color right. Thank you!
I’d love to see how it goes. I have never tried synthetic, but if you have the proper dye it should be similar.
Hi great tutorial, Just wondering do you have any tips on dyeing organza fabrics. I am looking a organza fabric wedding dresses and I really like the idea of dip dyeing the ends…love the look of it. I will possibly in the end bring it into a dress maker and leave the pressure on them to make it right ha! but if you have any tips I would greatly appreciate it! otherwise going to practice on bits and bobs around the house brighten the place up. thanks
The problem is that most organza is made of synthetic fibers. Unless it is a silk organza you would have to test carefully and perhaps use specialized dye.
[…] Tutorial from Craft Thyme […]
I’ve been wanting to dye one of my gauze swaddle blankets and used your tutorial to do it. I figured, even if it didn’t work perfectly it would still look pretty, and I was right but I did have some issues. It was a lot of fabric to put in my bowls all at once and I think my results would have been more even if I had larger containers to dye in so the fabric could move freely. I also walked away for a few minutes once with the fabric partially in the second bowl and when I came back, my dye had wicked up the fabric and was spilling off my surface and on to the floor in a puddle. Ack! Because of this, the top of the fabric is slightly dyed instead of white. Do you have problems with this when you are doing the second and third bowls? Do you somehow suspend the fabric above the bowl? I can’t think of an easy way to do this inside.
I have not had that happen to that degree. I have always wanted it to wick a bit so the lines aren’t so choppy. My guess is that the gauze fabric is so absorbent that it just sucked the dye right out of the pot. If you have a lot of fabric you can always roll it around a wooden dowel or spoon that is wider than the pot. Just unroll what you need and the dowel will hold it across the top of the bowel or pot. You might try wetting the gauze first before putting it in the dye. That would saturate the fibers so it wouldn’t wick as much moisture.
[…] spots left. I had been wanting to do an ombre dye over them for quite a while. So inspired by this post I found on Pinterest, I spent the first part of the day acquiring equipment and the second […]
I love the color of these napkins and they are DIY! I love it! Dropping in from Pretty Pintastic link Party! Thanks for the inspiration!
Gina Marie from Always Savory
I’m still a huge fan of ombre too! Thanks for dropping by!
Thanks for the tutorial, I am going to dye some fabric for a cross stitching project. The fabrics online can be pricey so this is a good alternative.
I find it is a great way to find the perfect color. Dyeing fabric makes it a perefect match without spending a ton of money.
Excellent and well explained, thanks!
[…] want, you could always dye your own fabric. There are many tutorials available online, including one at Craft Thyme. You can experiment with different fabrics and dyes to achieve the look you are […]
I was going to try this on a twin duvet cover for my daughter with different colors at each end. Another instruction was to dip the end in the tub slowly removing it to leave the end as the darkest fabric. Do you think this would also work with combining it with your tip on moving the fabric during the dying process