Posted on 21 Comments

How to Make a Glass Terrarium

How to make a DIY Glass Terrarium

I will admit to having a plant obsession, so, it was only a matter of time till I started in on glass terrariums.  But what fueled the new obsession?  Adam and I recently got married and while we agreed not to get gifts for each other someone decided to get me a new book on terrariums (*cough* Dork *cough*).  Holy plant porn!  Not every project was to my taste but all of them were inspiring.  I had never thought of decorating glass terrariums with feathers, sand, bark, etc.  It opened up a new world of decoration that allows me to bring plants indoors in a modern display.  While it is fairly easy to create a glass terrarium there are some tricks that I have discerned that make the process a LOT easier.  On to the tutorial:

DIY Glass Terrarium

How to make a DIY Glass Terrarium

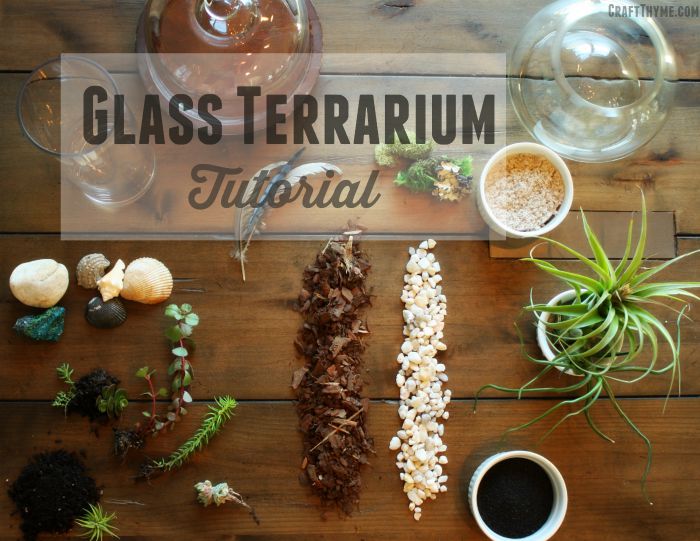
Glass Terrarium Supplies

There are really three basics that you must have outside of a glass container:

  1. Plants*: these are some succulents I have been propagating and some air plants we picked up at a recent craft festival
  2. Soil*: Potting or fast draining cactus mix; unless you are using air plants
  3. Drainage Material
  4. Container: I went to Goodwill and scoured the shelves.  I was able to find a number of interesting glass containers for $1-$4.  Just make sure they are clear glass.  Tinted or colored glass can mess with the plant photosynthesis

Additional items that make the terrarium look really good:

  • Moss: Hardware stores often sell sheet moss cheaply.  Pretty reindeer moss is available in most craft stores.  We waited till we had a 40% off coupon and got a large bag.
  • Sand: Craft stores have a number of colors.  I also might try dyeing sand like I do in this tutorial, however, I would likely keep that to air plants so I do not wash out the color when watering.
  • Rocks
  • Feathers
  • Wood
  • Sea Shells
  • Etc : Anything that can withstand water or, if using air plants, you are pretty much unlimited

How to make a DIY Glass Terrarium

Step 1: Planning

A little planning goes a long way with a glass terrarium.  First, look at your plant and the conditions it needs to survive.  I also tried to find a plant that had a shape that complimented my tall glass container.  After matching up your plant consider HOW you will be planting it.  You can pour the dirt in the container but if you can not fit your hand in there you will have some issues. Long cocktail stirrers or chopsticks can help press the dirt firmly around the plant.

Step 2: Keep it Dry

My first big mistake was trying to plant a glass terrarium with damp materials…  Ugh.  Everything sticks to the glass, or plants, getting everywhere and becoming near impossible to remove until it is dry again.  Start by placing your drainage material at the bottom, and layering your dirt next.  I placed a layer of bark between the rocks and dirt to keep the distinct bands.  That step was purely for aesthetics.  Next plant the plant but do NOT water yet.

Step 3: Clean and Tidy

If you have not watered, then you have the opportunity to take a soft cloth and wipe off the glass.  You can also blow SOFTLY through a drinking straw to clean dust or move sand around. Removing the dust and dirt from above the soil line is what gives the terrarium a clean modern feel.  Take this opportunity to place smaller decorative objects.  I used some reindeer moss and a small (live) hen and chick next to the main succulent.  You could also place rocks, a layer of sand, etc.  The only limit is space, ability to withstand dampness, and your imagination.

How to make a DIY Glass Terrarium

Step 4: Tips and Tricks

Time to water!  This is where everything can and has gone South for me.  Water too fast and you end up making holes in the soil, or flooding the entire terrarium.  Trust me on this one, flooding it is bad, bad, bad.  I was talking instead of paying attention (imagine that) and ended up floating all my plants out of the soil and mixing in my sand.  I had to dump everything and start over.  The easiest way to insure a non-messy watering is use a spray bottle and let it trickle down the glass.  Otherwise, be super careful to only add a trickle of water.

Notes:

Make sure to pay attention to the microclimate you just created.  The sun can get very warm through the glass and/or the environment can easily get too wet or dry.  The nice thing is that the container is glass so you can actually look at the soil and drainage material to see your water level.  Also, remember there is not a lot of nutrients (as in none) coming into your terrarium.  You may need to add a liquid fertilizer every 3-4 months to keep your plants nice and healthy.

If you want some amazing inspiration this was the book I got as a gift:*


Otherwise a quick glance through Pinterest can really give some great ideas to get you started.

How to make a DIY Glass Terrarium

Posted on 1 Comment

Crayon Crafts With Wax Paper

Remember all the crayon crafts you did as a kid?  Everything from leaf rubbings to general coloring.  My favorite was anything to do with melting crayons.  Perhaps I had a little pyromaniac in my soul but I loved the liquid wax.

I was happy to redo this childhood craft of melting crayons in wax paper to make interesting designs.  They make great sun catchers too!  On Thursday I’ll take my crayon ‘art’ and make a back to school garland.

Melted Crayon and Wax Paper Sun Catchers

Supplies

Crayons (grabbed some old ones from the kids)

Wax Paper

Iron

Grater

Supplies to make wax paper sun catchers

Step 1: Grate some Crayons

It doesn’t take a lot of crayon shavings.  Maybe a 1/4 of a small crayon.

grated crayons

Step 2 Scatter and Smother

Get an old towel and lay out a sheet of waxed paper  on it. Drop the crayon bits over the surface and then cover with another sheet of waxed paper.  The old towel is to catch any melted wax that might squirt out.  Crayons are washable, but can stain in large concentrated amounts.

Laying out grated crayon on wax paper

Step 3  Strike While The Iron Is Hot

This is an example of a hot iron just lightly brushed across the surface.  Hold it down more and smoosh (technical term) the wax around the paper until you are pleased with the result.

melted crayon

I cut these sheets into circles to create a garland you’ll see on my Back to School Mantel.  But they look great hung in front of a window catching the sun through various thicknesses of color.

Enjoy these articles? Get periodic updates by joining my mailing list (no spam, no way, no how) or subscribing to my RSS feed.

See other great crafts and DIY at these link parties: Curly Crafty Mom

Posted on 12 Comments

Old Fashioned Paper Bag Book Covers

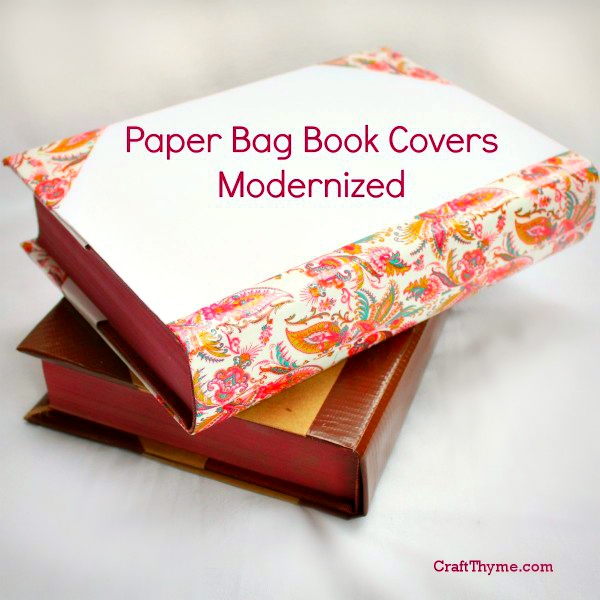
DIY book covers from paper bags with a modern twist.

Creating your own paper bag book covers is as simple as this 4 step how to. Of course, I am way past my school years and my kids aren’t quite to the ‘back to school’ point, but the back to school fever got me thinking I needed a decorating refresh before I start putting up Halloween items. I used the basic paper bag book cover and then embellished it. The tape based embellishments work perfectly to reinforce the covers for students and decorate the covers for me.

DIY book covers from paper bags with a modern twist.

Supplies (Not Shown, because I think we all know what a ruler looks like)

Paper (paper bags can be split at the seams and laid flat, thick craft paper works just as well)

Ruler

Scissors

Pen or Pencil

Decorative Tape (for embellishing)

Step 1: Can you trace?

Lay out the book on your paper. If the paper is decorative make sure the ugly side is up so you can mark on it. Open the book in the middle so the spin is wide open. Trace around the edges.

Step 1 to DIY book covers

Step 2: Add Allowance

Place the book off to the side and grab the ruler. Add about 1.5 inches along the top sides of the tracing and 4 inches along the sides. No one is going to come mark you down if you fudge the measurements a bit.

Step 2 in DIY book cover creation
That is not an over exposed photo. My arms really are that white.

Step 3: Cut and Fold

Cut along the allowance you just drew. Fold the top and bottom inward along the original book line you traced.

Step 3 in how to make a paper bag book cover
I bet everyone can cut… This photo is more about folding the right direction.

Step 4: Putting the book into the grooves, fold, slots, pocket… Whatever you want to call the paper thing you just folded.

Take the book and open it back up to one of the covers. Align that cover with one of the sides you traced. Take the edge of the paper and start feeding the cover into the folds you made. Feed enough in until you are close the the original tracing line. Then close the cover, flip the book over and repeat on the other side. You will get the sharpest crease if you pull the jacket over the closed book and kind of crease it along the edge before feeding the cover into the slots. (see the last image)Final step in paper bag book cover creation

Voila you are done!

Embellish

I always remember how my book jackets would tear at the corners and bottom of the spine as a kid. To solve this and add some pep to the cover I took decorative tape and covered the spine and sealed the corners.

The ‘classic’ bag paper book is edged in faux leather aka brown duck tape and the ‘modern’ white book got trimmed in paisley duck tape.

Enjoy these articles? Get periodic updates by joining my mailing list (no spam, no way, no how) or subscribing to my RSS feed.

See more great crafts and decor at these link parties: Craftberry Bush, Young and Crafty, Craftionary, Pin Junkie, The Jenny Evolution, The Stitchin Mommy, DIY Vintage Chic, By Stephanie Lynn

Posted on 26 Comments

Gold Foil, The Right Way to Gold Leaf Fabric

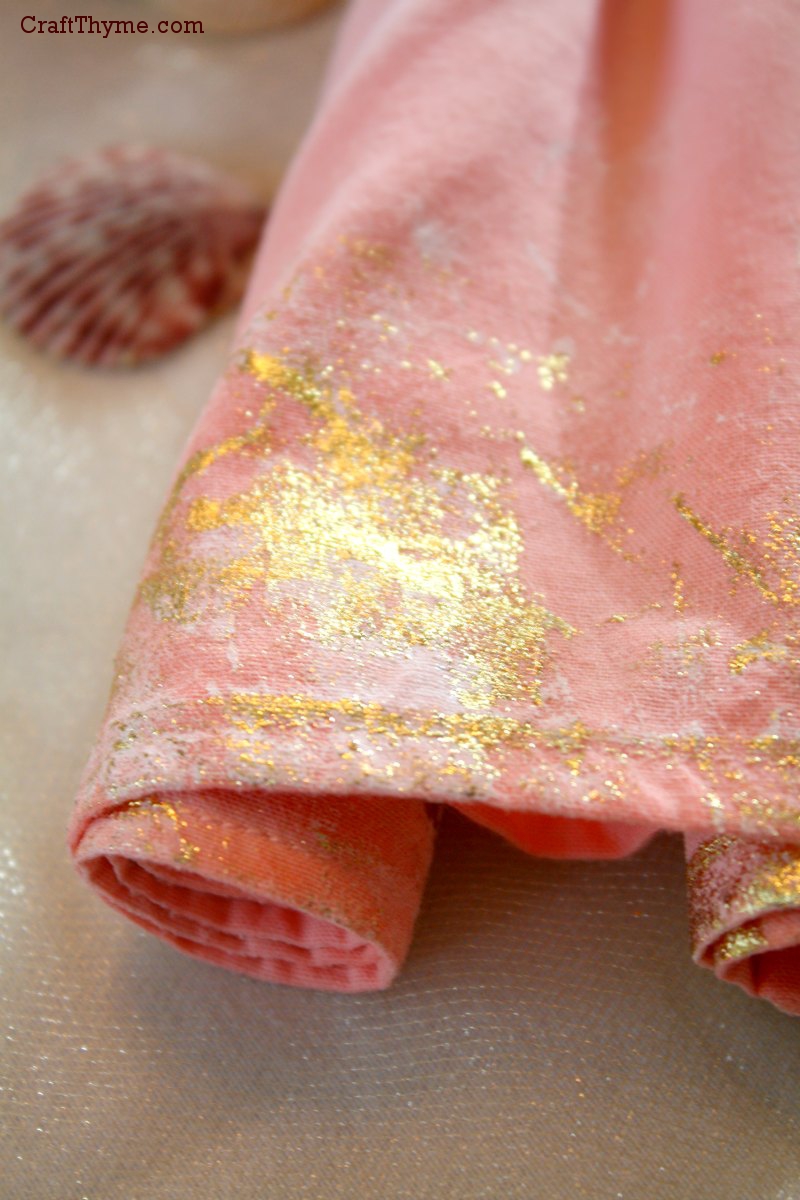
Fabric with washable gold foil or leaf added

There are plenty of metallic fabric paints on the market, and while they excel at adding shimmer they don’t have that rich metallic leaf look that is so popular on various commercial t-shirts.  It took a little bit of research but I finally figured out how they get gold leaf on fabric and keep it washable.  Allow me to introduce you to Gold Foiling Fabric.

Fabric with washable gold foil or leaf added
Adding bling to your napkins

Supplies

Supplies to gold leaf or gold foil fabric

Fabric -This fabric had been ombre dyed using this tutorial

Transfer Adhesive* (Full disclosure about this affiliate link: I wasn’t thrilled with the Martha Stewart Transfer Glue I used here.  I might try a different brand.  The important point is that is is tacky when set and stays adhered through gentle washing. Maybe it was user error…)

Metallic Foil Sheets* (These are different than gold leaf. They are thicker and have a backing to the metallic portion)

Sponge applicator

Step 1:  It’s Sticky

Transfer glue on fabric

I wanted a random/worn pattern to my finished foil look so I put the glue at random and used varying thicknesses of glue.  You can get a smoother finish by putting a nice, thick, even application of glue.  You can even use a stencil and apply glue in a pattern.  The important part is to get enough on that the glue quits soaking into the fabric and leaves an even coat on the top layer.

The directions will tell you how long to let the glue set.  My suggestion is to lightly test with your finger.  The glue should stick to your finger but not leave the fabric when set.

Step 2:  Burnish and Repeat

Placing gold foil on fabric

Alright, I know this probably makes sense to everyone else, but put the shiny side up…  You are gluing the backing to the fabric. That was one of my duh moments.  To get a really good bond press the sheet into the glue.  Then burnish the top of the foil with a precision instrument paint brush handle.  Mostly because that was what I had laying around.

Slowly peel the foil from the fabric.  The plastic sheet should peel off and the gold leaf effect remain.  Leaving you with some nice shimmer like this.

Ombre fabric with gold leaf edging turned into a napkin

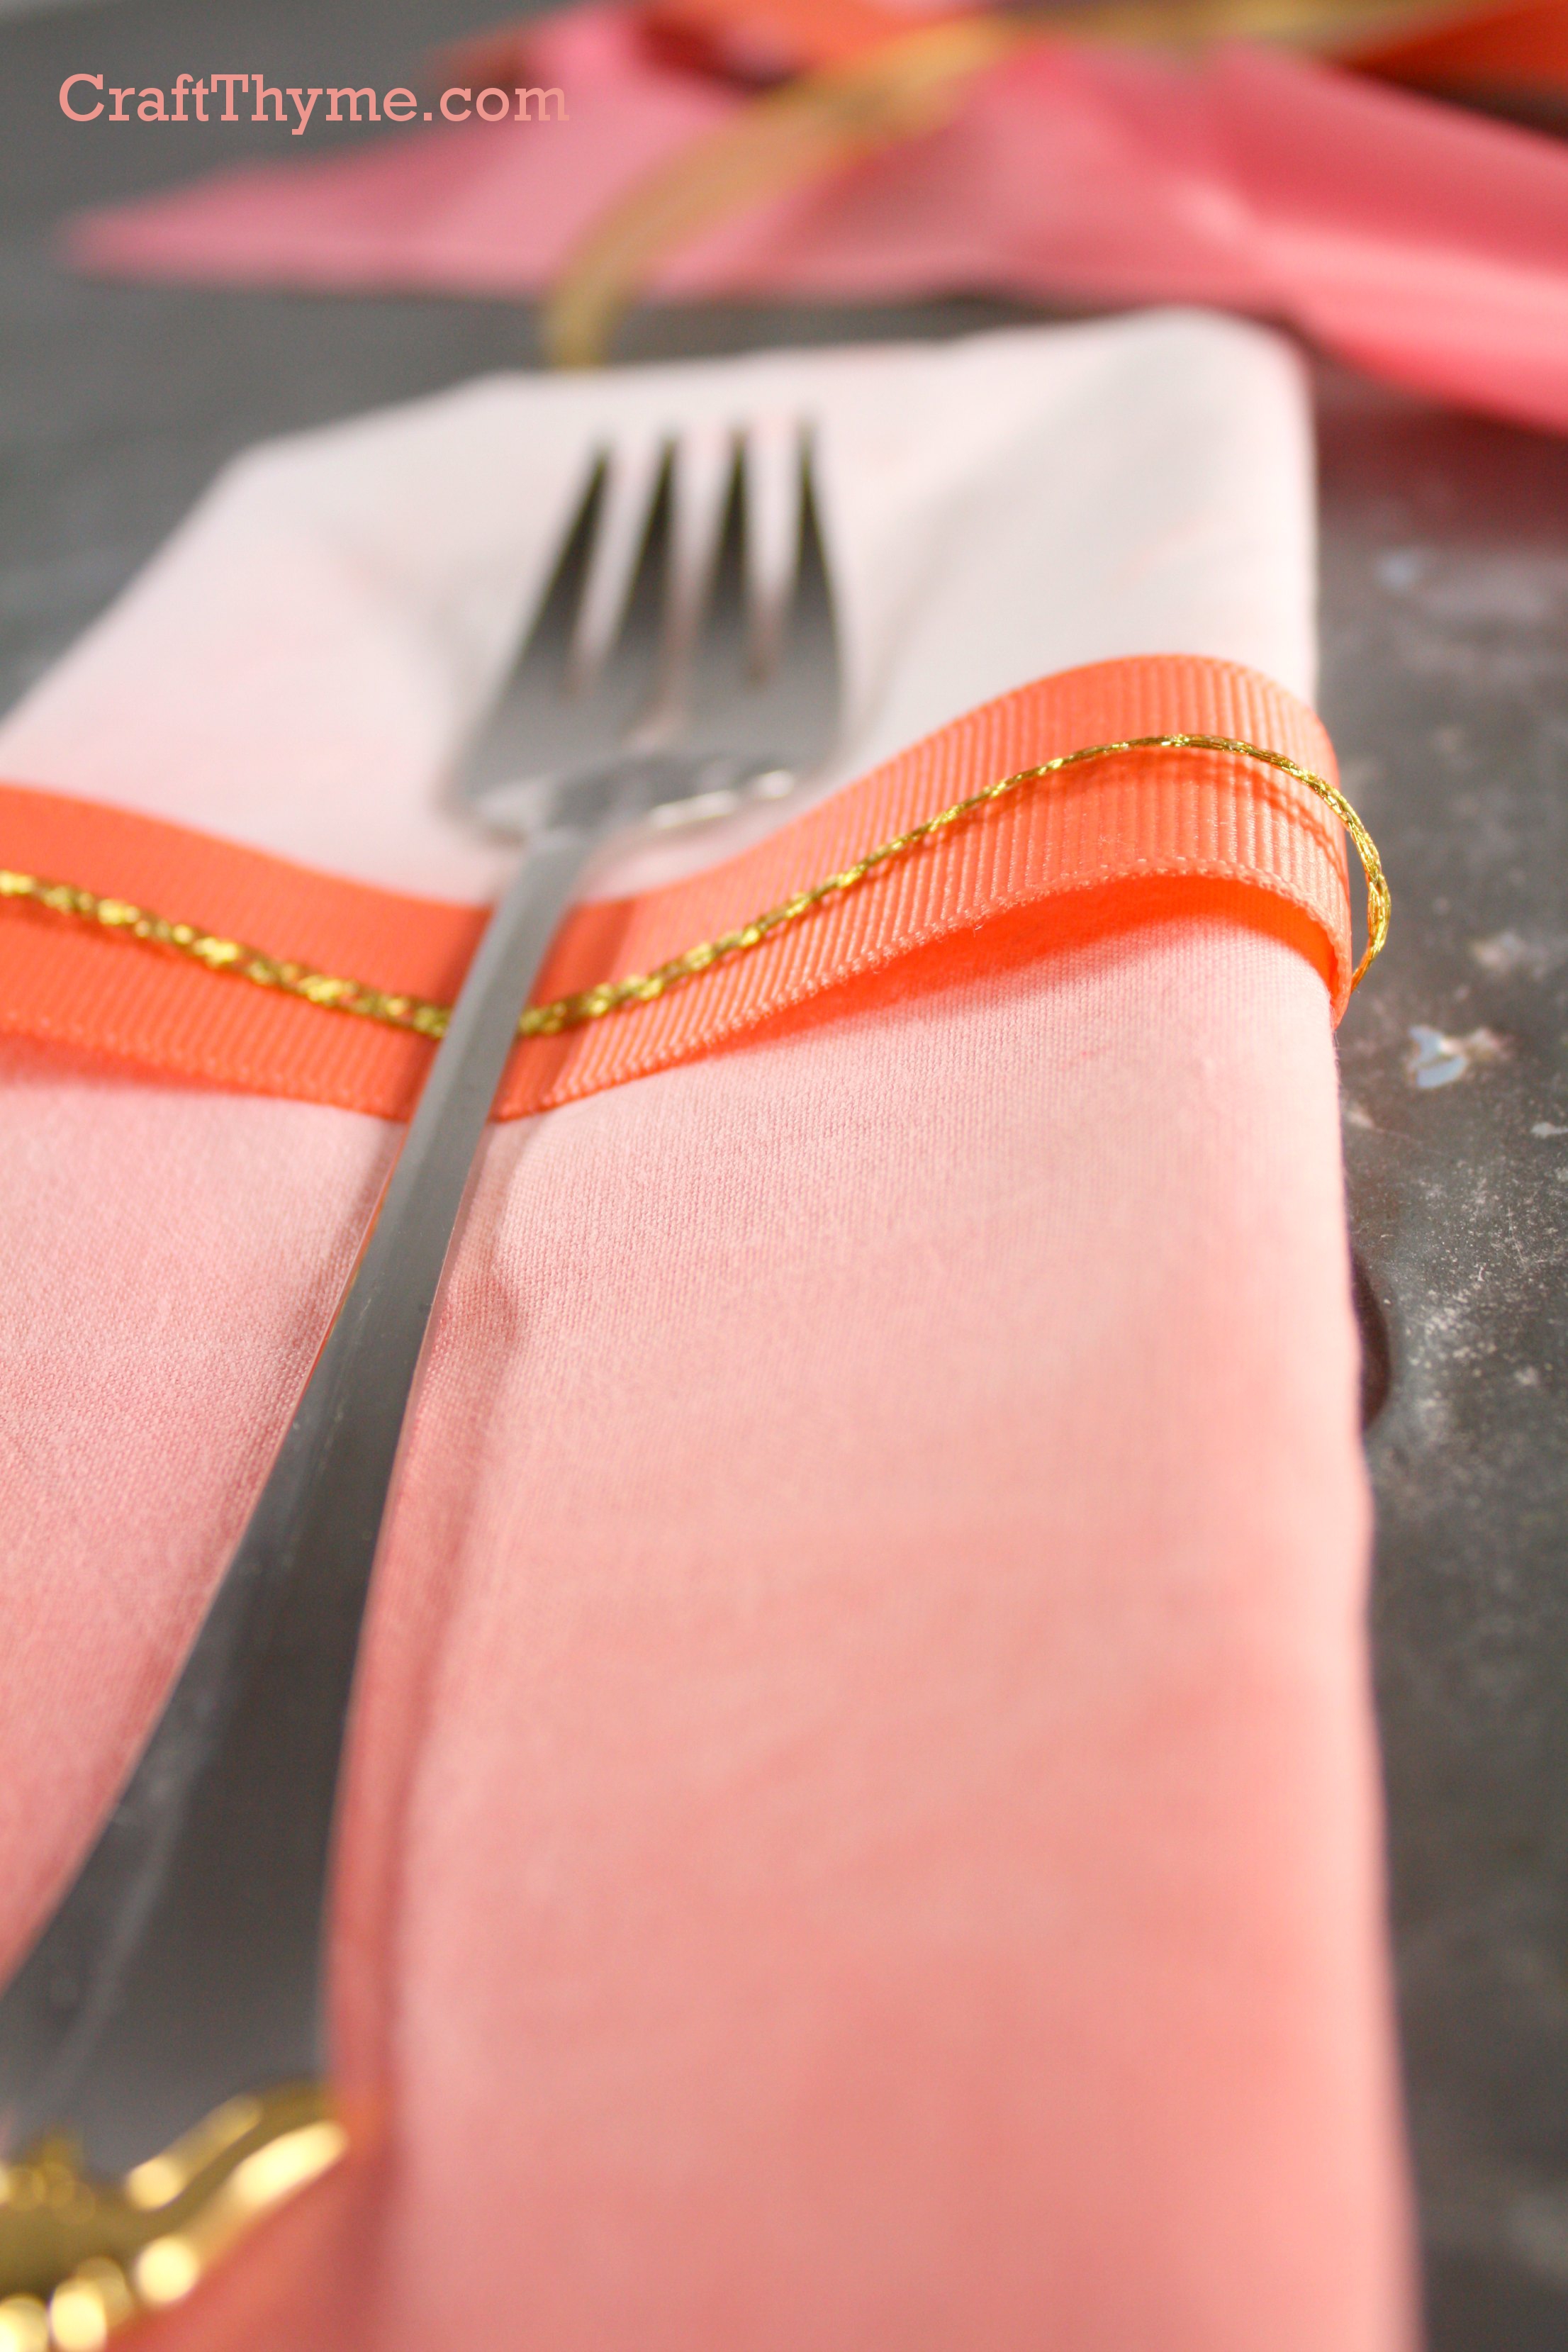
These final napkins where used in my Summer Pink Lemonade Table Setting seen here.

Notes

I already mentioned one important point.  Shiny-side up.  When done I let mine sit for 24 hours to fully cure.

I did hand wash them and the gold stayed put.  I believe it would hold up through a gentle cycle as well.  I just wouldn’t put these napkins up to a BBQ or Crab leg challenge.  But for a special occasion they work great.

It took a bit of practice to do a good application of glue and foil.  If it is your first time I would suggest buying an extra sheet or two of foil to practice with.  The napkins were completed after many trial runs that took to realize how to apply the glue and that burnishing helped.

Finally save your foil sheets if they have any left.  The little flecks make for an interesting effect when pressed into glue

Enjoy these articles?  Get periodic updates by joining my mailing list (no spam, no way, no how) or subscribing to my RSS feed.

Posted on 16 Comments

How to Ombre Dye Fabric

Ombre dyed napkin in peach and pink

I seriously doubt I am the First Hundreth blogger to give a tutorial on how to ombre dye fabric.  However, I am very particular about getting smooth even transition from color to color and this tutorial shows you how to achieve a better finish.  I used to dye costumes in college to match a certain director’s choices (I worked in a semi-pro costume shop as a stitcher) and I learned a lot about fabric and how it holds color. On to the directions for how to have a smooth ombre dye:

Ombre dyed napkin in peach and pink
See the smooth transition from pink to white…. Oh that is sooo nice.

Supplies

Supplies to ombre dye napkins

Dye (I tried Dylon Dye* for the first time in this post.  Rit Dye* works fine too)

Multiple large pans for dyeing

Water (very hot if you can’t heat it)

Salt or other chemicals to set the dye

Fabric (Cotton, Silk, and Rayon work best with most dyes.  Specialty dyes, temperatures or agents may be required for other fabrics.  Don’t be obstinate, read the directions)

Iron

Old Towel or piece of fabric

Pre-Step:

I can’t emphasize enough that the fabric be pre-washed.  Even if it ‘claims’ to be ready to dye.  During that pre-wash detergent that is used must be thoroughly rinsed out.   UNDER NO CIRCUMSTANCES use fabric softener in the pre-wash.

Step 1 Bathing the Dye or Preparing the Dye Bath :)

Preparing a dye bath with Dylon dye.
I’ll admit, I’m a little kid inside. I love to watch the dye swirl around.

Follow or Discard the directions on your dye.  While this may seem counter-intuitive what I mean is ask yourself a question.  Do I want the color of my fabric to come out even and exactly like the dye packet?  If yes, then follow the dye manufacturers guidelines.  If you are going to mix colors and experiment then go for it!  I added a ton of extra water and a little orange to get a pastel-peachy dye.  Totally not kosher according to the package.

Important: prepare the dye for the darkest color you want to achieve.

Step 2: How the Hell Do I Know How Dark It is?

Dye test strips
The more dye you mix the better you are at gauging how much you need. I thoroughly ‘fubar’ed my first bath up because Dylon dye is waaaay darker than Rit. Wasted a ton of dye which makes me angry. It isn’t exactly cheap.

Here is one of the MOST important steps in dyeing.  Test Strips.  I don’t care if you are peeling a string out of a hem. Get a thread to test with at least.  Because the chances the color is going to be right on first dye dip are slim.  You’ll need to adjust color or time in the bath.  And maybe even more important RINSE AND DRY THE TEST FABRIC.  I rinse under cold water and iron mine because I am impatient.  See how the middle sample is so much darker?  That is still wet, while the one on the right is partially dried by the iron.

Note: the old towel is used because a little dye comes off while ironing.

Step 3: Dilution

Watering down the original dye to make three colors

Once you have gotten the dye to your liking take some of it and add it to a bowl and dilute it in half. Basically add the same amount of water as you did prepared dye.  Then take the diluted solution and add it to a third bowl and dilute it in half again.  I like to test my dye and make sure the three colors are different enough to be noticeable.  Sometimes this requires adding a little dye or water to make three distinct colors.

Once you have them to your liking take your fabric and dip it in the lightest color as high as you want your ombre to go.  Finally set a timer and move it around a little (up and down) every few minutes. This will make the dye line more subtle.  My first dip was 15 min and I moved it around a little every 5.  I don’t pre-wet my fabric as I like the dye to wick up the fabric slightly during an ombre process.

Step 4: Dying for Dyeing

Three stages of ombre dyeing

Here is the boring part.  You have to do the same process as step three for all three solutions.  Next you dip in the medium strength solution about halfway up the dye part.  Wiggling it in and out of the dye line to make the edge more gradual.  Finally, you hit the tips with the darkest.  As you can see I did multiples at a time; moving one from one bath to the next in rotation.  It is really tempting to put a bunch of fabric in each pot to speed up the process…  Resist.  I repeat: Resist.

When you are done rinse them well under cold water BEFORE washing.  Extra dye will stain the white or light portion of the fabric no matter what.  Rinsing keeps this to a minimum.

Finally wash and dry your items as suggested by the dye manufacturer and fabric type.

Pink ombre dyed napkin
I folded the fabric in half and did both ends at once to get this ombre look on both sides of the napkin.  Also didn’t iron it… In case you were admiring the wrinkles.

Notes

As usual gloves are useful for not dyeing your hands… And as usual I did not have any and ended the day with nice pink fingers.

Fabric with washable gold foil or leaf addedWhile these napkins look pretty good, I took them one step further by adding gold foil (a kind of fabric friendly gold leaf) to the edges.  Tutorial for gold foiling fabric will be up 8/8.  Here is a preview.