Posted on 10 Comments

Grow Marigolds! They Are Awesome!

Every garden can use Marigolds. Find out these fun facts about why you need to add marigolds

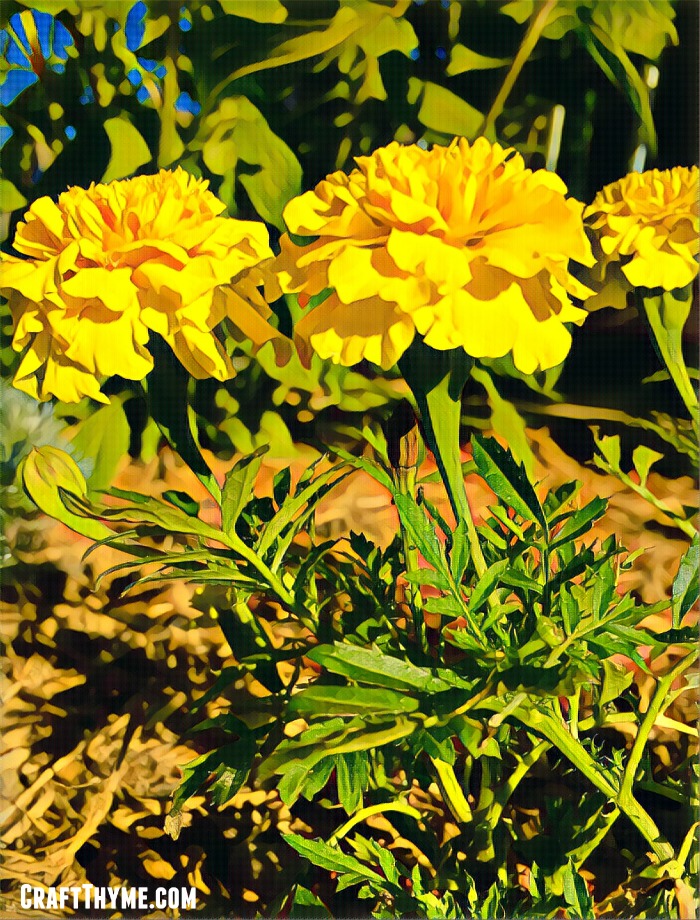
Grow Marigolds… Let’s be honest, marigolds seem kind of out-dated. Yellow or orange balls of flowers you can get for $1 at big box stores. Sure they add some color, have a slightly strange scent, and weather neglect pretty well, but in reality they are just kind of the bland work horses of the garden. They are like the grandma of flower gardens and I resisted growing them for years!  Except they AREN’T outdated; marigolds are awesome!

Grow Marigolds

First, let’s just discuss the plant itself. Marigolds (or Tagetes for you Latin purists) are native to North and South America. Many of flowers in American garden’s are not usually native, so if you are from North or South America you should get some gardening brownie points just for using a native. Marigolds come in both annual and perennial varieties, though, most of the varieties you can get in the big box stores are going to be annuals.

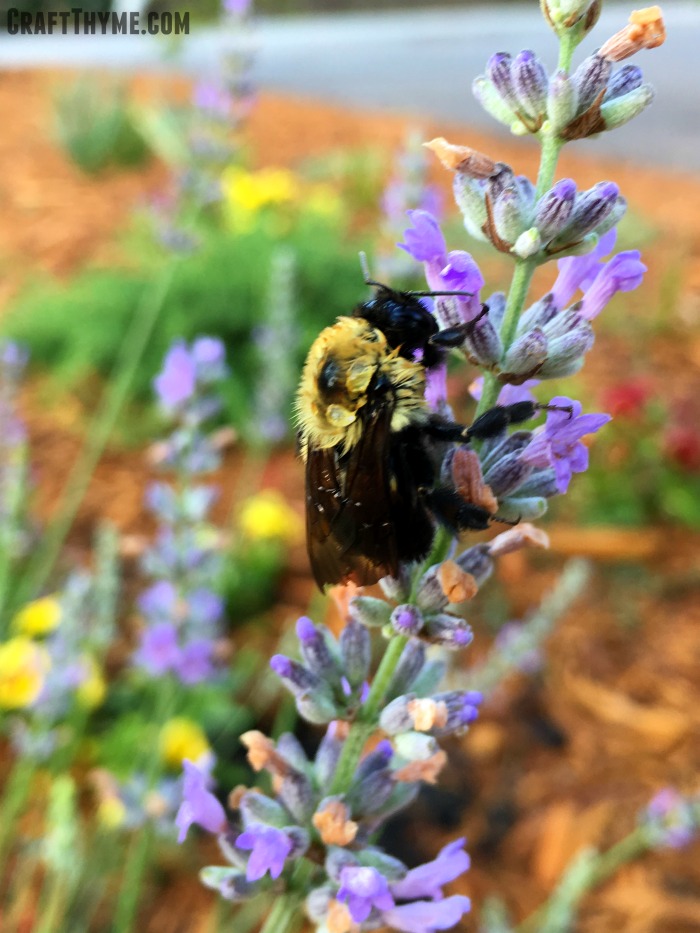
That funky smell? BREATHE IT IN!  Well in some varieties it has been bred out, so if you don’t like it do not despair!  You can find a marigold that suits your sensitive nose. I, however, want that smell. You know why? It makes marigolds unattractive to predators (deer, bugs etc). In addition it ends up making plants grown next to them unattractive. So grow next to your tender cabbages, tomatoes, etc. Just keep it away from your legumes as marigolds have been known to interfere with their growth.  I have personally found the numbers of aphids and other pests tend to be significantly smaller on veggies and fruit surrounded by these lovely yellow and orange marigolds.

Growing marigolds is easy, but you can always buy them in most garden centers

Fun Facts

Marigolds are used to flavor and to color dishes in South America. They are also used in many Hindu religious ceremonies. I saw tons of them used in Holi to make beautiful garlands and necklaces. They are also often used to celebrate the day of the dead in Mexico. It is said you can feed marigold flowers to chickens to increase the color of their yoke. I have yet to try this experiment but I might this next summer and let you know how it goes.

Marigold garlands found in a temple in India during Holi
These marigold flower garlands were hanging throughout temples during our trip to see Holi in India.

How to Grow Marigolds

These flowers are perfect for first time gardeners. They will grow in almost any soil, deal with fluctuating water, and are very pest resistant. They grow easily from seed, which is why so many teachers send kids home with marigolds around Mother’s day.

Basically a marigold is as close as you can come to a pretty flower that needs minimal intervention.

Plant after danger of frost, as most marigolds prefer nice warm weather and full sun. Most Marigolds will sprout from seeds in 1-2 weeks. You can expect flowers to show 1-3 months after planting seeds. They do wonderful as starts you can transplant out or directly seeded in the ground. Transplants can get you blooming in late May to early June. Expect direct seeded to get going late June to Early July.

If you are buying marigold plants I like to pick plants with only a few open flower buds, so I can get the first good show of flowers after it acclimates to my soil. However, since most varieties will re-bloom feel free to grab a marigold with open flowers for instant color in your garden.

For the best blooms you will want good, well draining soil with a high organic content (really what plant doesn’t like that). Regular watering that allows it to dry in-between is preferred. As the blooms die cut them back (dead head) and it will bloom more. You can expect most commercial varieties to bloom from spring through to frost. As long as you cut off the old blossoms.

Marigolds mixed with vegetables like these scarlet runner beans make for an attractive garden.

Now to the Good Stuff

Marigold varieties! There are way more choices to be had than one would realize.  Which is why i saying growing marigolds is no longer just the business of little old ladies and elementary school children. You can pick plant sizes that go from tiny 6-12 inch to some truly spectacular varieties that grow more than 5 feet tall. I think most of us have seen the plain yellow and orange marigold varieties, but did you know you can get your hands on an almost white one? Green tinted Marigolds? How about an orange so dark it is almost red? Stripes? Ball shapes, daisy shapes, tiny florets, two toned petals? Marigolds have all of these and more.

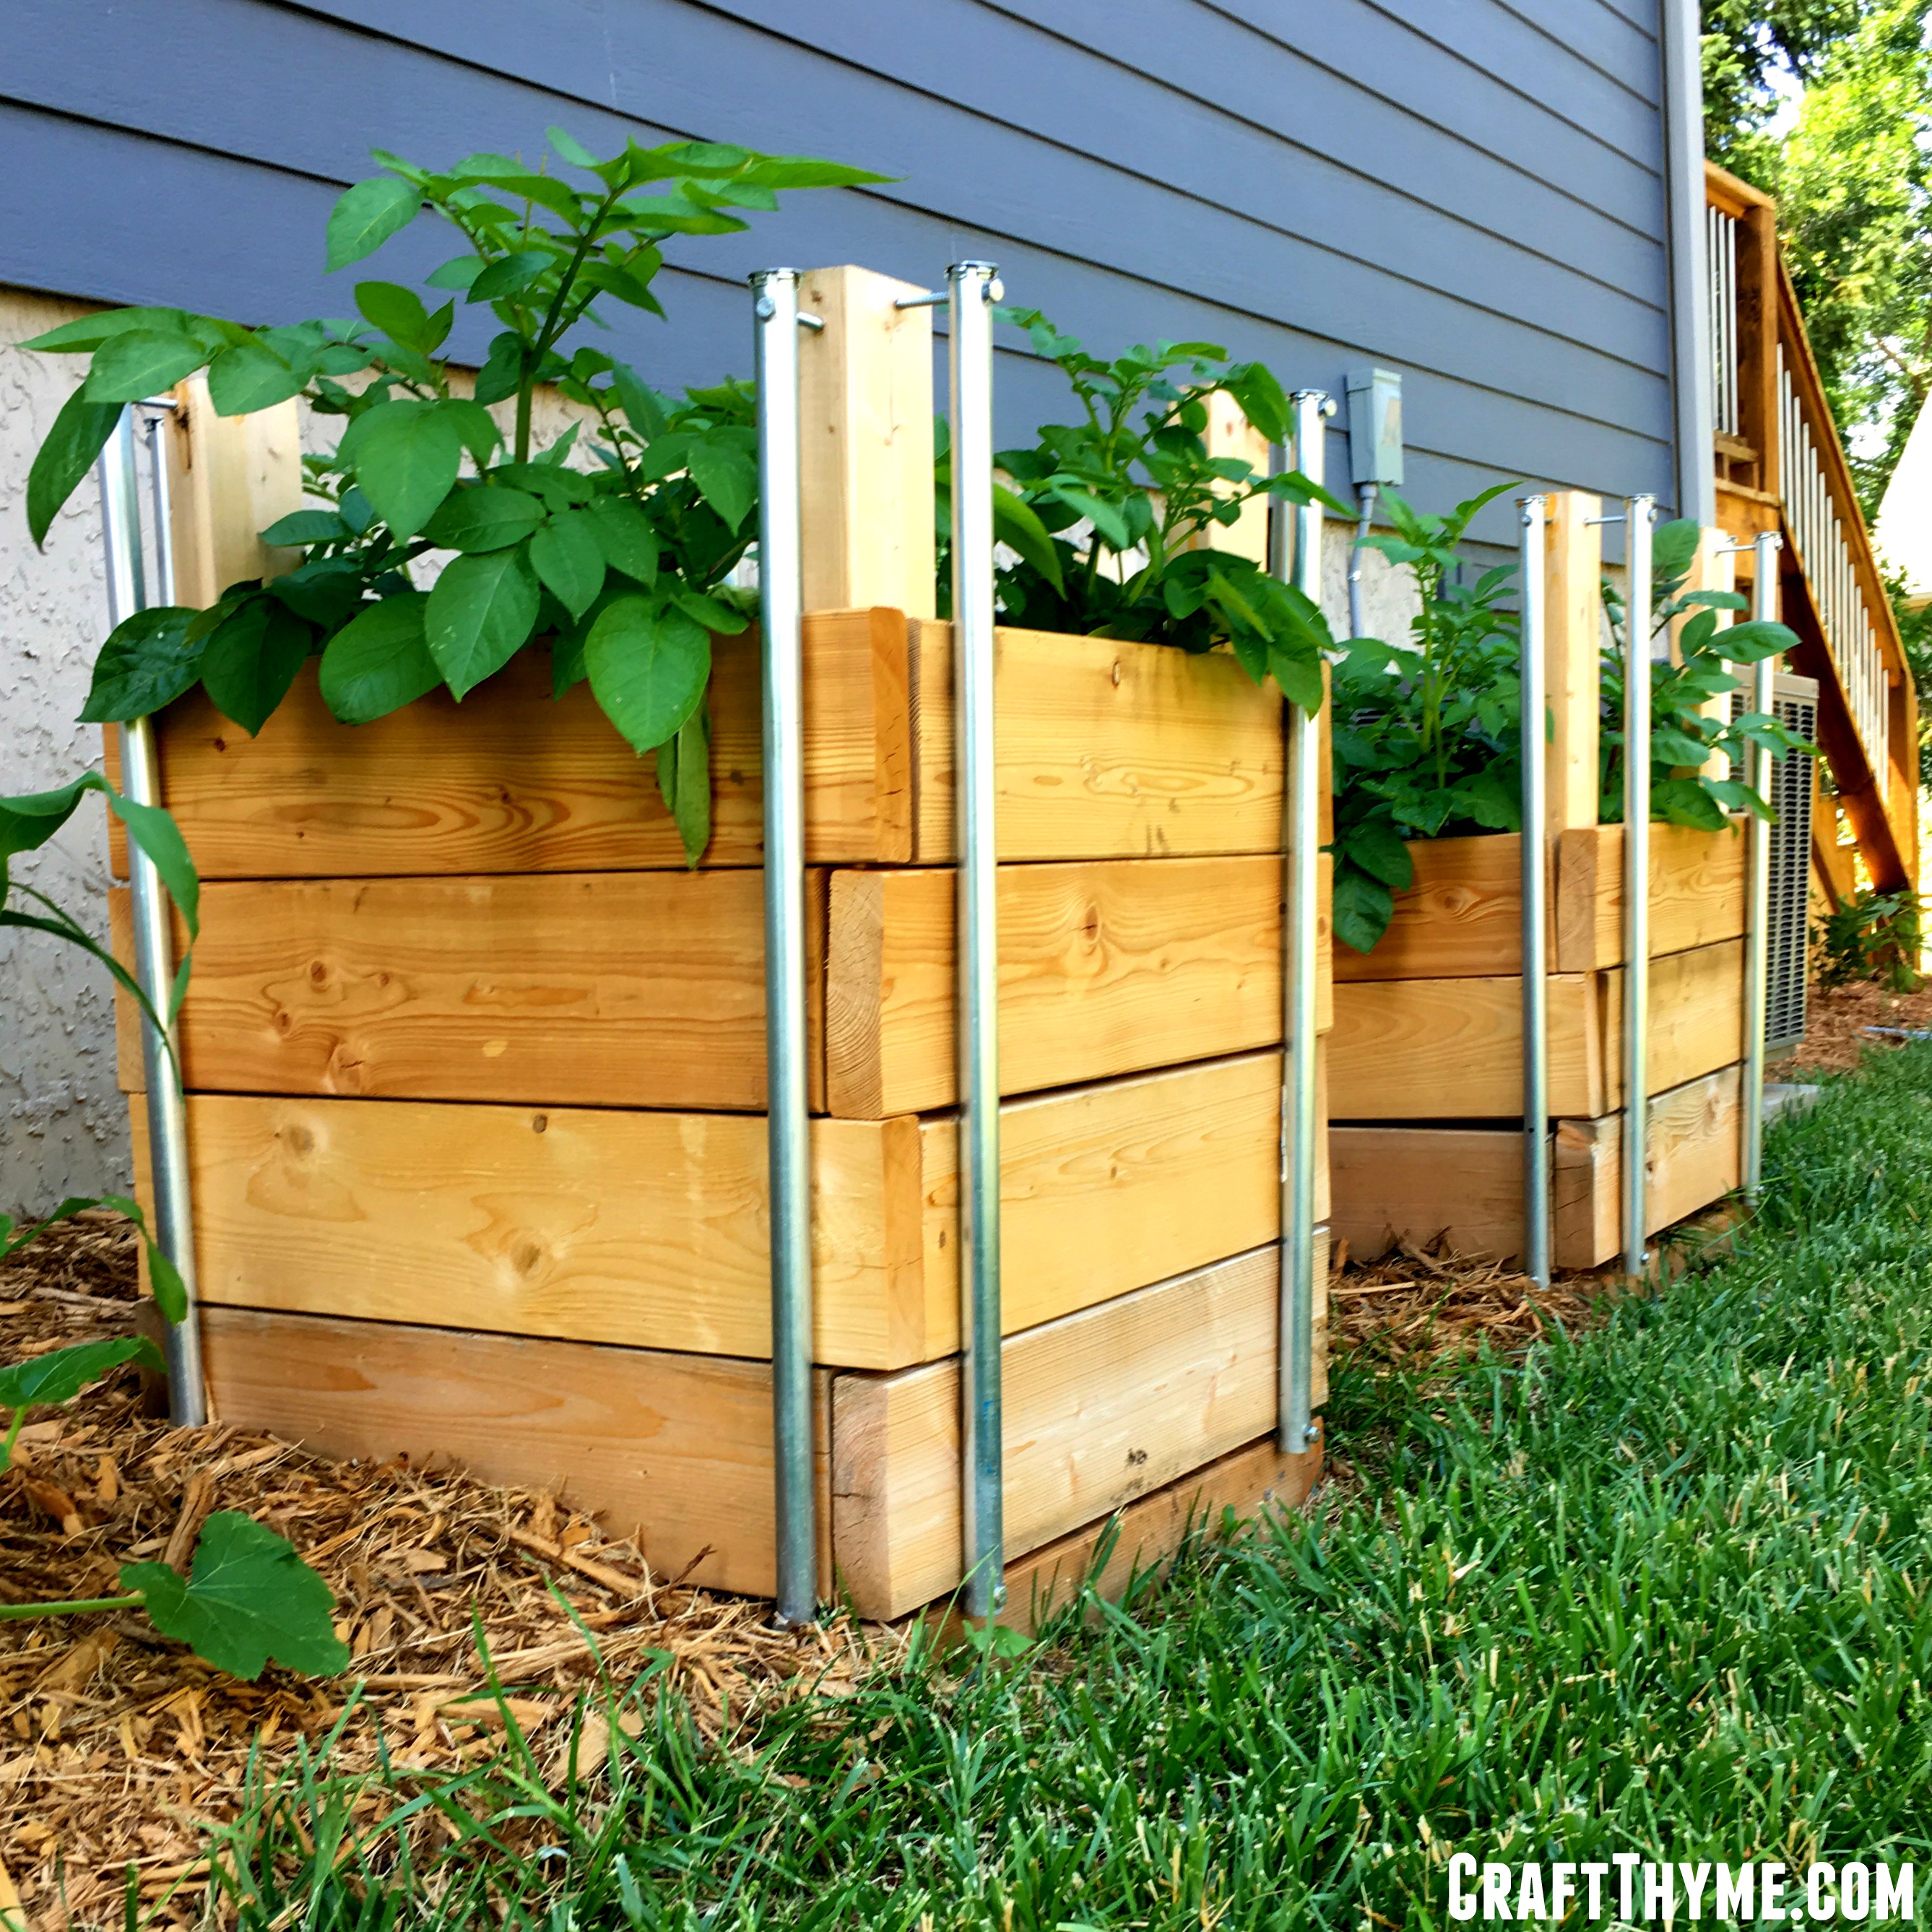
I am personally trying some adorable teeny-tiny yellow marigolds this year from Sow True Seed. (affiliate link to follow) These lemon gem flowers should be showy in the new raised beds.

Marigolds mixed with other flowers in a potted border in India.
Marigolds add a bright warm punch to other flowers. This potted border had just started blooming when I visited India.

So expand your gardening past the basic ball shape and add some low growing varieties to drape over the edges of raised vegetable beds or as the border of a path. Plant a drift of large vanilla flowered marigolds to set off other pink, purple, or red showstoppers. Or just put a lovely stripped version in a flower pot to add some sunny notes to your windowsill. Marigolds size, shape, color variety and ease of growth make them more than a boring work horse for your garden. They open up the possibility of beautiful base flowers for the entire summer, so you can focus on more finicky flowers and vegetables.

Every garden can use Marigolds. Find out these fun facts about why you need to add marigolds to your garden and how easy they are to grow.

Every garden can use Marigolds. Find out these fun facts about why you need to add marigolds to your garden and how easy they are to grow.
Posted on 7 Comments

Bees and Butterflies on the Rebound

Bumblebee on lavender

This week is pollinator week in in the United States.  National Pollinator week was created to bring awareness to all pollinators which include bees, butterflies, birds, and and bats.  In case you weren’t aware Asheville is a certified Bee City, USA.  There is a week long celebration to bring awareness to pollinators. As gardeners, I tend to think we take mental notes of all the environmental gloom and doom we hear. Global warming, bee colony collapse, droughts, pesticide, and the myriad of other environmental disasters that we both contribute to as humans and feel absolutely overwhelmed to stop. Well guess what, today I have good news! Honeybee and butterfly populations are on the rebound. The general scientific community believes this is in large part to increased interest in bee keeping AND gardeners like you and me.Butterfly on a flower

While it may be too early to tell it certainly looks like everyone had an impact by increasing habitat that was beneficial for pollinators. For example, monarch butterflies at their smallest population level were covering 1 hectare in their Mexican over wintering grounds. This past year they covered 4 hectares; nearly 3 times more than previous years! Some of the butterfly rebound can be attributed to favorable climate this past winter, but also to programs of planting herb and pesticide protected stands of milkweed. The plant necessary for monarch butterfly life cycle. Additionally, the Mexican government worked WITH the US government on this project. The US planted milkweed and Mexico work to crackdown on illegal logging in protect monarch forest land. How is that for some warm fuzzies and feeling like you make an impact?!

Throughout the US, Canada, and Europe the number bee hives have increased between 10-15%. This is due in large part to education about bee colony collapse and a renewed interest in backyard bee keeping. Additionally, increased interest in pollinator gardens have given more urban habitat for these small pollinators. Wonderful news all around!

Unfortunately it is not all Rainbows and Unicorns

Except, there are still issues for both honey bees, butterflies and other pollinators, despite the recent rebound numbers. First, lets tackle the bee situation. The colony increase are mostly due to an influx of beekeepers. These beekeepers are still reporting losses of 40-60% of their hives every year. Imagine if you lost 60% of your garden! or 60% of your craft projects failed! Every year. After Year. Shoo… I doubt most of us would keep at it. So there is a lot of concern that the be rebound is temporary because it is a hot button issue and the general colony collapse problem hasn’t gone away (and this is not the post to discuss those potential causes). It is still devastating any wild honey bee populations! The increase in butterflies is fragile and new. We are looking at basically 10 acres holding almost every monarch butterfly in the world. Logging those acres or remove their milkweed and we will be right back where we were. But do not get discouraged. Human efforts are making an impact in both places.Bumblebee on lavender

What As Gardeners Can We Do For Bees?

Gardeners can make a huge impact by offering plants for pollinators. Even if flowers aren’t your thing adding in a few lavenders or butterfly weed (milkweed) plants offers a respite for traveling bees and butterflies. Extra benefit, both of these plants are perennials so you plant them off to one side and forget about them. They will continue to benefit both your garden with plentiful pollinators for your fruits and veggies and benefit the insects with increased habitat.  Additionally they attract other types of native bees like bumble bees and mason bees.

If you want to get more involved you can work on cultivating a true pollinator garden. Here is just a short list of some plants that pollinators love and are easy to find at the local garden center. Plus not all of them are flowers. Many herbs also attract pollinators as good places for caterpillars and food when they flower.  Here are some of my favorites with affiliate links if you want to purchase.

And if you want to be a gold member of the ‘increase pollinator club’ you can leave a certain amount of ‘wild space’ and attempt to attract native bees as well. Wild space gardening has popped up all over Asheville. I’ll let you read up on their facebook page here. But the general idea is to have a healthy 4 foot by 4 foot space of wild friendly plants.House for Mason Bees

We have opted to do a combo. I am adding a number of pollinator friendly plants PLUS we just hung our first mason bee house to attract mason bees next spring. (Quick PSA: if you are interested in the complimentary butterfly house don’t bother. I researched it and they do not attract butterflies. I was sad, but happy I didn’t waste the money). I’m not opting for a honeybee hive as I really do not have the necessary property to adequately support a nice healthy hive. I went to a few classes and you need a certain number of clear feet just for them to enter and exit the hive. SIGH! Maybe the next house!

Now mason bees I can do. I’ll save all the details about them for a different post, but suffice to say they are tiny, native pollinators. The pictured house does attract them, they are safe non-aggressive bees (the males can’t even sting), and they are native to the entirety of North America. So we are going to try to attract these little green, blue, and tiny honeybee colored bees to our house while also adding more herbs, flowers, and plants to offer shelter to all pollinators. That way we can contribute to the awesome bee and butterfly rebound.

Bee hives in Chicago
Though some bee hives are not in my immediate future I did fine this located right in the middle of Chicago.


Posted on 7 Comments

Craft Thyme Does Canning!

If you have read Craft Thyme for any length of time you have probably realized we aren’t a cooking blog!  That being said, we (especially Adam) are decent cooks.  In addition to gardening and DIY I’m a not too shabby baker, but one of my hidden talents is canning.  If you do any type of vegetable gardening you will find that you have a surplus of something from time to time.  Canning is a great way to use up that produce without composting or giving it away.

If you have never canned it is easy and fun and takes very few tools.  I had the leisure of learning from my parents who make some amazing pickles, jams, and jellies.  However, if you do not have a family tradition of canning it is really easy to learn.  In fact, I wrote a guest post over at Creative Savings all about getting started with water bath canning!

canning-101-square

Please make sure to go check out How to Can over at Kalyn’s website! Book mark and save it for later this summer when you are over run with beets, cucumbers, squash, etc.  It will be a perfect way to save your produce and your dollars.

Posted on 71 Comments

How to Build Potato Boxes

Potato boxes

Short on garden space? Then a potato tower or potato box may be just what you need and we can show you just how to build a grow tower.  We currently have a smaller yard that we have worked hard to create an attractive edible landscape.  Growing potatoes in the ground doesn’t exactly conform to the small tidy asethetic we have going on.  I had taken a class on intensive gardening and recalled there was such a thing as a potato tower.  You can google potato boxes, potato towers, grow towers, and grow bags to get a visual on options.  All of these items are ways to grow potatoes in a small spaces, however, some are more aesthetically pleasing than others.

The basic idea of a potato box is you start at a bottom level and plant potatoes.  Then as the potatoes grow you add a level of wood, fill in with dirt, leave a few leaves poking out the top, and continue on up. Growing potatoes in this method should yield potatoes all along the buried stems.  The drawback to this method is you usually have to screw in each level as you go, buy tons of dirt, and it ends up looking like a plain wooden box. Don’t even get me started on the aesthetics of grow bags… While, we can’t help you with the dirt (it will take a lot), we did design a box with slide in slats, that matched the porch and trellises we have around the yard.  Using untreated wood (we aren’t huge fans of tons of chemicals around food we plan to eat), conduit, and some bolts, we made two potato towers that should last a few years.Potato boxes

How to Make a Potato Box

Materials

  • 1 – 2″ x 4″ x 144″
  • 1 – 2″ x 4″ x 96″
  • 5 – 2″ x 6″ x 96″
  • 2 – 3/4″ x 120″ Conduit
  • 16 – 5″ Hex Lag Bolts
  • 2.5″ Wood Screws
  • 1/2″ Drill Bit
  • Drill
  • Hammer (may be optional)
  • Nail set/Hole Punch (may also be optional)

Cut List

  • 4 – 2″ x 4″ x 33″ (From the 144″ board)
  • 2 – 2″ x 4″ x 24″
  • 2 – 2″ x 4″ x 21″
  • 10 – 2″ x 6″ x 24″
  • 10 – 2″ x 6″ x 21″
  • 8 – 3/4″ x 30″ Conduit

Potato Tower Construction

Construction of a potato box is rather straightforward – you’re just going to build a box several times over!  But first, we need a frame….

Potato Tower Frame

Lay two of your 33″ boards side-by-side with approximately 14″ between.  Use one of your freshly cut 2″ x 4″ x 21″ as a guide (3.5″ + 14″ + 3.5″ = 21″) to make this step a breeze.  Once evenly spaced, place one of the 2″ x 4″ x 21″s on top of one end the 33″ lumber and securely fasten with screws.  Your finished product should look something like a big U:

basic frame for a potato box

Repeat this same process using your two remaining 33″ sections and single remaining 2″ x 4″ x 21″.

Next, connect your two frames using the 2″ x 4″ x 24″ sections you’ve already cut. The 24″ board should fully overlap the existing frame.  Once fastened with screws, the resulting frame should be 24″ square around the bottom.

Conduit Slat Bracing

This is by far the hardest part of this project.  This is where you put in the work ahead of time to make management of your potato boxes easy.  This is where you wonder why you chose this route in the first place.  This is where the desire for an awesome look and feel comes together and you realize it was worth all the effort.

Why is this step so tough?  In order to use conduit as a bracing mechanism, you’ll first need to drill a through-and-through hole at the top and bottom of each piece of conduit.  Prior to drilling, mark your conduit 3/4″ from each end (and make sure your marks are in alignment!).

If you’re using a drill press (highly recommended to make this process a breeze), clamp your conduit to your drill press base and slowly drill a hold completely through the conduit where marked.

If you don’t have a drill press (like us), get ready for some fun….  Using a nail set/hole punch, make a small dent in the conduit where marked.  This small dent will allow your drill bit to grab enough of the conduit to start drilling.  Manually drilling into conduit is hard work.  Even after punching the conduit, starting the hole may be easier said than done.  Take your time and don’t rush the process.  Wear safety goggles, be patient, and stay safe.

Once you’ve drilled your 16 (gasp!) holes, it’s time to attach them to your potato box frame.  Using you 5″ hex lag bolts, begin screwing the conduit to the frame at the BOTTOM of the frame just above the bottom of the U.  As you do this, use one of your 2″ x 6″ boards as a spacer.  Repeat at the top of the conduit, then repeat for all remaining conduit pieces around the frame.Attaching bolts to potato tower

Make sure not to over tighten the conduit at this step.  You need to be able to slide the 2″ x 6″ boards in and out easily.  If you did over tighten, back the lag bolts out just a bit and you should be good to go.  Test sliding boards in and out of each side to ensure proper installation.

Test Fitting the Potato Box
We test fitted all the slats before installing

Slats

If you’ve already cut your 2″ x 6″ x 21″ and 2″ x 6″ x 24″ sections, this step is complete!  What do you do with them?  Keep reading….

Installing Your Potato Tower

If you have a nice level surface all you will need to do is put your tower on the ground, remove all the slats, and fill the bottom with dirt.  The frame and conduit make it nice and sturdy without a lot of fuss.  Unfortunately for us we live in the mountains; level surfaces are in short supply.  In those cases you may need to dig down slightly and make a level surface.  Since we had gone to the trouble to make such pretty boxes we used them to screen our HVAC unit.  The location meant that the backside of our boxes were slightly covered.  I figured, no big deal, as we were going to fill the first level with dirt.  In fact I used some of the excavated soil to begin filling the bottom of the boxes.Installing a potato box

Growing Potatoes in a Potato Box

While there are lots of techniques and details for growing potatoes in potato towers we are just going to go over the basics in this post. I highly suggest starting with a quality seed potato (Affiliate links to follow).  Luckily my favorite seed store, Sow True Seed, also has seed potatoes!  They even taught a potato planting class for free.  Love local companies!   We pre-sprouted (chitted) our potatoes, which involved setting a bunch of potatoes next to our grow lights a few weeks in advance.  Then we simply made sure each piece had at least a few viable sprouts put them in the dirt and covered them up.  Just water and go.  They have shot up much faster than expected so we have already had to put in a few levels and more dirt.  The one drawback of this method is the need to haul in soil.  However, my plan is to use the pile the dirt behind the boxes at the end of the year and mix in chicken manure to let it mellow all winter.  I figure after a couple of uses I’ll move it to the raised beds and get some fresh soil.  Basically making an in-place crop rotation.First tier of the potato tower

The nice piece about using the slide in slats is that we are going to attempt to pull out some potatoes mid-summer.  Slide out a slat, reach and and pull some potatoes, replace the dirt and put the slat back.  Not sure if it will work as expected but figured that is half the fun of gardening: Experimentation Potato Box Style!

growing potatoes in a potato tower

How to make a potato tower

Posted on 17 Comments

Why Good Dirt Is Crucial For Your Garden

Why good dirt and soil is crucial for your garden

Let’s get the dirt on dirt. Preparing your garden dirt or garden soil is key to a successful growing season. It may sound silly but your soil is the basis by which everything happens. Good dirt is necessary to support, feed, and grow beautiful vegetables and flowers. Frankly, if I am going to go to the trouble to start seeds, plant starts, weed, fertilize, and water I am damn well going to want to have spectacular vegetables. Without a good base for the plants all those mentioned activities will still result in sad looking plants.

Why good dirt and soil is crucial for your garden

If we can all agree the soil is the basis for growing good specimens then we should all agree on the best way to prep the soil. Except that would be wrong, wrong, wrong! If you get in-depth with gardening you will find that every gardener has their own special technique, blend, and plan for their garden soil. Do not question them and do not try to change their mind. People can be terrifically rabid about this process so I just nod my head and agree that cracking 15 eggs and stirring them in the soil in February while singing positive songs of growth is absolutely essential to getting perfect tomatoes. I have my own rabid opinions on my garden, but what I am sharing with you about soil prep is the absolute essentials for a first time gardener.

Key Components of Good Garden Soil

  1. Mineral
  2. Organic Matter
  3. Moisture
  4. Air
  5. Living Organisms

Mineral Balance in Good Dirt

Minerals are just the rock like particles you think of as dirt. If they are large then you end up with soil that seems sandy, if the particles are small you get the hard fired clay like baseball field that is my yard. (ask me how I really feel about my soil). I’m not going to go into all the different soil types, but what you hope you have is nice mix that is neither sand nor clay. Loam, as it is known will help maintain the delicate balance between having too much and too little moisture retention. it also allows for air to more easily be retained in the soil.

Organics Are Not Just For Groceries

Organic Matter is one of the key components of feeding your plants and living organisms but it also really impacts your moisture retention. The organic matter is decayed leaves, bugs, roots, etc that is mixed in the soil. Compost is a good example of a large heaping helping of organic matter. Plants will further break down organic matter and use the nutrients to feed themselves and the organic matter will absorb water trapping it in the soil and allowing plants to get moisture. High organic matter in your soil can really cut down how much you have to water as well as fertilize.

As I Live and Breathe

Air? Say what? Yep, air needs to be part of your soil. Roots need space to grow and actually need CO2 and oxygen in the soil to survive. Compacted and hard soil will cause roots to be small and stunted. In many cases this can cause the plant to die or at a minimum not thrive.

Icky Bugs Need Love Too

Living organisms. Yes, unfortunately all those creepy crawlies in your soil serve a purpose. Except spiders, spiders can burn in hell. Yeah, yeah, they actually serve a purpose too. Worms, borrowing insects, and a slew of microscopic organisms are important to your plants. They serve to aerate the soil, break down organic matter, and aid plants in absorbing nutrients. Did you know that with the proper bacteria nitrogen fixing plants like peas can actually add to your soil?!

Pretty dirt! Loose rich garden soil looks like this. Dark with lots of organic matter and small clumps.
Now this is some good dirt. Dark, rich, with small clumps of organic matter!

So How Do We Make Good Dirt

So how do you get such good dirt? Mix in a bunch of crap and go? Well not exactly. Let me get all hippy on you and say good soil is a “process man”.

We’re generally a no-till/digging kind of family BUT if this is the first year you are establishing a bed and you aren’t buying garden soil then you may have to avail yourself of some digging. You can till your garden or double dig. I prefer double digging, but it is an incredible amount of work. I think it sets up your garden soil for better long term usage but again, if the difference is between someone gardening or not because it is too much work then borrow a mechanical tiller from the neighbors and go to town. The key here is you are going to do this ONE TIME ONLY. So when you dig add in tons of organic material, ground up leaves, soil conditioner (ground up bark), and compost are my go-to amendments. DO NOT, I repeat DO NOT add sand to clay soil. Logically you would think that would help, but nope. Big old cup of nope. It will make some godawful concrete like substance when mixed directly with clay.

Sometimes you just have to dig. With a mattock. And a shovel. And a rake.

Digging and adding amendments are going to add the air and organic matter to your soil. The organic matter will help add moisture and attract organisms. Those organisms are the reason you are only going to dig this one time. I know fluffing the soil is fun, but to get really good soil you need to let nature take its course. Organisms will build colonies of bacteria and fungus, worms and ants will dig tunnels to bring in air, and all this will work together to give you nice healthy soil over time. The only thing you will need to do to fuel that is continually adding layers of organic matter to the top of the soil throughout the growing season and when you plant. Nature will do the rest.

Do note in some cases soil can just be horrifically terrible. You really might consider bringing in some commercial garden soil. I did! You can see we excavated all the grass, dug down some and raked. Call it lazy man’s double digging except that it wasn’t lazy. We had to use a mattock just to get the gravel and grass excavated. As you can see here we added about 4 inches of new soil. I really hate the pre-fertilized kind but I ended up getting some on such a deal I went with it. The reasons I have for disliking this type of commercial dirt is the fertilization benefits are fleeting. Good garden soil traps nutrients around organic matter, but the nitrogen in this commercial mix will used and washed out before the growing season is even over. However, I have a nice pile of compost and chicken bedding just chilling in the back for use later in the summer. I’ll start adding handfuls when the plants get a bit bigger. These bags of soil are just the base for many years of planting.

Sometimes you just have to bring in better soil to correct a garden
FYI, it takes way more soil than one would think to fill in a bed. Make sure you are using garden and not potting soil. Potting soil will dry out way too fast for your garden.

Protect Your Soil/Work Investment

You will need to protect your carefully dug and amended beds. You can keep nutrients from leaching away by covering non-growing areas with mulch. I tend to mulch after by seeds have turned fully into plants. The mulch will reduce weeding, runoff, and wind exposure. It also works to maintain moisture levels. Though with my heavy clay underbase this is not nearly as much of a concern once the plants get larger. Additionally, making permanent paths will keep you from compacting your planting areas by trouncing all over that painfully dug soil you just created. Remember to step lightly and reduce compaction whenever you can.

Bonus Tips

Once you have a good soil base established you can go crazy and start adding in some fun items. I tend to buy legume inoculates for any bed I have never planted peas or beans in. Legume what you say? Yeah you can actually buy bacteria to put in your soil. Rhizobium leguminosarum (Do not ask me how to pronounce that) works with legume roots to fix nitrogen into the roots. They actually add nutrients to the soil. I make sure to either leave the roots or compost the entire pea/bean plant to get the nitrogen back into my garden. You can buy worms, nematodes, minerals (Calcium is great for tomatoes and squash), and all kinds of fun things for your soil. Experimentation shows some benefits, but really you will be pretty good to go with just your basic soil/organic matter mix! If you do want to experiment here are some of my favorite addons (affiliate links to follow)

Legume Inoculate: 

Worms:

Lady Bugs:

Remember the keys to good soil:

  • Mineral
  • Organic Matter
  • Moisture
  • Air
  • Living Organisms

Dig it the first time and add those organic materials and let nature do the rest.