This weeks DIY project shows how to make some easy gravestone treat bags for Halloween. I am assuming you are making these for a party or small number of kids. We had over 150 trick or treaters last year so clearly they aren’t each getting hand made treat bags. However, some select family and friends will be getting Halloween favors.

Gravestone Treat Bags
Materials:
Basic paper treat bag (Grey would speed up the process but good luck finding that)
Black & white acrylic paint (cheap is fine)
Old paint brush
Scissors
Optional:
Printer & stencil plastic
Repositionable Adhesive
Step 1: Cut Your Shapes

I laid the bag flat and cut a simple notched shape along the top. Just Google gravestone images for basic shapes. It will leave a small triangle in the side which I leveled off with the scissors. You could make a template but I just eyeballed it.
You can freehand the ‘RIP’ but my hand writing is unattractive so I printed a Gothic font out of the computer. If you were assembling a large number (Anything over 15) go ahead and get some stencil plastic and cut letters from that. The plastic will remain intact through the entire project. If you are only doing a small batch then cardstock will hold up for some painting. Make sure to save the round parts out of the ‘R’ and ‘P’.
Step 2: Prep The Bag

To get the gravestone look I did a wash of grey on the outside. Just mix white with a little black. While the paint was still damp I used the brush to smudge in a darker grey to make it look worn. Then allowed the bag to dry.
If you were making a large number of these the process could be sped up by either purchasing grey bags or spray painting in batches.
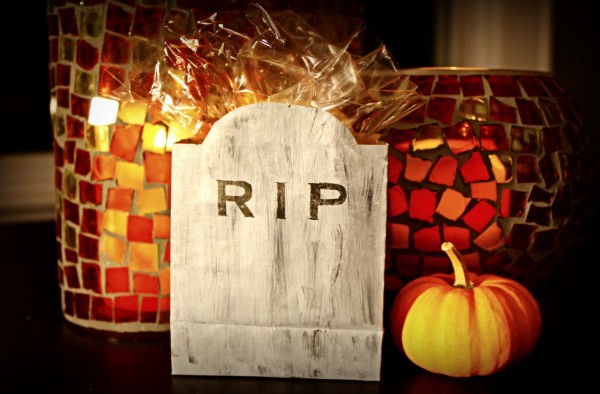
Step 3: Stencil Time, Rest In Peace

If you used a stencil now is the time to LIGHTLY coat it with repositionable spray adhesive. Then take a tiny amount of black acrylic paint on a very dry brush and tap it into the blanks of the stencil. I tried to let the grey show through in places to give it an aged look.

Voila! Fill with treats and you are done.