Posted on 4 Comments

Autumn Sun Catchers

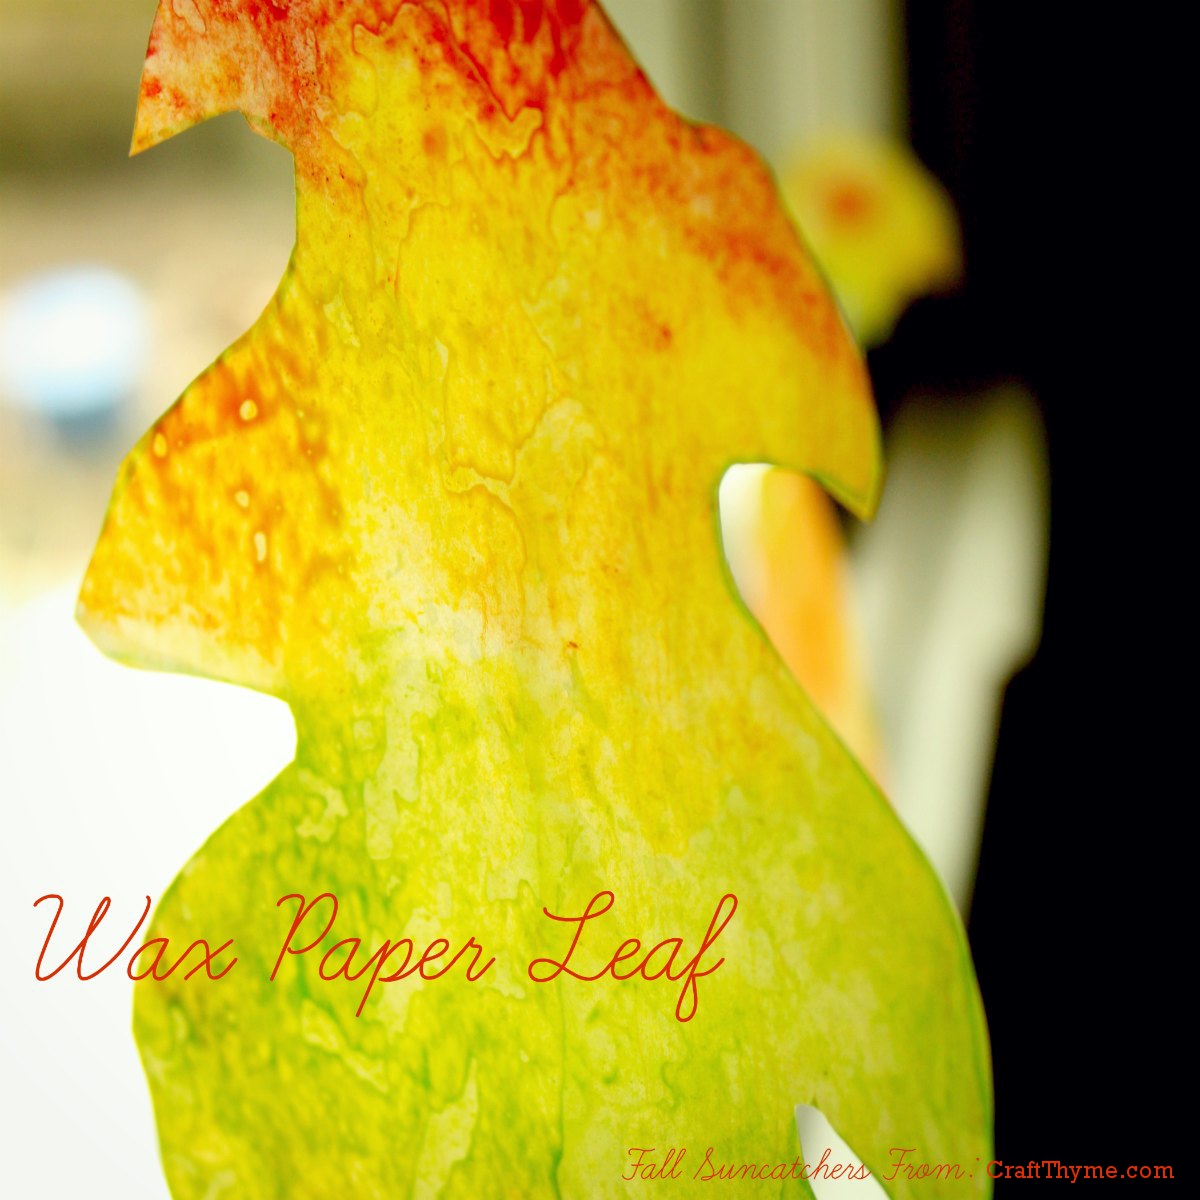
Tutorial on creating wax paper sun catchers in leaf shape.

Last week I had the pleasure of doing my first first ever craft guest post at The Experimental Home.  I wanted to keep it kid friendly and Autumn themed to blend with both of our website missions.  Laura graciously invited me to share these fall leaf sun catchers while making an awesome Spider Tutorial for Craft Thyme:

Tutorial on creating wax paper sun catchers in leaf shape.

My guest post and can be found at The Experimental Home in it’s entirety, but I have now added the instructions here as well.

First, I wanted to touch on one awesome thing I learned! I can craft with my kids and collaboratively we can come up with something pretty awesome.  So often I regulate ‘kid crafts’ to the refrigerator, but when we work together we can come up with decorations I would be proud to showcase at an adult dinner party.

So thanks to McClain & Conlan!  You made these autumn sun catchers awesome!

McClain getting ready to help make wax paper leaf suncatchers
Conlan is not shown. He was pitching a hissy that his brother had 4 colors and he only had 2. Oh sibling love.

Now on to the instructions!

Supplies Needed:

Crayons(broken works too; I hate feeling wasteful)
Grater
Wax Paper 
Iron 
Old Towels (optional if you are neat and tidy)

Step 1: The Great Grate

Did I mention the kiddos are 1 & 3? Yeah so… I grated the crayon. We had little paper plates left over from a party which made it easier for them to pass the colors back and forth. To get an ‘Autumn’ feel I limited them to orange, red, yellow, and light green. Luckily they didn’t even notice Mama was limiting their creativity in the name of aesthetics.

Step 2: Sprinkles and Fights

Pull off a nice large sheet of wax paper. You’ll note it is laying on a pile of old towels. We will get to that in a minute. Let the kids sprinkle crayon shavings all over the paper. Watch the kids get in a squabble over the green, then over the red, then separate the colors and consistently repeat ‘share’ over and over. Give up and hand them each a set of shavings. Relax and sip coffee.

How to make autumn suncatchers from crayons and wax paper.

Step 3: Strike While The Iron Is Hot

When the kids are done spreading the crayon gratings about, lay another piece of wax paper on top, scoot them back, and gently iron (Parents only). The boys thought the way the color melted and instantly spread was magical. Please Note: If you are doing this craft yourself a little crayon goes a long way.

Because the crayon does have a tendency to spread I always iron on old towels so if any leaks out of the wax paper I don’t have to worry about stains.

How to make autumn suncatchers from crayons and wax paper.

Step 4: Mama Craft Completion

The boys were done crafting, but I finished up by tracing the leaves. Just an FYI: permanent marker works great on wax paper. While, the ran around like crazy kids outside I cut out and hung the leaves from fishing line along the dining room window to create a nice collaborative fall display.
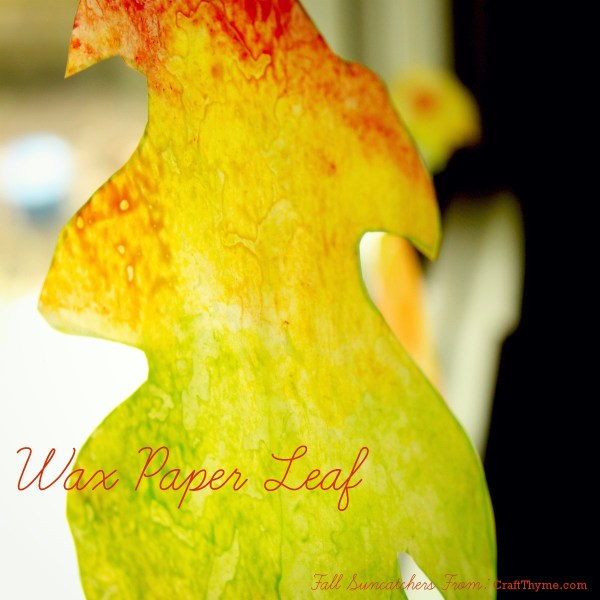
wax paper leaves hung from fishing line across the window


Posted on 4 Comments

Homemade Window Frosting

Ever seen the spray frosting for windows in a can? Yeah, I’m not sure how white spatter looks at all like ice crystals or even window frost for that matter. I wanted to find a good/cheap alternative to get the icy frost on the front door sidelights for the Christmas tour. After researching and tinkering I found a pretty good recipe:

  • 1 bottle of beer (12 oz) Don’t tell Patrick I sacrificed on of his babies!
  • 6 heaping tablespoons of Epsom salt

Total cost: $4 (will cover a lot of window panes)

Mix the beer and Epsom salt and let it set until mostly dissolved and foam has gone down (around 20-30 minutes).

Then I took an old terry rag an dabbed it on the outside edges of the windows. I put it on the outside because these are the original single pane sidelights so they get condensation at night and the epsom-beer mix has to dry to form the crystals. I just did the edges to give it the lightly frosted look.

From beer to frost (with a lovely reflection of the neighbors)

There are a few notes:

  1. Clean the windows first
  2. Use a deep bowl; the beer-epsom salt mix really foams
  3. Dab it on as thick as you can but avoid drips if your not coating the whole window
  4. After it sets for a minute but BEFORE it dries swipe the rag diagonally to create the long jagged crystals, the round ice flowers seem to form where the liquid was a little thicker
  5. You can put a second layer on but it didn’t really make a difference and in some places made the frost show drip spots instead of crystals
  6. I tried dipping some glass votives in the mix to make frosted glass. While, it does frost them but they didn’t have enough surface area to make the pretty crystal formations. My final decision? Wash them off.

Also, it sticks pretty well so you aren’t going to accidentally scratch it right off, but it came off just fine using my homemade window cleaner. Why not another recipe while were at it? Window Cleaner:

  • 1 part white vinegar
  • 1 part water
  • 1 part rubbing alcohol
  • I’ve heard you can add a couple drops of essential oil to change the smell. I don’t mind vinegar so I haven’t tried it before.

I just throw it all in a spray bottle and away I go. Back to the frost: I was very pleased with the authentic ice look. Here’s a closer view so you can see the pretty formations.

So what’s the verdict? Does it look like ice on the windows or did I just waste one of Patrick’s beers?