Posted on 9 Comments

String Art Project: Kids Names

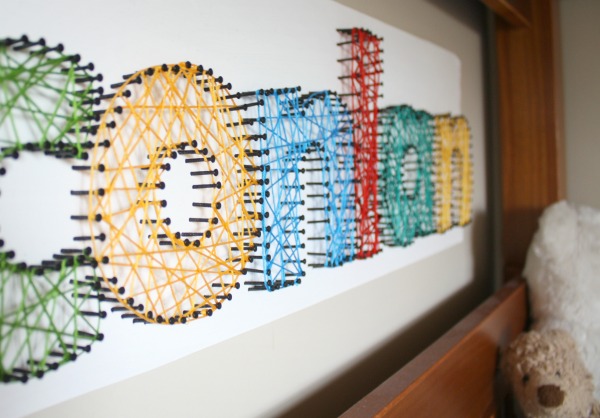
String Art Child Name

This string art project… Well I need to fess up.  I was the assistant! However I watched the painstaking process and tied lots of little knots.  Use this ‘how to string art’ as a guide so you can skip all the mistakes we made.  The final project was much easier than our initial attempts.

We recently moved into a new house, and have been so focused on making sure all the essentials are in that any artwork has been neglected.  Yes, I chose to be able to have a shower curtain rod and blinds over something pretty on the walls.  Where are my priorities?!  We have been working hard to blend our family structure and Adam wanted to make each of the kids a special name decoration for their rooms.  In comes lots of string! On to the project:

String Art Children’s Names

String Art Child Name

Materials Needed:

  • Base for Nails(2.5-3 ft long): You can use wood, if you really are insane and like nailing hundreds of tiny nails.  Our suggestion: Foam Insulation or Double Layered Foam Board
  • Paint: For the Base
  • Lots of tiny nails as known as Wire Nails*
  • String: Embroidery Floss* was cheap, easy, and came in tons of colors. 3-4 skeins are needed per name.
  • Print Out of Letters (2.5-3 ft long)

Step 1: All about the Base

We tried wood.  Painted lovely planks.  Then started nailing, and nailing, and hammering, and nailing some more…  And here was the final result:String Art Fail

Oh yeah, that is one letter… Just one letter! and we had four children’s names to complete.  I had the idea to use something else.  Searching the web turned up cork as an alternative.  Have you priced out that much cork?  Oh. hell. no.  Cork was not going to work.  We had mostly resigned ourselves to weeks of nailing when taking the kids to the craft store I spotted some foam board.  While it was not thick enough as is, I said “Hey!  Let’s laminate this together.” Adam look dubious, but I took the sheets home, cut out rectangles, and sprayed adhesived those beotches together.  Of course they curled up, but I remedied that by laying lots of heavy art books on top of the panels over night.  Who says I never use my art degree?

Though after doing all that we realized the giant panels of foam insulation at home improvement stores would work just as well. Doh!

Of course the finish of the panels is very plastic looking.  So we just took some paint and rolled it on.  Then dry brushed the surface a bit to give it some brush marks and texture.  Much better and looked like the original wood panels.

BONUS: The panels were so lightweight they could be hung using command strips

Step 2: Just Lay It All Out There

Yes, we had to print out the letters a bunch of times.  Basic math seemed to be beyond us (even though one of us has a math degree) and the letters were either too big or too small.  Once we had the font the right size we cut them apart so work with the panels and letter spacing a bit.

Laying out the text for string art

Step 3: Nail’er? I barely even knew her.

I know in the above fail-photo the nails were driven through the paper.  Unless you like the idea of pulling out 100’s of tiny pieces of paper DO NOT do it that way.  Simply take one nail and poke small indention around the outside of your letter.  Remove the letter and then press the nail into the foam.  Then repeat, and repeat, and repeat.  Keep pushing nails until your fingers are bloody tips.  Get smarter about it and use the hammer to lightly push them through.

Nail layout for string art
So many nails…

Step 4: String them Up

This is the fun artistic part! Weaving the string can take many forms.  We chose a random pattern, but you can carefully lay out the string to make all types geometric forms.  You can look at my craft board on Pinterest to see some other string layouts.  For fun we let the boys pick out their colors.  We may or may not have influenced the selection a bit…  The hardest part of wrapping all the string is just making it look consistent and tying the tiny knot at the end.  That was my job!

The final signs were hung over beds and on doors to give each child a nice piece of personalized artwork.

Completed string art kids names


Posted on 4 Comments

Autumn Sun Catchers

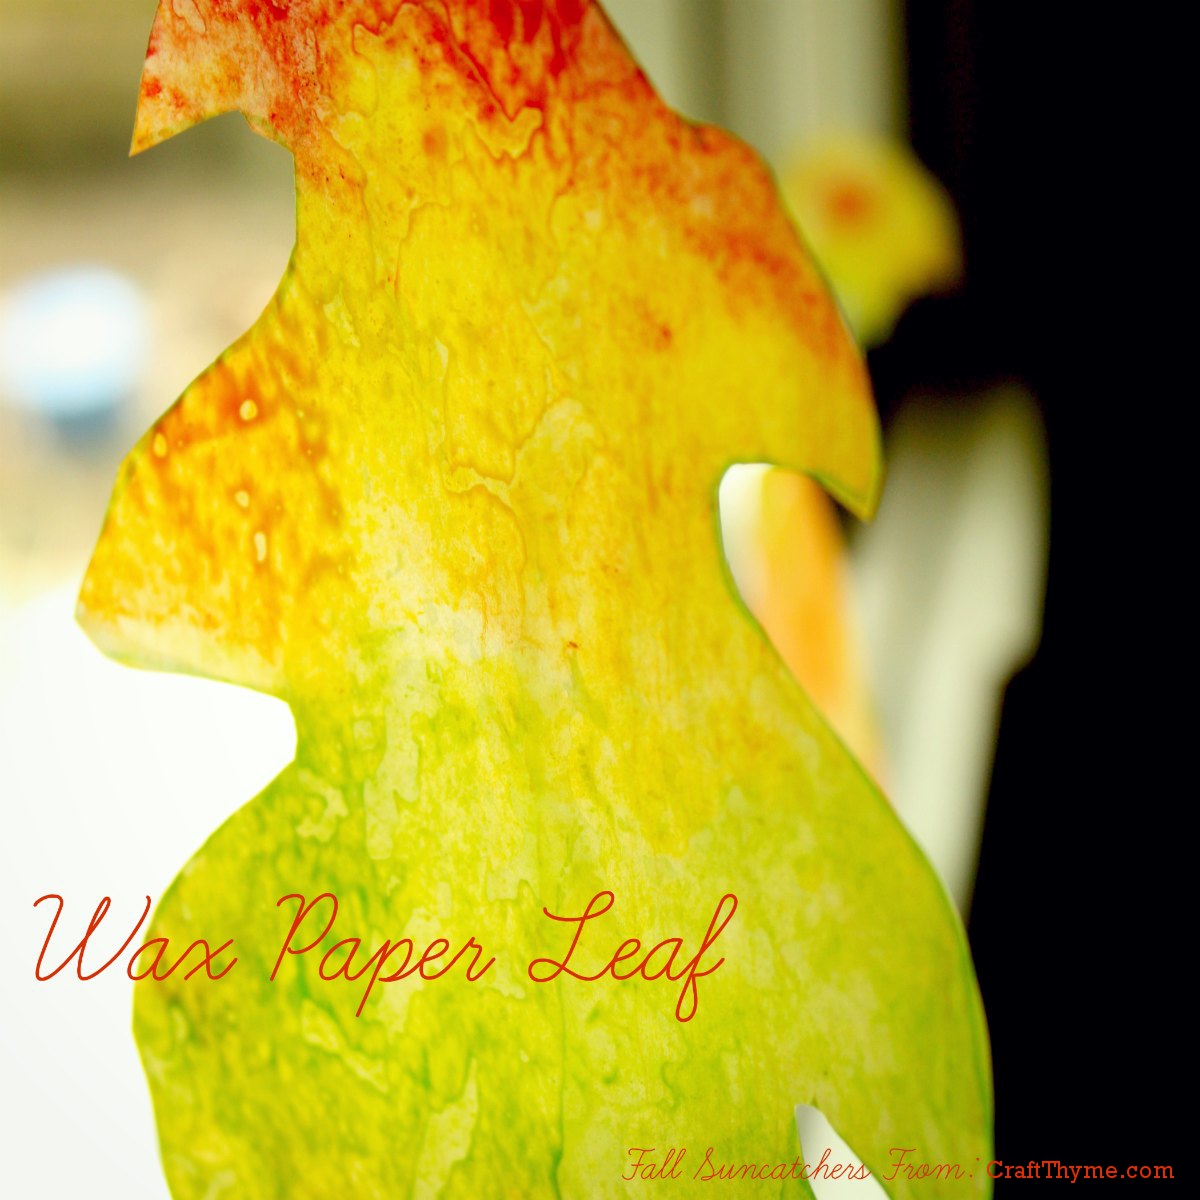
Tutorial on creating wax paper sun catchers in leaf shape.

Last week I had the pleasure of doing my first first ever craft guest post at The Experimental Home.  I wanted to keep it kid friendly and Autumn themed to blend with both of our website missions.  Laura graciously invited me to share these fall leaf sun catchers while making an awesome Spider Tutorial for Craft Thyme:

Tutorial on creating wax paper sun catchers in leaf shape.

My guest post and can be found at The Experimental Home in it’s entirety, but I have now added the instructions here as well.

First, I wanted to touch on one awesome thing I learned! I can craft with my kids and collaboratively we can come up with something pretty awesome.  So often I regulate ‘kid crafts’ to the refrigerator, but when we work together we can come up with decorations I would be proud to showcase at an adult dinner party.

So thanks to McClain & Conlan!  You made these autumn sun catchers awesome!

McClain getting ready to help make wax paper leaf suncatchers
Conlan is not shown. He was pitching a hissy that his brother had 4 colors and he only had 2. Oh sibling love.

Now on to the instructions!

Supplies Needed:

Crayons(broken works too; I hate feeling wasteful)
Grater
Wax Paper 
Iron 
Old Towels (optional if you are neat and tidy)

Step 1: The Great Grate

Did I mention the kiddos are 1 & 3? Yeah so… I grated the crayon. We had little paper plates left over from a party which made it easier for them to pass the colors back and forth. To get an ‘Autumn’ feel I limited them to orange, red, yellow, and light green. Luckily they didn’t even notice Mama was limiting their creativity in the name of aesthetics.

Step 2: Sprinkles and Fights

Pull off a nice large sheet of wax paper. You’ll note it is laying on a pile of old towels. We will get to that in a minute. Let the kids sprinkle crayon shavings all over the paper. Watch the kids get in a squabble over the green, then over the red, then separate the colors and consistently repeat ‘share’ over and over. Give up and hand them each a set of shavings. Relax and sip coffee.

How to make autumn suncatchers from crayons and wax paper.

Step 3: Strike While The Iron Is Hot

When the kids are done spreading the crayon gratings about, lay another piece of wax paper on top, scoot them back, and gently iron (Parents only). The boys thought the way the color melted and instantly spread was magical. Please Note: If you are doing this craft yourself a little crayon goes a long way.

Because the crayon does have a tendency to spread I always iron on old towels so if any leaks out of the wax paper I don’t have to worry about stains.

How to make autumn suncatchers from crayons and wax paper.

Step 4: Mama Craft Completion

The boys were done crafting, but I finished up by tracing the leaves. Just an FYI: permanent marker works great on wax paper. While, the ran around like crazy kids outside I cut out and hung the leaves from fishing line along the dining room window to create a nice collaborative fall display.

wax paper leaves hung from fishing line across the window


Posted on 1 Comment

Crayon Crafts With Wax Paper

Remember all the crayon crafts you did as a kid?  Everything from leaf rubbings to general coloring.  My favorite was anything to do with melting crayons.  Perhaps I had a little pyromaniac in my soul but I loved the liquid wax.

I was happy to redo this childhood craft of melting crayons in wax paper to make interesting designs.  They make great sun catchers too!  On Thursday I’ll take my crayon ‘art’ and make a back to school garland.

Melted Crayon and Wax Paper Sun Catchers

Supplies

Crayons (grabbed some old ones from the kids)

Wax Paper

Iron

Grater

Supplies to make wax paper sun catchers

Step 1: Grate some Crayons

It doesn’t take a lot of crayon shavings.  Maybe a 1/4 of a small crayon.

grated crayons

Step 2 Scatter and Smother

Get an old towel and lay out a sheet of waxed paper  on it. Drop the crayon bits over the surface and then cover with another sheet of waxed paper.  The old towel is to catch any melted wax that might squirt out.  Crayons are washable, but can stain in large concentrated amounts.

Laying out grated crayon on wax paper

Step 3  Strike While The Iron Is Hot

This is an example of a hot iron just lightly brushed across the surface.  Hold it down more and smoosh (technical term) the wax around the paper until you are pleased with the result.

melted crayon

I cut these sheets into circles to create a garland you’ll see on my Back to School Mantel.  But they look great hung in front of a window catching the sun through various thicknesses of color.

Enjoy these articles? Get periodic updates by joining my mailing list (no spam, no way, no how) or subscribing to my RSS feed.

See other great crafts and DIY at these link parties: Curly Crafty Mom

Posted on 12 Comments

Old Fashioned Paper Bag Book Covers

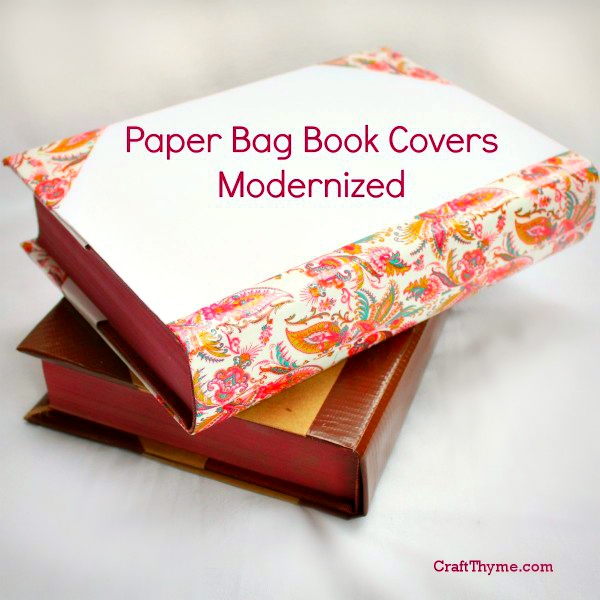
DIY book covers from paper bags with a modern twist.

Creating your own paper bag book covers is as simple as this 4 step how to. Of course, I am way past my school years and my kids aren’t quite to the ‘back to school’ point, but the back to school fever got me thinking I needed a decorating refresh before I start putting up Halloween items. I used the basic paper bag book cover and then embellished it. The tape based embellishments work perfectly to reinforce the covers for students and decorate the covers for me.

DIY book covers from paper bags with a modern twist.

Supplies (Not Shown, because I think we all know what a ruler looks like)

Paper (paper bags can be split at the seams and laid flat, thick craft paper works just as well)

Ruler

Scissors

Pen or Pencil

Decorative Tape (for embellishing)

Step 1: Can you trace?

Lay out the book on your paper. If the paper is decorative make sure the ugly side is up so you can mark on it. Open the book in the middle so the spin is wide open. Trace around the edges.

Step 1 to DIY book covers

Step 2: Add Allowance

Place the book off to the side and grab the ruler. Add about 1.5 inches along the top sides of the tracing and 4 inches along the sides. No one is going to come mark you down if you fudge the measurements a bit.

Step 2 in DIY book cover creation
That is not an over exposed photo. My arms really are that white.

Step 3: Cut and Fold

Cut along the allowance you just drew. Fold the top and bottom inward along the original book line you traced.

Step 3 in how to make a paper bag book cover
I bet everyone can cut… This photo is more about folding the right direction.

Step 4: Putting the book into the grooves, fold, slots, pocket… Whatever you want to call the paper thing you just folded.

Take the book and open it back up to one of the covers. Align that cover with one of the sides you traced. Take the edge of the paper and start feeding the cover into the folds you made. Feed enough in until you are close the the original tracing line. Then close the cover, flip the book over and repeat on the other side. You will get the sharpest crease if you pull the jacket over the closed book and kind of crease it along the edge before feeding the cover into the slots. (see the last image)Final step in paper bag book cover creation

Voila you are done!

Embellish

I always remember how my book jackets would tear at the corners and bottom of the spine as a kid. To solve this and add some pep to the cover I took decorative tape and covered the spine and sealed the corners.

The ‘classic’ bag paper book is edged in faux leather aka brown duck tape and the ‘modern’ white book got trimmed in paisley duck tape.

Enjoy these articles? Get periodic updates by joining my mailing list (no spam, no way, no how) or subscribing to my RSS feed.

See more great crafts and decor at these link parties: Craftberry Bush, Young and Crafty, Craftionary, Pin Junkie, The Jenny Evolution, The Stitchin Mommy, DIY Vintage Chic, By Stephanie Lynn