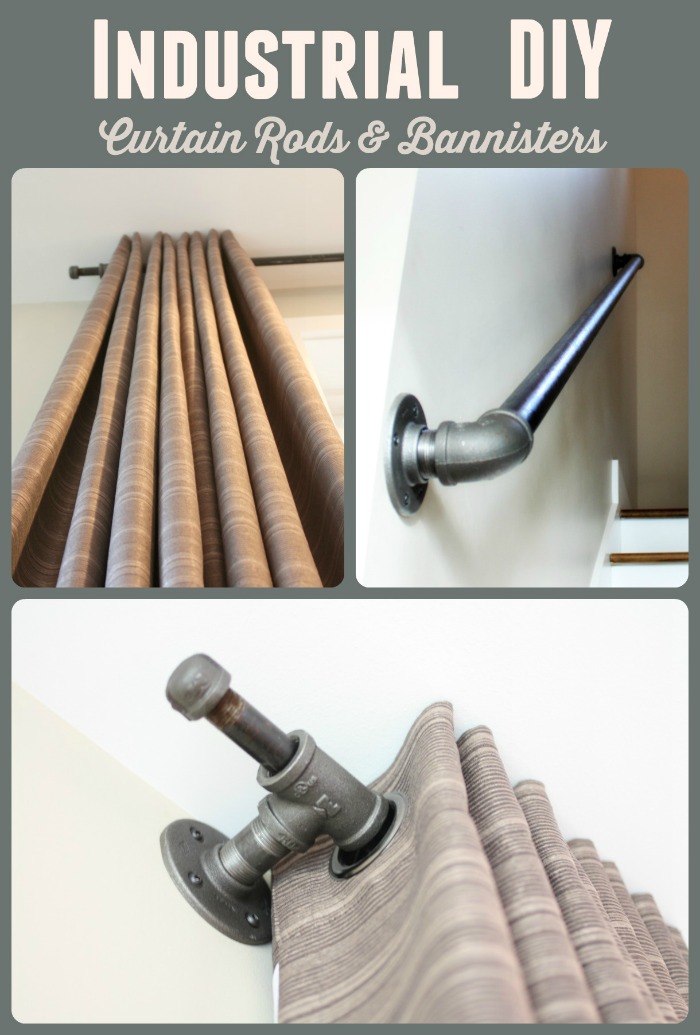
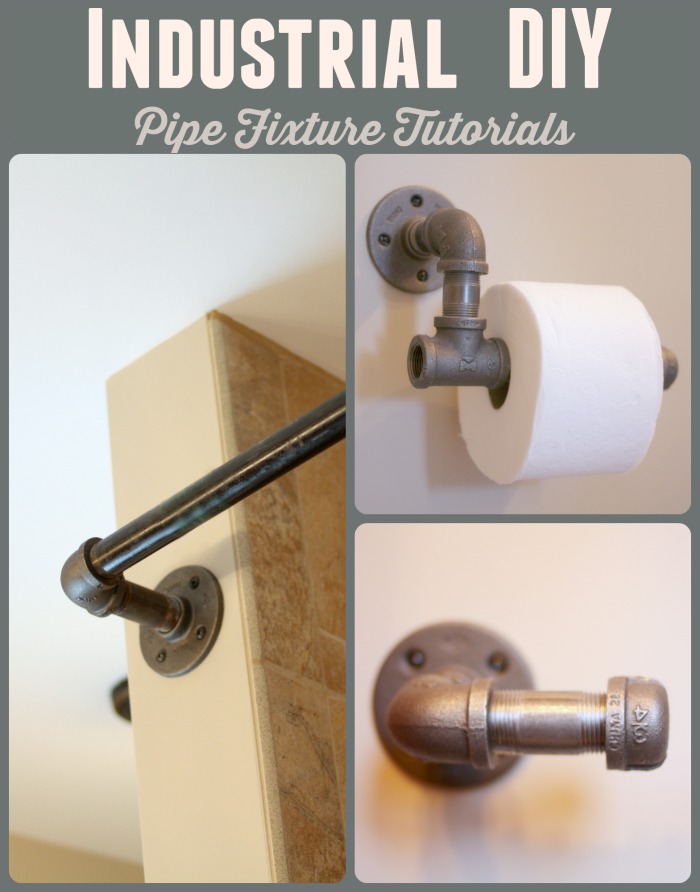
In Part I of this series, you got a glimpse of how Brianna and I transformed our bare bones bathrooms with fixtures constructed out of black iron pipe. In Part II we tackled an affordable way to craft standard and extra-long curtain rods in our living room. Here in Part III we’ll take you upstairs and show you how you can continue this theme by installing industrial banisters sturdy enough to handle everything our four boys can throw at them.

Industrial Banisters
The one accent that we wanted to add to our home “just because” was an industrial banister. It wasn’t a need at the time, but we were really digging the theme that we’d started and the standard white painted banisters just weren’t doing it for us. They were cheap, construction-grade quality, and after two days had gauges and chips in the paint from moving in. Imagine what that while would look like after daily use from a family of 5 and a half – Ick! So in a bold leap of faith, we tore down the two existing banisters, plastered and painted the walls, and attempted a statement piece by using 1-1/4″ black iron pipe to craft two new banisters.
Supplies
- 2 – 1-1/4″ Black Iron Floor Flanges*
- 2 – “Close” x 1-1/4″ Welded Steel Nipples*
- 2 – 1-1/4″ 90-Degree Black Iron Elbow*
- 1 – 84″ x 1-1/4″ Black Iron Pipe
- 8 – Heavy Duty Drywall Anchors
Assembly and Installation
Fortunately, assembly and installation is super easy. That is, assuming you have a helping hand… Preferably one that won’t get upset at you easily when you slip up and accuse her of not holding her mouth right. (I promise, I really do love her.)
Step 1: Measure the Distance
Unlike the earlier projects, measure the distance you wish to cover first. Why? For this one, you’ll have to assemble everything before you mount anything to the wall. By the time you add in additional the pipe fittings, you can expect the final piece to be 2-4″ longer than you measured. Be sure to account for that when you head out to get your pipe.
Step 2: Assemble your Banister
- Connect a nipple to a flange.
- Connect an elbow to the other side of the nipple.
- Hand-tighten everything, then back it out just a little bit. You’ll need a little flexibility to achieve the right angle when mounting your new banister to the wall.
Step 3: With a Willing Partner, Mount your Banister
I cannot stress how important it is to have 1) Someone’s Help, and 2) Heavy Duty Drywall Anchors during this process. If you don’t have either, don’t proceed until you do. Pipe of this width and length is heavy and awkward to handle. We don’t want you to get hurt or damage your walls before you get to enjoy your new banister – after all, you’re so close to being done!
- With your partner, hold your new banister against the wall in the location that you’d like to mount it.
- If you slightly loosened your elbows in Step 2 you should be able to get the perfect angle you’re looking for. The fact that there is some wiggle room in the pipe parts won’t matter as soon as you have it mounted to the wall.
- Using a pen, pencil, crayon, etc., mark the hole locations of the flanges on each end.
- Remove the banister and drill out each hole as per the instructions on the drywall anchors you purchased.
- Note: The anchors we purchased could sustain a sheering force of up to 142 pounds. Each. Yes, this was necessary; we have 4 boys.
- Install the drywall anchors as per the provided instructions.
- Nicely ask your partner to help hold the banister back up to the exact previous location and screw the banister to the wall/anchors.
Step 4: Cleanup and Admiration
Initially the pipe may be a little gunky and dirty from the hardware store. Give it a good wipe down. If it still feels a little odd to the touch, apply the secret rub: Wax Paper. Take a length of wax paper, wrap it around the banister, and (yes, I’m going to say it) wax your rod. After you finish, it – and you – will feel much better. Grab a beer, stand back, and admire your work.
Total Cost: $40.99 each