Posted on 4 Comments

Autumn Sun Catchers

Tutorial on creating wax paper sun catchers in leaf shape.

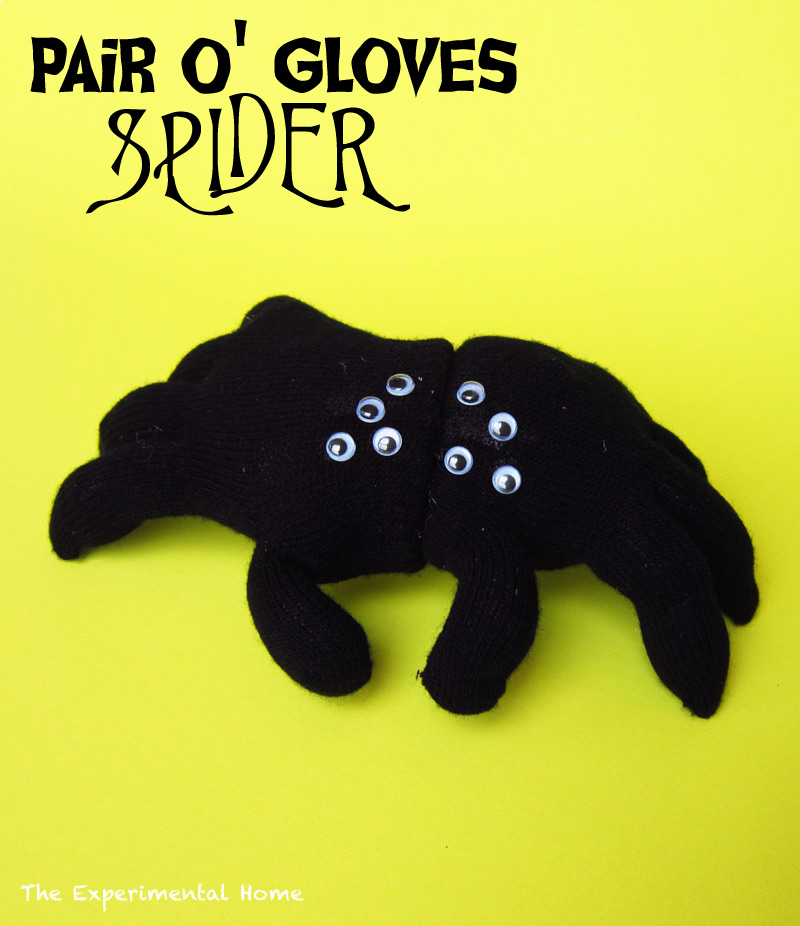
Last week I had the pleasure of doing my first first ever craft guest post at The Experimental Home.  I wanted to keep it kid friendly and Autumn themed to blend with both of our website missions.  Laura graciously invited me to share these fall leaf sun catchers while making an awesome Spider Tutorial for Craft Thyme:

Tutorial on creating wax paper sun catchers in leaf shape.

My guest post and can be found at The Experimental Home in it’s entirety, but I have now added the instructions here as well.

First, I wanted to touch on one awesome thing I learned! I can craft with my kids and collaboratively we can come up with something pretty awesome.  So often I regulate ‘kid crafts’ to the refrigerator, but when we work together we can come up with decorations I would be proud to showcase at an adult dinner party.

So thanks to McClain & Conlan!  You made these autumn sun catchers awesome!

McClain getting ready to help make wax paper leaf suncatchers
Conlan is not shown. He was pitching a hissy that his brother had 4 colors and he only had 2. Oh sibling love.

Now on to the instructions!

Supplies Needed:

Crayons(broken works too; I hate feeling wasteful)
Grater
Wax Paper 
Iron 
Old Towels (optional if you are neat and tidy)

Step 1: The Great Grate

Did I mention the kiddos are 1 & 3? Yeah so… I grated the crayon. We had little paper plates left over from a party which made it easier for them to pass the colors back and forth. To get an ‘Autumn’ feel I limited them to orange, red, yellow, and light green. Luckily they didn’t even notice Mama was limiting their creativity in the name of aesthetics.

Step 2: Sprinkles and Fights

Pull off a nice large sheet of wax paper. You’ll note it is laying on a pile of old towels. We will get to that in a minute. Let the kids sprinkle crayon shavings all over the paper. Watch the kids get in a squabble over the green, then over the red, then separate the colors and consistently repeat ‘share’ over and over. Give up and hand them each a set of shavings. Relax and sip coffee.

How to make autumn suncatchers from crayons and wax paper.

Step 3: Strike While The Iron Is Hot

When the kids are done spreading the crayon gratings about, lay another piece of wax paper on top, scoot them back, and gently iron (Parents only). The boys thought the way the color melted and instantly spread was magical. Please Note: If you are doing this craft yourself a little crayon goes a long way.

Because the crayon does have a tendency to spread I always iron on old towels so if any leaks out of the wax paper I don’t have to worry about stains.

How to make autumn suncatchers from crayons and wax paper.

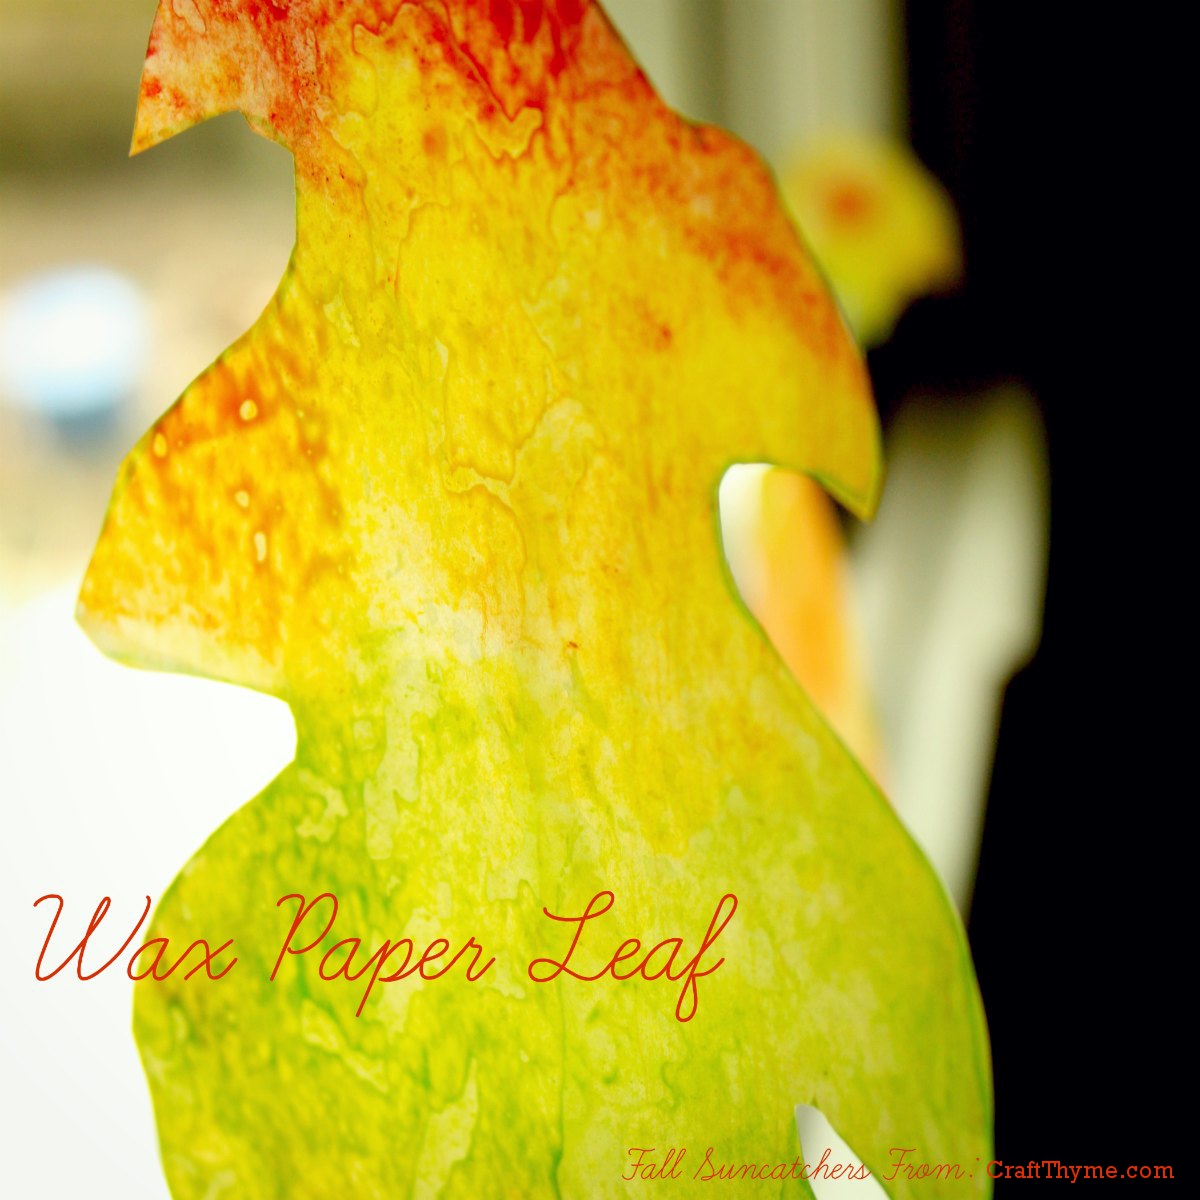
Step 4: Mama Craft Completion

The boys were done crafting, but I finished up by tracing the leaves. Just an FYI: permanent marker works great on wax paper. While, the ran around like crazy kids outside I cut out and hung the leaves from fishing line along the dining room window to create a nice collaborative fall display.

wax paper leaves hung from fishing line across the window


Posted on 4 Comments

A Garland: Evil Eyes & Rotting Flesh

Evil eye and rotting flesh garland

The title of this post tickles me to no end.  I usually make ‘pretty’ garlands like these, but I just couldn’t help but make some gruesome rotting flesh with an evil eye centerpiece to go along with my Zombie Candles.

Evil eye and rotting flesh garland


I adore pretty Halloween with glittered skulls and fancy cocktails potions, but I was just in a more gruesome mood this year.  I don’t think many people will want to recreate this garland, but I did a quick mashup of the process in case anyone was interested.

It involves plaster, paint, and plastic sheeting.  Here is an interpretation of events from McClain, my 3 year old:

McClain: “Whatcha doing Mama?”

Me: “What does it look like I am doing?” (said nicely b/c I was curious what he thought)

McClain:”You’re making a BIG mess”

But it was a melty, drippy, bloody, gruesome mess.

Process to make a rotting flesh garland


After swirling plaster came a layer of paint (same colors used in the Zombie Candles).  FYI: you don’t have to wait for the plaster to fully dry before painting.  Just wait till it hardens.

Next week you can see the full Undead Mantel (10/16)

Enjoy these articles? Get biweekly updates by joining my mailing list (no spam, no way, no how)

See other spooky decorations, crafts, and recipes at these link parties: 52 Mantels, Shabby Creek Cottage

Posted on Leave a comment

Spooky Spider From Gloves

Stuffed Halloween spider made from gloves

Hello and Happy October Craft Thyme readers!

My name is Laura, and I blog at The Experimental Home, where I share my everyday creative experiments. I “met” Brianna back in August, when she was my package pal. We hit it off, and decided to pull the ol’ switcharoo on you today, I hope you don’t mind.

Now that it is actually October, I am getting excited for Halloween. It is such a fun holiday, and it is so much fun to
make silly and spooky decorations. Yeah, for me, silly and spooky go together. I am the kind of girl that laughs at horror
films (to the point that my husband won’t go to a scary movie with me). Speaking of silly and spooky, check out this spider I am going to show you how to make today… can you believe I made it out of a pair of gloves?

pair of gloves spider

I picked up a pair of basic black stretchy gloves in the dollar section of my local Michaels. Clearly I didn’t go to the
craft store to find gloves, but I can’t resist browsing the deals in the dollar section. I looked at the 8 fingers and immediately thought spider… I know, I am weird like that. I took them home and experimented until I came up with the perfect pair of gloves spider.

black gloves

The first thing to do to transform these gloves into a spider is to give them a little structure. I used pipe cleaners so
the spider’s legs would be bendable and shapeable. I folded a pipe cleaner in half and bent down the tips to keep them from poking through the fingertips of the gloves.

pipe cleaner for spider

I stuck the two ends of the pipe cleaner in two adjacent fingers. Since there are eight fingers, I needed a total of four
pipecleaners, plus one for the thumbs. For the thumbs, I just bent down the tips and stuck it in one thumb for the time being.

gloves and pipe cleaners

Time to stuff. Get out a bag of fiberfill and stuff those gloves. I found it was easier to stuff each finger individually
before stuffing the palm. Stuff all the fingers first, then the palm and thumb of the glove with the pipe cleaner hanging
out – get it good and stuffed. Don’t stuff the palm or thumb of the other glove yet.

stuffed gloves

Finally, stick the loose pipe cleaner end in the other thumb, and fill the thumb with stuffing. Now you are all set to transform your gloves into a spider. Put the stuffed glove inside the empty one folding the cuff of the empty one under as you go.

Look, you have a spider!

pair of gloves spider

Spend a little time (or way to long if you want) bending and sculpting the legs to make your little spider look just right.
Then seal up the “seam”. I just squirted in a little fabric glue, but you could also use white or hot glue, or simply stitch
him shut. For a little extra fun, I glued on eight googly eyes. I actually took a minute to search  spider eyes on google images to learn about spider-eye arrangements… yikes, that’s a creepy bunch of images. Happy Halloween!

Good thing my pair of gloves spider is just as silly as he is spooky.

pair of gloves spider

Here is a fun spider factoid, the pincher things in front of spider’s mouth (made by the thumbs of my gloves) are called chelicerae. The final segment of the chelicerae are the spider’s fangs. Google image that if you dare.

So, if you have a few minutes and a pair of gloves, make your self a little spider and show off your new spider knowledge.
Better yet, help a kid in your life make a pair of gloves spider and learn all about spiders together.

A big thank you to Brianna for swapping blogs with me today. I can’t wait to see all the fun Halloween projects she has
in store for us!

Don’t forget to stop by The Experimental Home to say hi and check out all my everyday experiments.

sigcd

Enjoy these articles? Get biweekly updates by joining my mailing list (no spam, no way, no how)

Posted on 23 Comments

Zombie Candles For Halloween

Undead Candles

I happen to be just a tiny bit obsessed with the undead.  I love to watch zombie movies! Needless to say with Halloween rolling around I needed to make something related to zombies.  In comes the idea for inanimate objects turned into zombies and out rolls my tutorial for undead candles:

How to make your very own, undead candlesThe following tutorial involves flame, knives, and paint attached to questionably flammable surfaces.  Basically, do not try this at home and then sue me.  I have no money anyway. 

Supplies for the Zombie Apocalypse:

Candles: White or suitably decaying flesh color

Steak/Serrated Knife

Flame in the form of lighter

Cheap Acrylic Paint: Black, White, Red, Green

Foam Brush

Step 1 Day One/Ground Zero: Distress Their Nervous Systems

Distressing the exterior of the zombie candle


First you need to infect your candles with the zombie virus.  I find the best way to accomplish this is to burn, hack tooth like marks, and roll them in melted pools of wax.  Basically get the exterior all roughed up.  I make sure to saw some nice tooth marks into the surface.  Be very careful when applying flame and using a knife.  You wouldn’t want to infect yourself.

Step 2 Day 5: Rot Sets In

Sponging thin green paint onto the surface of the candles


Once the candles have died and risen as zombies, rot will begin to take over their bodies (especially if you live in the humid southern regions).  To help your zombie candles along, thin some greenish paint with water and sponge it over the candles.  Since the coat of paint is thin it will bead on the surface of the candle.  This is fine!  Just let iit dry.

Step 3 Day 10: Zombie Candles Begin To Moan

Adding a greyish layer of paint to zombie candlesIf your candles begin to shamble and moan don’t worry!  You are almost done with those decaying pieces of decor.  Mix some black, white, with red or green to get a nice thick coat of undead color.  Sponge it on liberally and do NOT thin with water.  Any gashes and tooth marks can be left unpainted.  Let dry and try not to leave your candles near any brains.

Step 4 Day 15: Transformation Complete No One Makes It To Day 28

Adding faux blood to the candles


Your candles are probably shambling about the neighborhood.  Now is the perfect time to corral them and check out any bloody wounds they may have received on the hunt.  Simply apply a thick coat of dark red paint to any bite marks/gashes and let it drip down.  For an added bonus add ‘bloody’ fingerprints.

Once dry you have your own piece of undead decor.

Undead Candles


Since I have no urge to become undead myself I use caution when burning these candles as acrylic paint is not meant to be burnt.  I prefer to use older candles that are burned down in the center so I can insert a battery operate tea light and stay away from the whole flame thing.

Check out my Evil Eye and Rotting Flesh Garland (10/8) and Final Halloween Mantel (10/16)

Posted on 4 Comments

Remove Paint From Brick Part II

How to strip paint from a brick fireplace

Interested in other ways to strip paint from brick? See Part I of ‘How To Remove Paint From Brick’.

Using SOY-Gel* is pretty easy but there are a few things you can do to make the product work a little better. So let the paint stripping process begin!

How to strip paint from a brick fireplace

Supplies: Drop Cloth*,tape, newspaper, SOY-Gel*, cheap/old paint brush, 2-3 inch STIFF Paint Scraper* (about the size of one short side of a brick), Stainless Steel Wire Brush* (best size is one you can grip comfortable, if it is too big then your will not be able to get the necessary pressure. Having two is better than one!), thick rubber gloves, old rags/towels

Useful extras: Second or third stainless steel brush (we didn’t have this), coarse steel wool, someone with lots of upper body strength

1. Begin by covering your work area: I can not stress this enough; I’m a neat painter but even I couldn’t control the mess. The stripper makes the old paint into a sticky goo that will repaint anything it lands on. I suggest putting a layer of painters cloth or plastic over whatever you want to protect. The painter’s tape does an okay job of keeping the gel off of woodwork. On top of the drop cloth I would lay a layer of newsprint (more on that later).

2. Glop (yes this is my technical term) the stripper on the brick: The directions suggest spraying it, but as I didn’t have the necessary equipment so I used a cheap paint brush. It is important to put a much thicker layer than your would paint; at least 1/8″. As you work you’ll discover the correct amount, but it is better to start thicker.

3. Wait: Yes, this is the boring part. I got into a rhythm of glopping it on in the morning and then scrapping it after I got home from work and the baby went to bed. However, there is a point at which it doesn’t make any difference how long you leave it. For me that was around 8 hours after that it didn’t seem to work any better. If you are going to let it set more than a couple of hours I suggest covering it with plastic wrap. I tried to be eco-conscious and reuse plastic bags or not use plastic at all. Trust me it was a fail, if the gel starts to dry then it becomes hard and tacky and you’ll have to use a lot more muscle to get it off. Plastic bags just didn’t cover it well enough but plastic wrap worked great.How to remove paint from brick

4. Scrape, now the fun part begins: Don your rubber gloves, these will protect your hands from scraping against the brick and the sticky mess. Make sure you have newspaper under the area your going to scrape. Then take your scrapper and go to town. The old paint should fall on the newspaper and you can use the newspaper to wipe the scrapper on periodically.

Depending on how many layers of paint you have the four above steps can be repeated. For six layers of paint and rough-faced brick it took three layers. Two scraping and one scrubbing. Ah yes, the scrubbing…How to remove paint from brick

5. Scrub with your brush: If you have smooth faced brick this may not be as big of a deal, however I was cursed blessed with rough brick. Basically once you have scraped as much paint off of the brick you’ll want to get that stainless steel brush out and start scrubbing. You can use any method as long as it involves scrubbing till your arms feel like rubber. Periodically the brush will get full of paint crud, at this point use the edge of the scraper to remove as much as possible (this is where another brush would come in handy b/c you can remove the goo much easier when it sets a bit). Also, you can rub any smoother areas down with steel wool.How to remove paint from brick

6. Scrub with brush again: IMPORTANT, if you still have paint left and are going to do this scrub put a thin layer of paint remover on and let it set a couple of hours. The paint is pretty loose, but with out this lubricant (yes I used lubricant in a sentence) you will burn the brick with the brush. This last layer is a good time to enlist whichever person has the most upper arm strength (Patrick) in, but warn them if they over scrub it will literally blacken the front of the brick.How to remove paint from brick

7. Wash down: I used an ancient towel and a bucket of water with another old towel to soak up the water at the bottom. You might even do this step periodically while scrubbing. It isn’t necessary, but cuts down on the scrubbing.

8. Realize some paint will remain: Unless you have some nice smooth brick your going to have particles of paint left. Or let’s put it this way; I got to a point where I liked the look and decided it was time to stop scrubbing.

How to remove paint from brick
This is after one set of scrape and scrub. If you are willing to go the extra mile you can repeat the process to remove more…

Notes:   Please, please, please remember to check for lead when working with old paint.  Also, This is a physically exhausting process. I worked in 2 ft sections so as to make progress but not be overwhelmed. This took many hours over multiple days weeks. Always remember to test these products in your home first because your results might not be exactly like mine. In other words if this messes your home up don’t come looking for me.