Posted on 11 Comments

Halloween Vignette

Halloween Decorations; cast iron vases

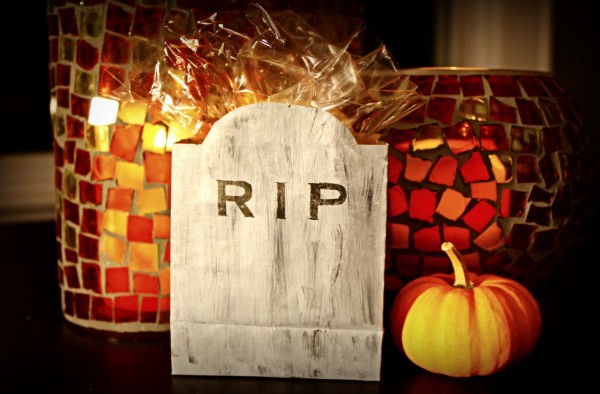
Halloween is just around the corner and I hope this display gives you some Halloween decoration ideas.   It is one of my FAVORITE holidays.  I pretty much love every bit of it, from gaudy plastic spiders to sophisticated decorations.  Costumes! Candy!  I could go on and on.  This particular vignette was going for an old-timey, sophisticated macabre.

Halloween Decorations; cast iron vases
Before you make hot-glue spider webs read further down this post.

The cast iron vases were created from two cheap glass vases.  You can see the tutorial for faux cast iron here.

Detail of Halloween hot-glue spider web

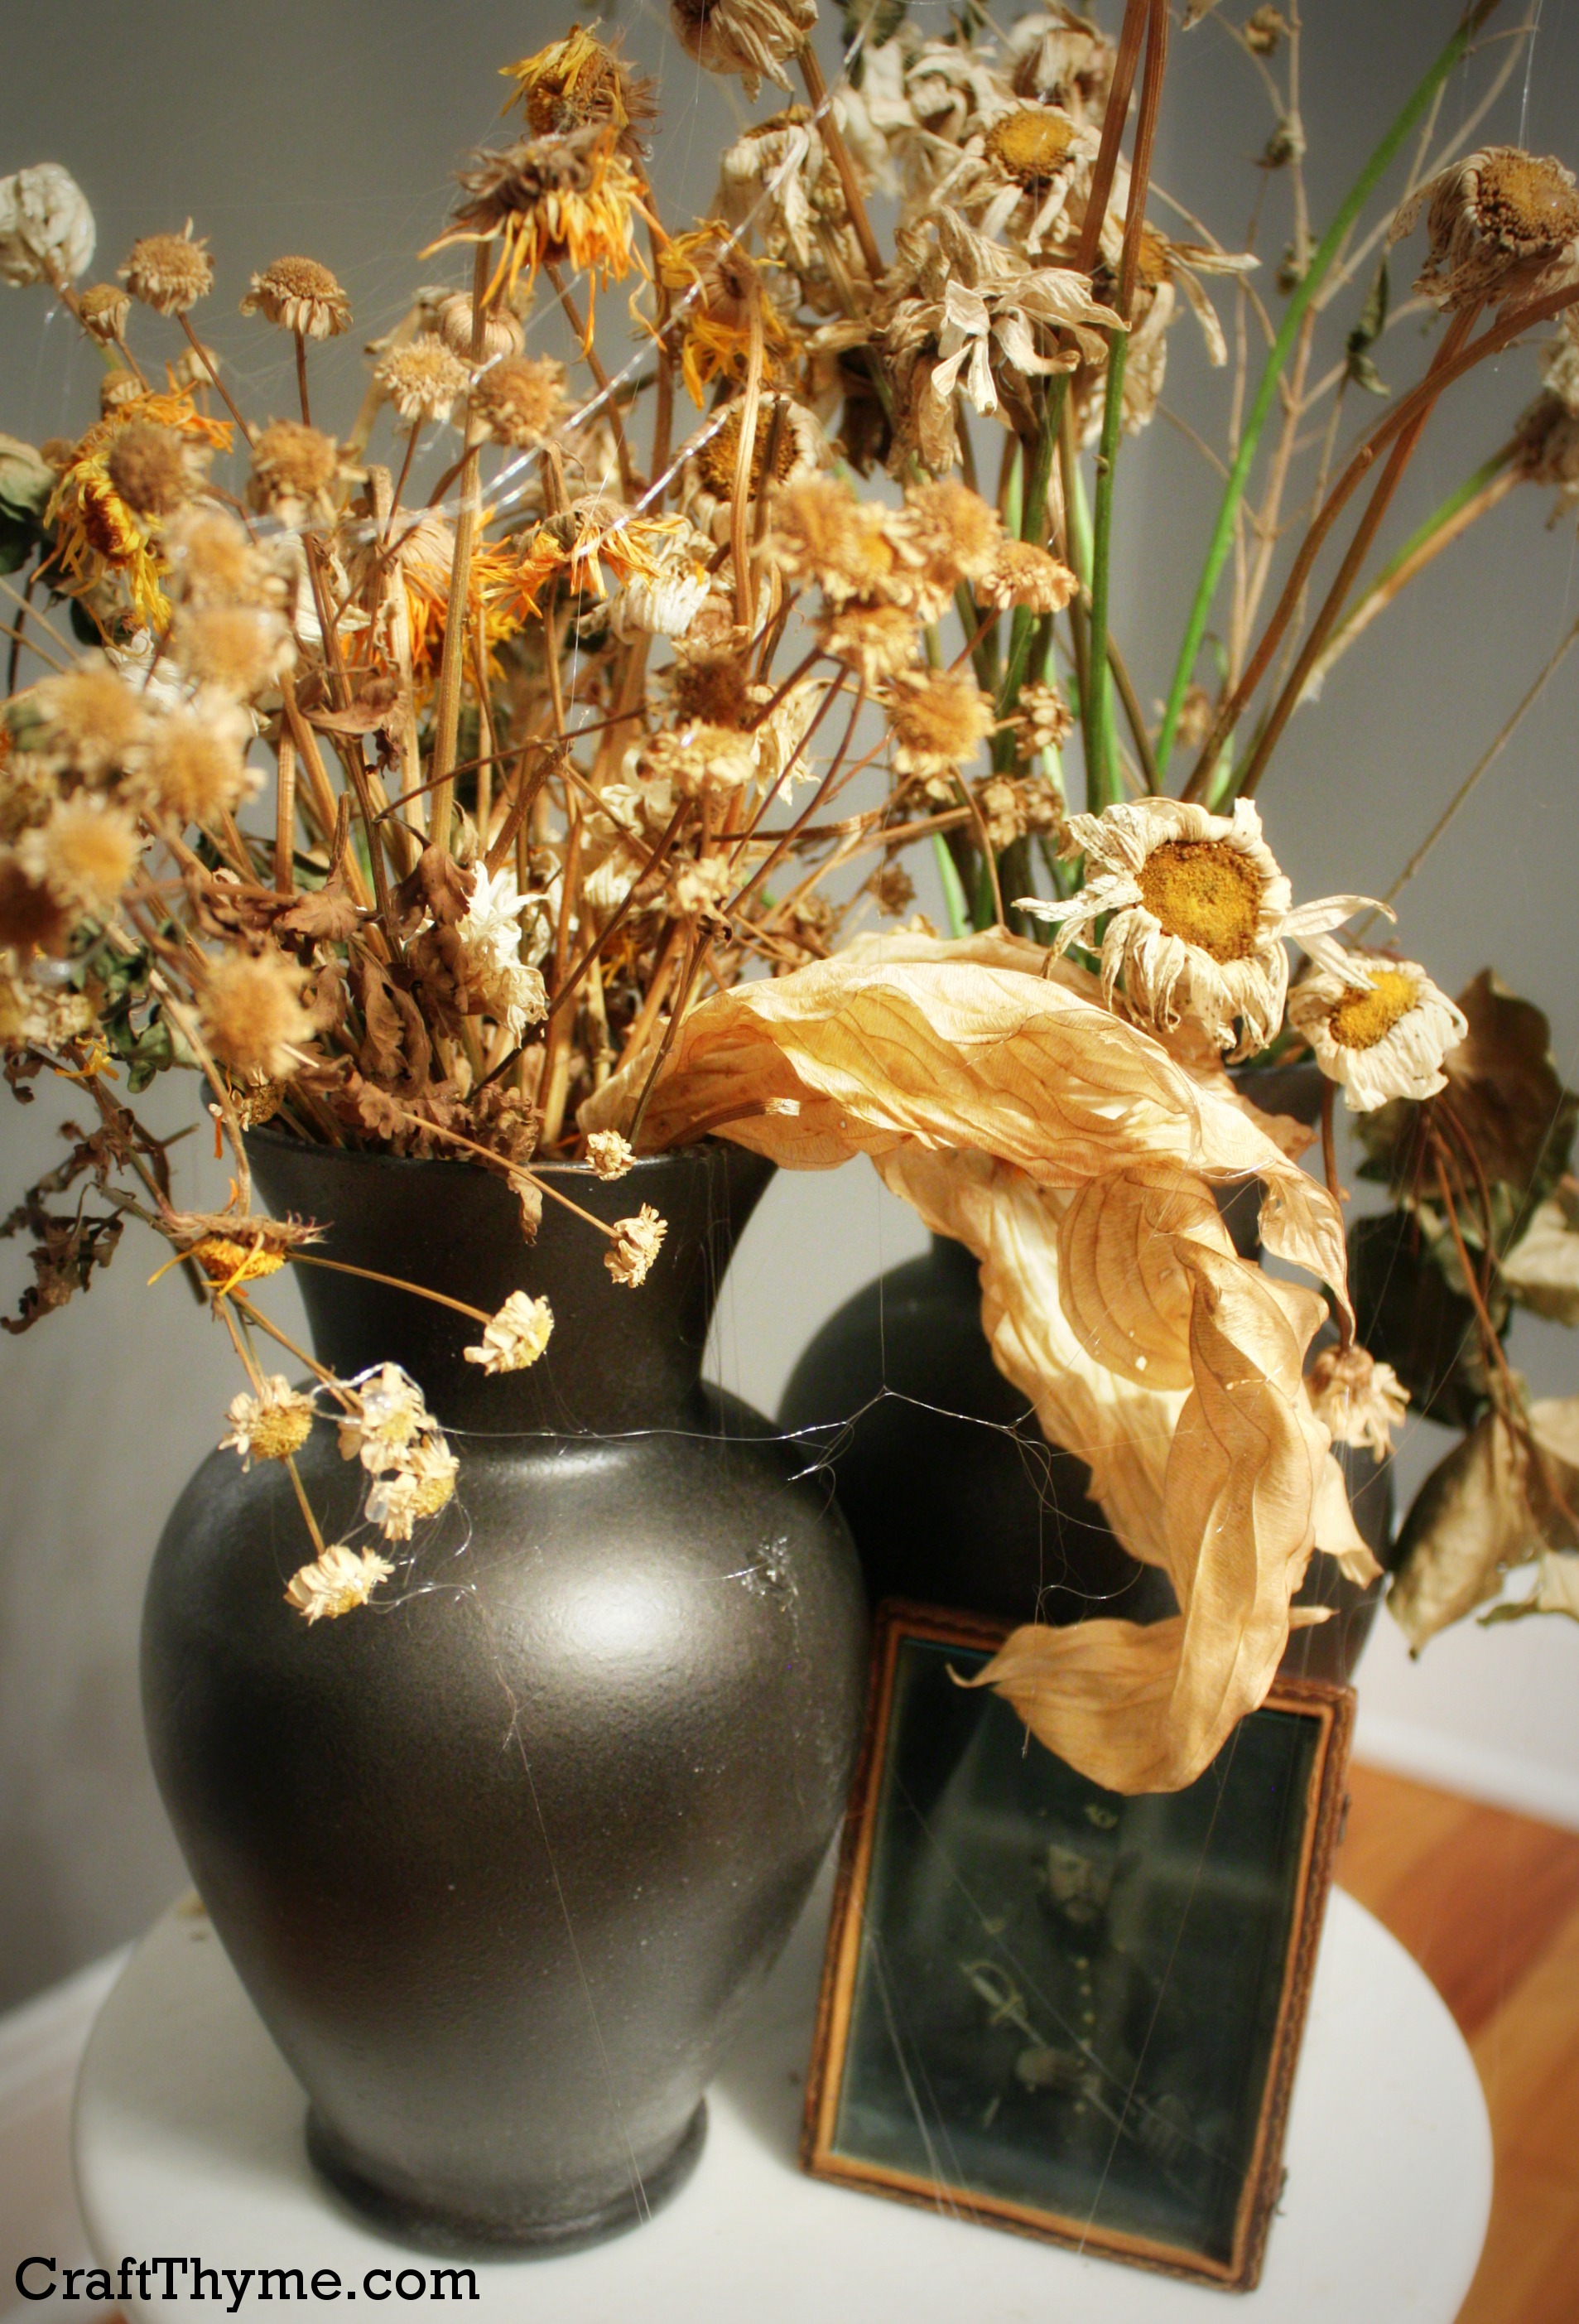
I added an old picture, and lord my Mama would smack me, but I can’t remember which relative this is.   Surrounding it are spider webs made from hot glue.  I thought I was a genius making all those strings…  And I was EXCEPT, marble is porous.  And the tabletop is marble…  *scrape* *scrape* *scrape* Make sure to attach the hot glue to items you know will release the glue easily.

Idea for Sophisticated Halloween Decorations
Check out how well the faux cast iron finish on the vases matches the real cast iron table!

Topping it all off is my lovely bouquet of dead daisies.  The whole display makes me feel like someone left these fresh flowers by a lovely picture and then abandoned them for 100 years.  I love that dark Halloween feeling!  Must be a closet goth at heart.

Tutorials Used

Faux Cast Iron Finish 

Enjoy these articles? Get biweekly updates by joining my mailing list (no spam, no way, no how)

See other great crafts, DIY, and decor at these link parties: 52 mantels, Katherine’s Corner, Realcoake.com, Lambert’s Lately, Two Yellow BirdsCraftberry Bush, Pin Junkie , Craft-o-Maniac, Twigg Studios, Dream A Little Bigger , I Should Be Mopping The Floor, By Stephanie Lynn

Posted on Leave a comment

DIY Halloween Costume: Toddler Braveheart

Instead of DIY Wednesday we are doing it a day early. The reason? A simple costume for Halloween that I simply must show off! William Wallace aka Braveheart toddler style:

It got very cold, so, yes he does have pants under that kilt… and an extra shirt under his shirt. This costume also included a buckler and sword, but being almost two years old he quickly figured out throwing the sword and shield was super fun. This was our followup to last year’s viking costume.

How to Create A Toddler Friendly Version of Braveheart aka William Wallace

Materials: Plaid, Brown T-shirt, Brown Duct tape

Optional Materials: Faux Leather, Brass buttons, Sewing Skills

Steps 1

Create a kilt. If you have sewing skills then go ahead pleat and add elastic. Otherwise simply cut a strip, wrap it around the toddlers waist and secure with a safety pin. In either case don’t worry about hemming. I even unravelled a bit of the edge to give it a worn appearance.

Step 2

Before putting the t-shirt on the toddler take an extra piece of plaid and either sew or safety pin it to the shoulder and waist of the t-shirt so this it drapes across the front. Do this BEFORE putting the shirt on. (Are you sensing the ‘before’ theme?) This will keep the toddler from getting obsessed with the plaid on the shirt.

Step 3

Paint face blue. Use a little cream makeup and put it on lightly. If it isn’t thick they can’t smear it much and McClain got a hoot out of watching me put it on in the mirror. If your toddler refuses then no big deal, just have them go as a Highland Scot.

Step 4

If you can sew: I added brass buttons to look like fancy pins at the shoulders, braided a leather belt to hang over, also sewn to the shirt. You can use strips of brown duct tape to mimic leather as well. Everything was attached so he wouldn’t have to fiddle with the costume.

I like to keep it simple and comfortable for a toddler. Certainly, I could have added more armor etc, but this gives the idea and he was free to run around and Trick or Treat in comfort.

Enjoy these articles? Get biweekly updates by joining my mailing list (no spam, no way, no how)

Posted on 11 Comments

Gravestone Halloween Treat Bags

DIY Halloween Treat Bags in the shape of Gravestones

This weeks DIY project shows how to make some easy gravestone treat bags for Halloween. I am assuming you are making these for a party or small number of kids. We had over 150 trick or treaters last year so clearly they aren’t each getting hand made treat bags. However, some select family and friends will be getting Halloween favors.

DIY Halloween Treat Bags in the shape of Gravestones

Gravestone Treat Bags

Materials:

Basic paper treat bag (Grey would speed up the process but good luck finding that)

Black & white acrylic paint (cheap is fine)

Old paint brush

Scissors

Optional:

Printer & stencil plastic

Repositionable Adhesive


Step 1: Cut Your Shapes

DIY Halloween Treat Bags in the shape of Gravestones
I promise the orange plate was un-intentionally Halloween.

I laid the bag flat and cut a simple notched shape along the top. Just Google gravestone images for basic shapes. It will leave a small triangle in the side which I leveled off with the scissors. You could make a template but I just eyeballed it.

You can freehand the ‘RIP’ but my hand writing is unattractive so I printed a Gothic font out of the computer. If you were assembling a large number (Anything over 15) go ahead and get some stencil plastic and cut letters from that. The plastic will remain intact through the entire project. If you are only doing a small batch then cardstock will hold up for some painting. Make sure to save the round parts out of the ‘R’ and ‘P’.

Step 2: Prep The Bag

DIY Halloween Treat Bags in the shape of Gravestones

To get the gravestone look I did a wash of grey on the outside. Just mix white with a little black. While the paint was still damp I used the brush to smudge in a darker grey to make it look worn. Then allowed the bag to dry.

If you were making a large number of these the process could be sped up by either purchasing grey bags or spray painting in batches.

Step 3: Stencil Time, Rest In Peace

DIY Halloween Treat Bags in the shape of Gravestones

If you used a stencil now is the time to LIGHTLY coat it with repositionable spray adhesive. Then take a tiny amount of black acrylic paint on a very dry brush and tap it into the blanks of the stencil. I tried to let the grey show through in places to give it an aged look.

DIY Halloween Treat Bags in the shape of Gravestones

Voila! Fill with treats and you are done.

Posted on 4 Comments

Happy Late Halloween

We were a little too busy celebrating Halloween and scraping paint off the mantel to wish you a Happy Halloween. We took the baby viking out for a spin. I couldn’t help but share the infant viking costume I made. It even had a felt axe to go with it:


Pacifiers keep him from pillaging the village. See, here is what happens when he doesn’t have one:

Marauding Baby! Run!

I made his baby viking costume, it was pretty easy just fake fur, felt, and leather string.

The rest of the evening we spent giving out candy to around 200 trick-or-treaters and hanging with our friends who helped pass it all out. Our new street was bumping!

As the evening wore on I thought to tell my friends that are getting ready to have babies, one of the best things about holidays is that you get to relive them all over again through your kids. This Halloween was just perfect for McClain’s first. I hope yours was just as nice!