Posted on Leave a comment

Dr. Seuss Inspired Trees: A Centerpiece

How to make Dr Seuss inspired trees

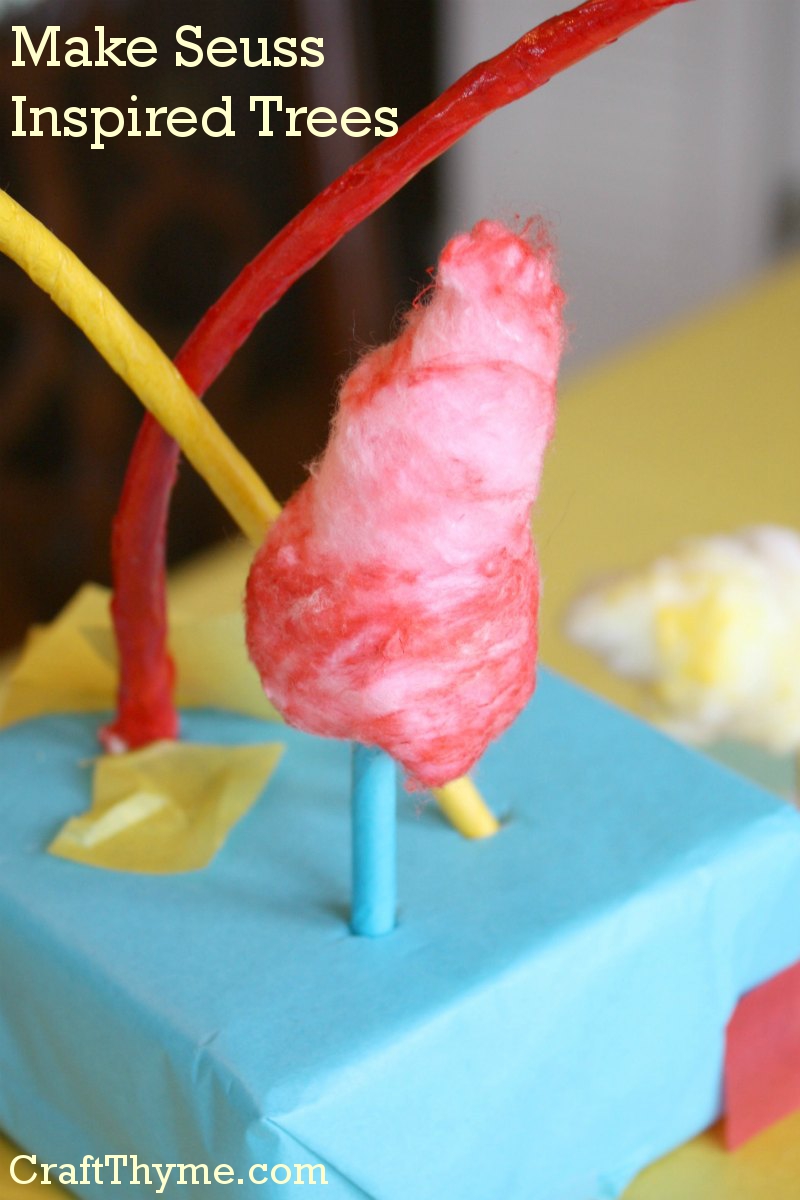
Want to make Dr Seuss inspired trees?  Then you have found the most esoteric tutorial on the web.  Hopefully this how-to will answer your extremely specialized questions.  I debated making a tutorial on how to create Seuss like trees, but I personally wanted to recreate the pointy-one in the first picture as some sort of whimsical Christmas decoration.  Plus I put some time in making these for Conlan’s Dr. Seuss themed first birthday, so why the hell not?

How to make Dr Seuss inspired trees
One of the most random tutorials on the web.


Supplies:

  • Dyed Cotton Balls (You can see a tutorial on how to dye them here)
  • Wooden Dowels or Bamboo Skewers
  • Styrofoam (Or something for a base)
  • Modge Podge (or thinned white glue)
  • Tissue Paper (Traditional Dr. Seuss colors are Yellow, Red, and Aqua/Turquoise)
  • Optional: Hot Glue

Step 1 Bending Dowels

Step 1 Bend Dowels


Soak wooden dowels or bamboo skewers in water.  I threw mine in a pot the night before: That means around 8 hrs of soak time.  This will make them supple enough to bend into curvy shapes.  You can see in the above picture that I just stuck mine in my, rather dirty, heating vent grate to dry.  You WILL break a few and some may split a bit.  I saved the broken pieces to make short trees, while, the splits can be trimmed off and will be covered in the next step.

After they were dry, I stuck ends into the bases to make sure that I had enough and to get an idea of the final placement.

Step 2 Adding Embellishment

Step 2 cover trunks
Holy Hell! I swear that is glue peeling off my fingers… Not some horrible skin disease.

Dr Seuss’ illustrations of trees have color and curves and the magical element of poof.   To color the “trunks” cut a strip of tissue paper and lightly coat the dowel with a little glue.  Then wrap the tissue paper around the dowel.  You can leave a little on both ends uncovered as it will be sticking in the base.

Once covered, I lightly coated the tissue with  gloss Modge Podge to give the trunk a nice sheen and make sure the tissue was nice and stuck.

Step 3 Add Poof

Added the final touches
Pretend you are trying to make some amazing ‘Southern Hair’

Simply take the dyed cotton balls and lightly stretch them into cones, swirls, and puffs.  I then used hot glue to attach 1-3 cotton balls per tree.  To hide the unsightly bases I wrapped them in an extra piece of tissue and simply poked the bottom of the dowel through the thin paper.

You can see the complete Dr Seuss themed birthday party click here.

Related Tutorials:

How to Dye Cotton Balls: It is #1 in my post 11 Household Items You Can Dye: With Tutorials

Enjoy these articles?  Get periodic updates by joining my mailing list (no spam, no way, no how) or subscribing to my RSS feed.

Posted on Leave a comment

11 Household Items You Can Dye: With Tutorials

How to Dye Cotton Balls

To create my Dr. Seuss inspired trees I had to dye cotton balls.  It got me thinking, there are a ton of household items that you can dye.  Here is my quick tutorial on dyeing cotton balls plus 9 10 other household items (meaning things you can pick up at the grocery store).

1. How to Dye Cotton Balls

How to Dye Cotton Balls Supplies:

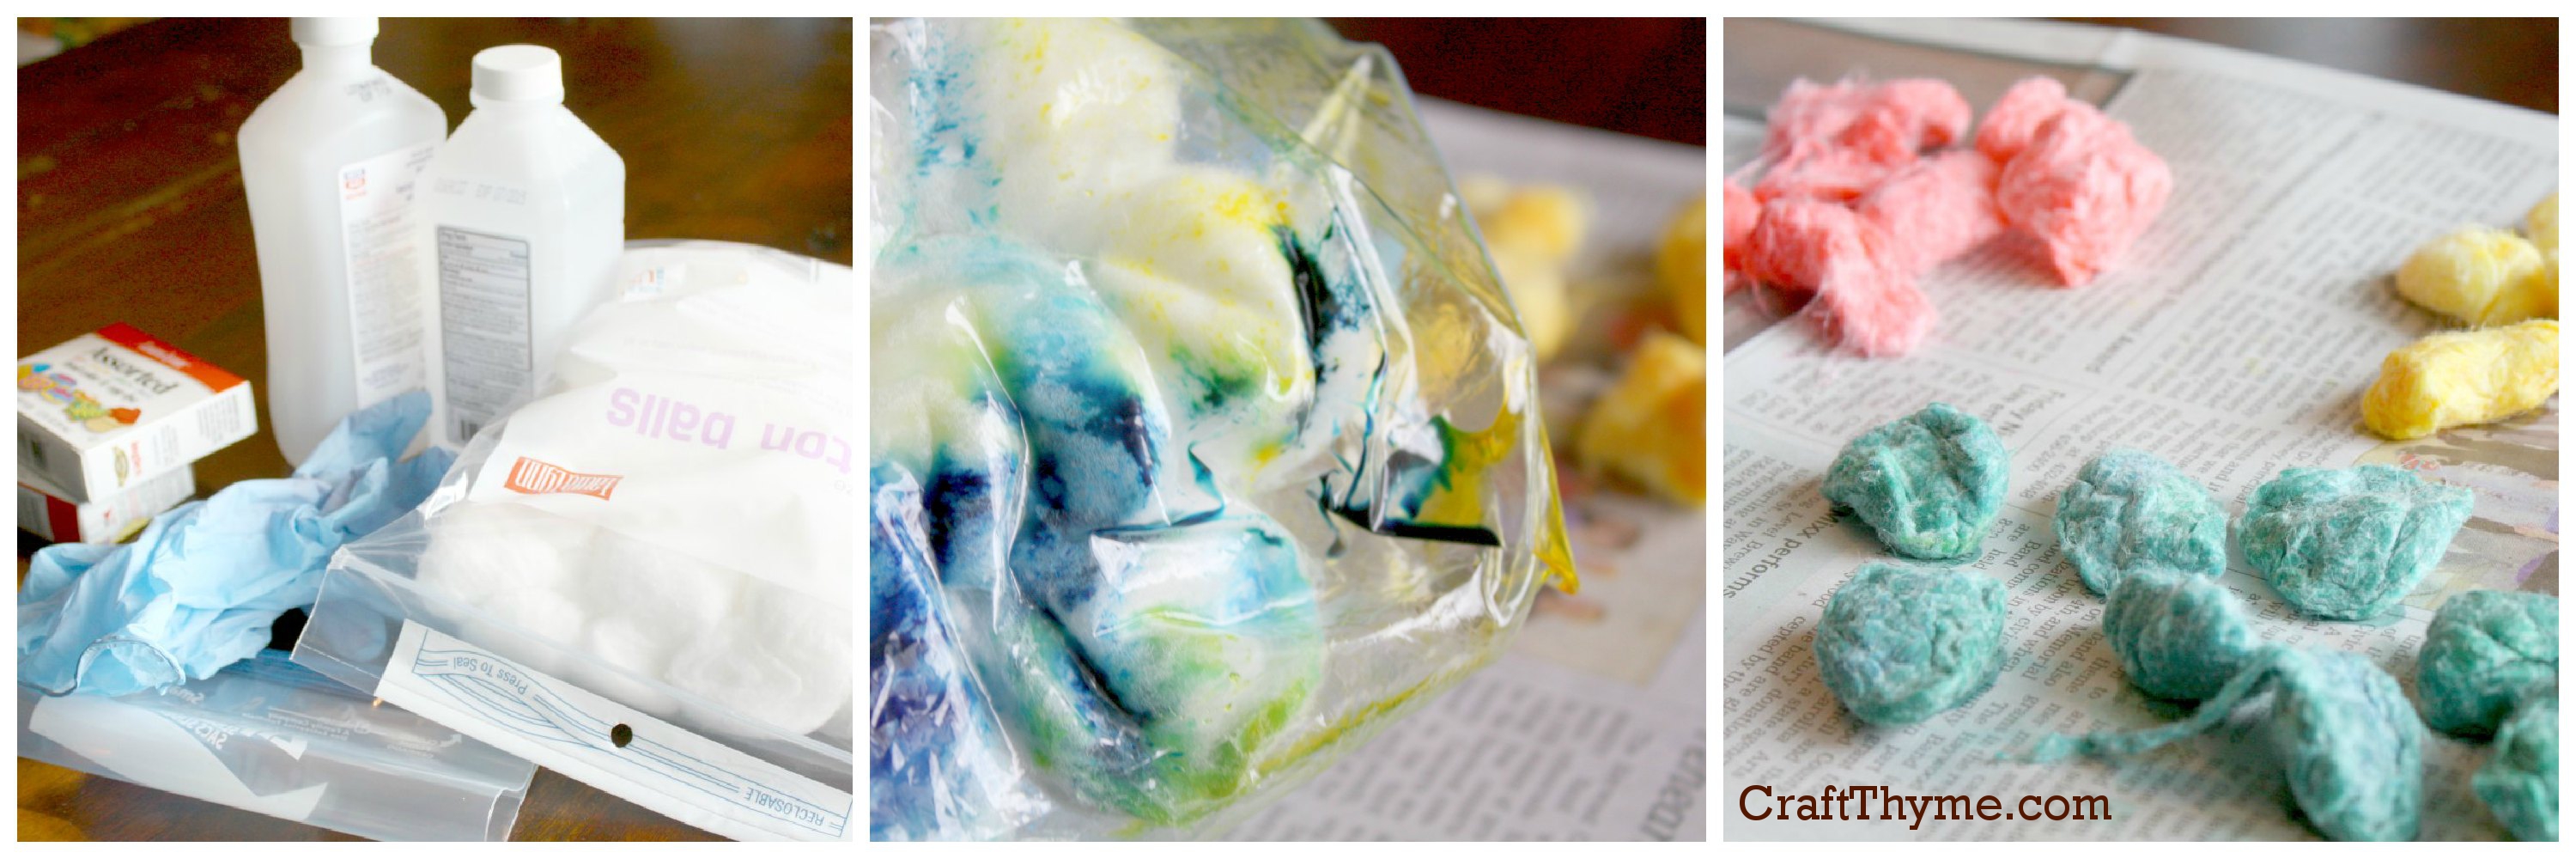
Rubbing alcohol, food coloring, cotton balls (duh), and a plastic baggy.  Gloves and newsprint are a nice bonus.

Steps:

Throw cotton balls into a baggy with a few drops of food coloring (I was trying for a turquoise in the middle picture…  Needed way more blue) and a splash of alcohol.  Remove the air from the baggy and squish the cotton balls around until the are evenly colored.  Pour them out on a newspaper to dry.  When dry you can fluff the cotton which will reveal the white making the colors much lighter.  You can see the final product on my Dr. Seuss inspired tree centerpiece.

2. Sand (Credit: CraftThyme)

Tutorial on How to Dye Sand

3. Clothespins (Credit: Madigan Made)

dyed-clothes-pins


4. Beans (Credit: Lookie What I Did)

dyed-beans


5. Coffee Filters (Credit: A Subtle Revelry)

dyed-coffee-filters


6. Golf Balls (Rit Dye)

dyed-golf-balls


7. Rice (Credit: African Babies Don’t Cry)

dyed-rice


8. Doilies (Credit: Blue Eyed Freckle)

IMG_7247.JPG


9. Bamboo Skewers (Credit: The Flair Exchange)

dyed-bamboo-skewers


10. Coconut (Credit: Eat. Swim. Shop)

dyed-coconut


11. Crepe Paper (Credit: Myself :))

How to Dye Crepe Paper


For those people who need to mark this post for Pinterest!:

11 Household Items You Can Dye

Enjoy these articles?  Get periodic updates by joining my mailing list (no spam, no way, no how) or subscribing to my RSS feed.

See more great crafts and decor at these link parties: Snippets of Inspiration, I Should Be Mopping The Floor

Posted on 17 Comments

How to Dye Crepe Paper

How to Dye Crepe Paper

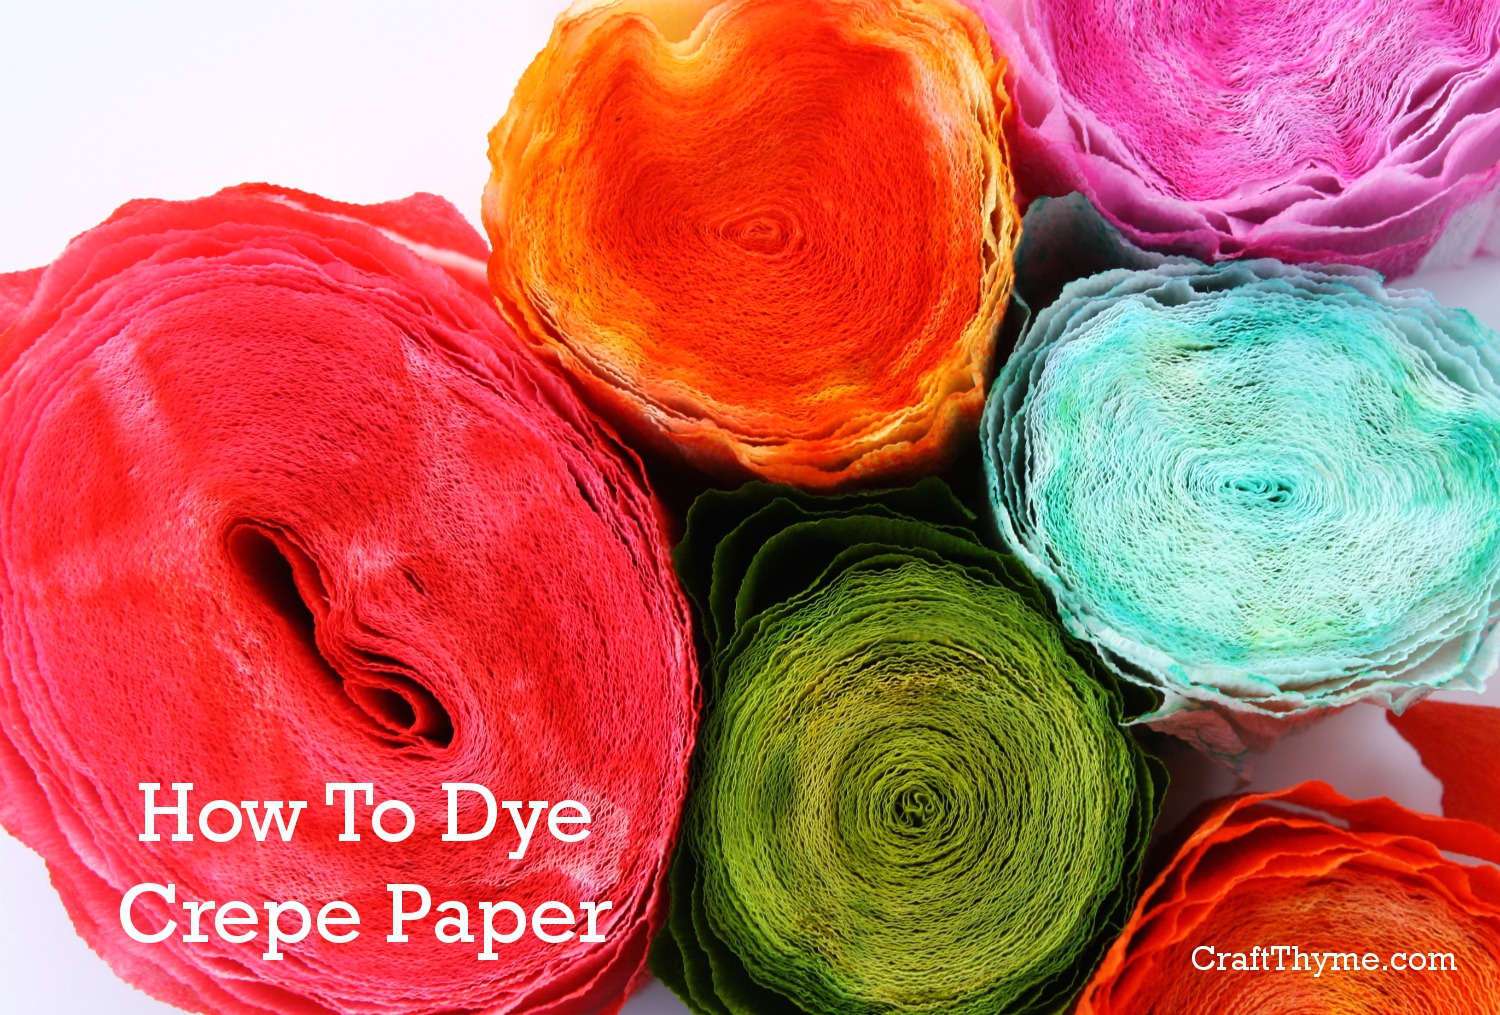
I wanted to dye crepe paper streamers so I could get a whole variety of colors and variations in my decorations.  I love color but the brightly dyed store bought colors just weren’t enough for me.  However, pouring paint etc on the streamers tended to make a soggy-fugly mess.  It took me awhile to figure out a process for dying them that would keep the crepe texture.

How to Dye Crepe Paper
Colors! I love Colors!


Supplies:

  • White or Light Colored Crepe Paper
  • Dye– See the recipe here
  • Alcohol: 90% is best (If you want pastel)
  • Um yeah that’s it…  Sometimes crafts don’t require a lot of things.  But don’t mention it.  I’ll take any opportunity to take a trip to the craft store.

Step 1

Make rolls of the colors you want to create.  One large roll of crepe paper is around 150 ft.  I always divide mine into three.  And no it isn’t necessary to be as anal as myself and wrap it so neatly.  That just takes a special kind of crazy.  It will dye if the rolls are fairly tight.

Step 1 assemble rolls
Wow, I can’t believe how anal I am at re-rolling the crepe paper.

Step 2 (For Pastel Colors Only)

Remember this is for pastel colors only!  I repeat pastel only.  Soak each roll in plain alcohol to wet it.  Don’t drench it but go ahead and dampen the whole roll.

Step 2 Wet the Paper
So… you might want to consider covering your work area or putting these on a tray… I have a lovely 70’s counter top that you can see I care for a lot.

Step 3

Now the fun part!  Pour on the dye.  Soak that puppy!  I like to pour it in the middle, then flip it over and do the other side.  Now would be a good time to remember gloves so you don’t stain your hands…  Or just tell your friends it is the newest trend in finger dye.  If you aren’t going for pastel it will take more dye since the rolls aren’t wet to begin with.

Pouring DyeStep 4

This is the hard one!  Wait.  Yeah you have to let it dry.  You can squeeze a a little of the excess out, but gently.  If you squish the roll too much then you risk ruining the crepe texture.  I have been known to stick them on top of heating vents in the winter months…  Usually overnight the alcohol evaporates and you have a nice dry roll.

Final Notes

Here you can see the variation between a pre-soaked pastel crepe roll and direct dye crepe roll.  The paper itself will separate out some of the component dyes…  So in less technical terms: Orange is going to leave splotches of red and yellow.  But they are pretty splotches.

Hand Dyed Crepe Paper
So much prettier than store bought.

Want to see what you can do with all this crepe paper?  Check out the inspiration for this tutorial in my Spring Garland Post.

Enjoy these articles?  Get periodic updates by joining my mailing list (no spam, no way, no how) or subscribing to my RSS feed.

This post was submitted to The Crafty Blog StalkerHouse of HepworthsSnippets of Inspiration, Sugar & Dots, Seven Thirty Three, & Craft-O-Maniac. Where you can find more create crafts, DIY, and recipes.


Posted on 6 Comments

Crepe Paper Tutorials

Crepe and tissue paper decoration detail

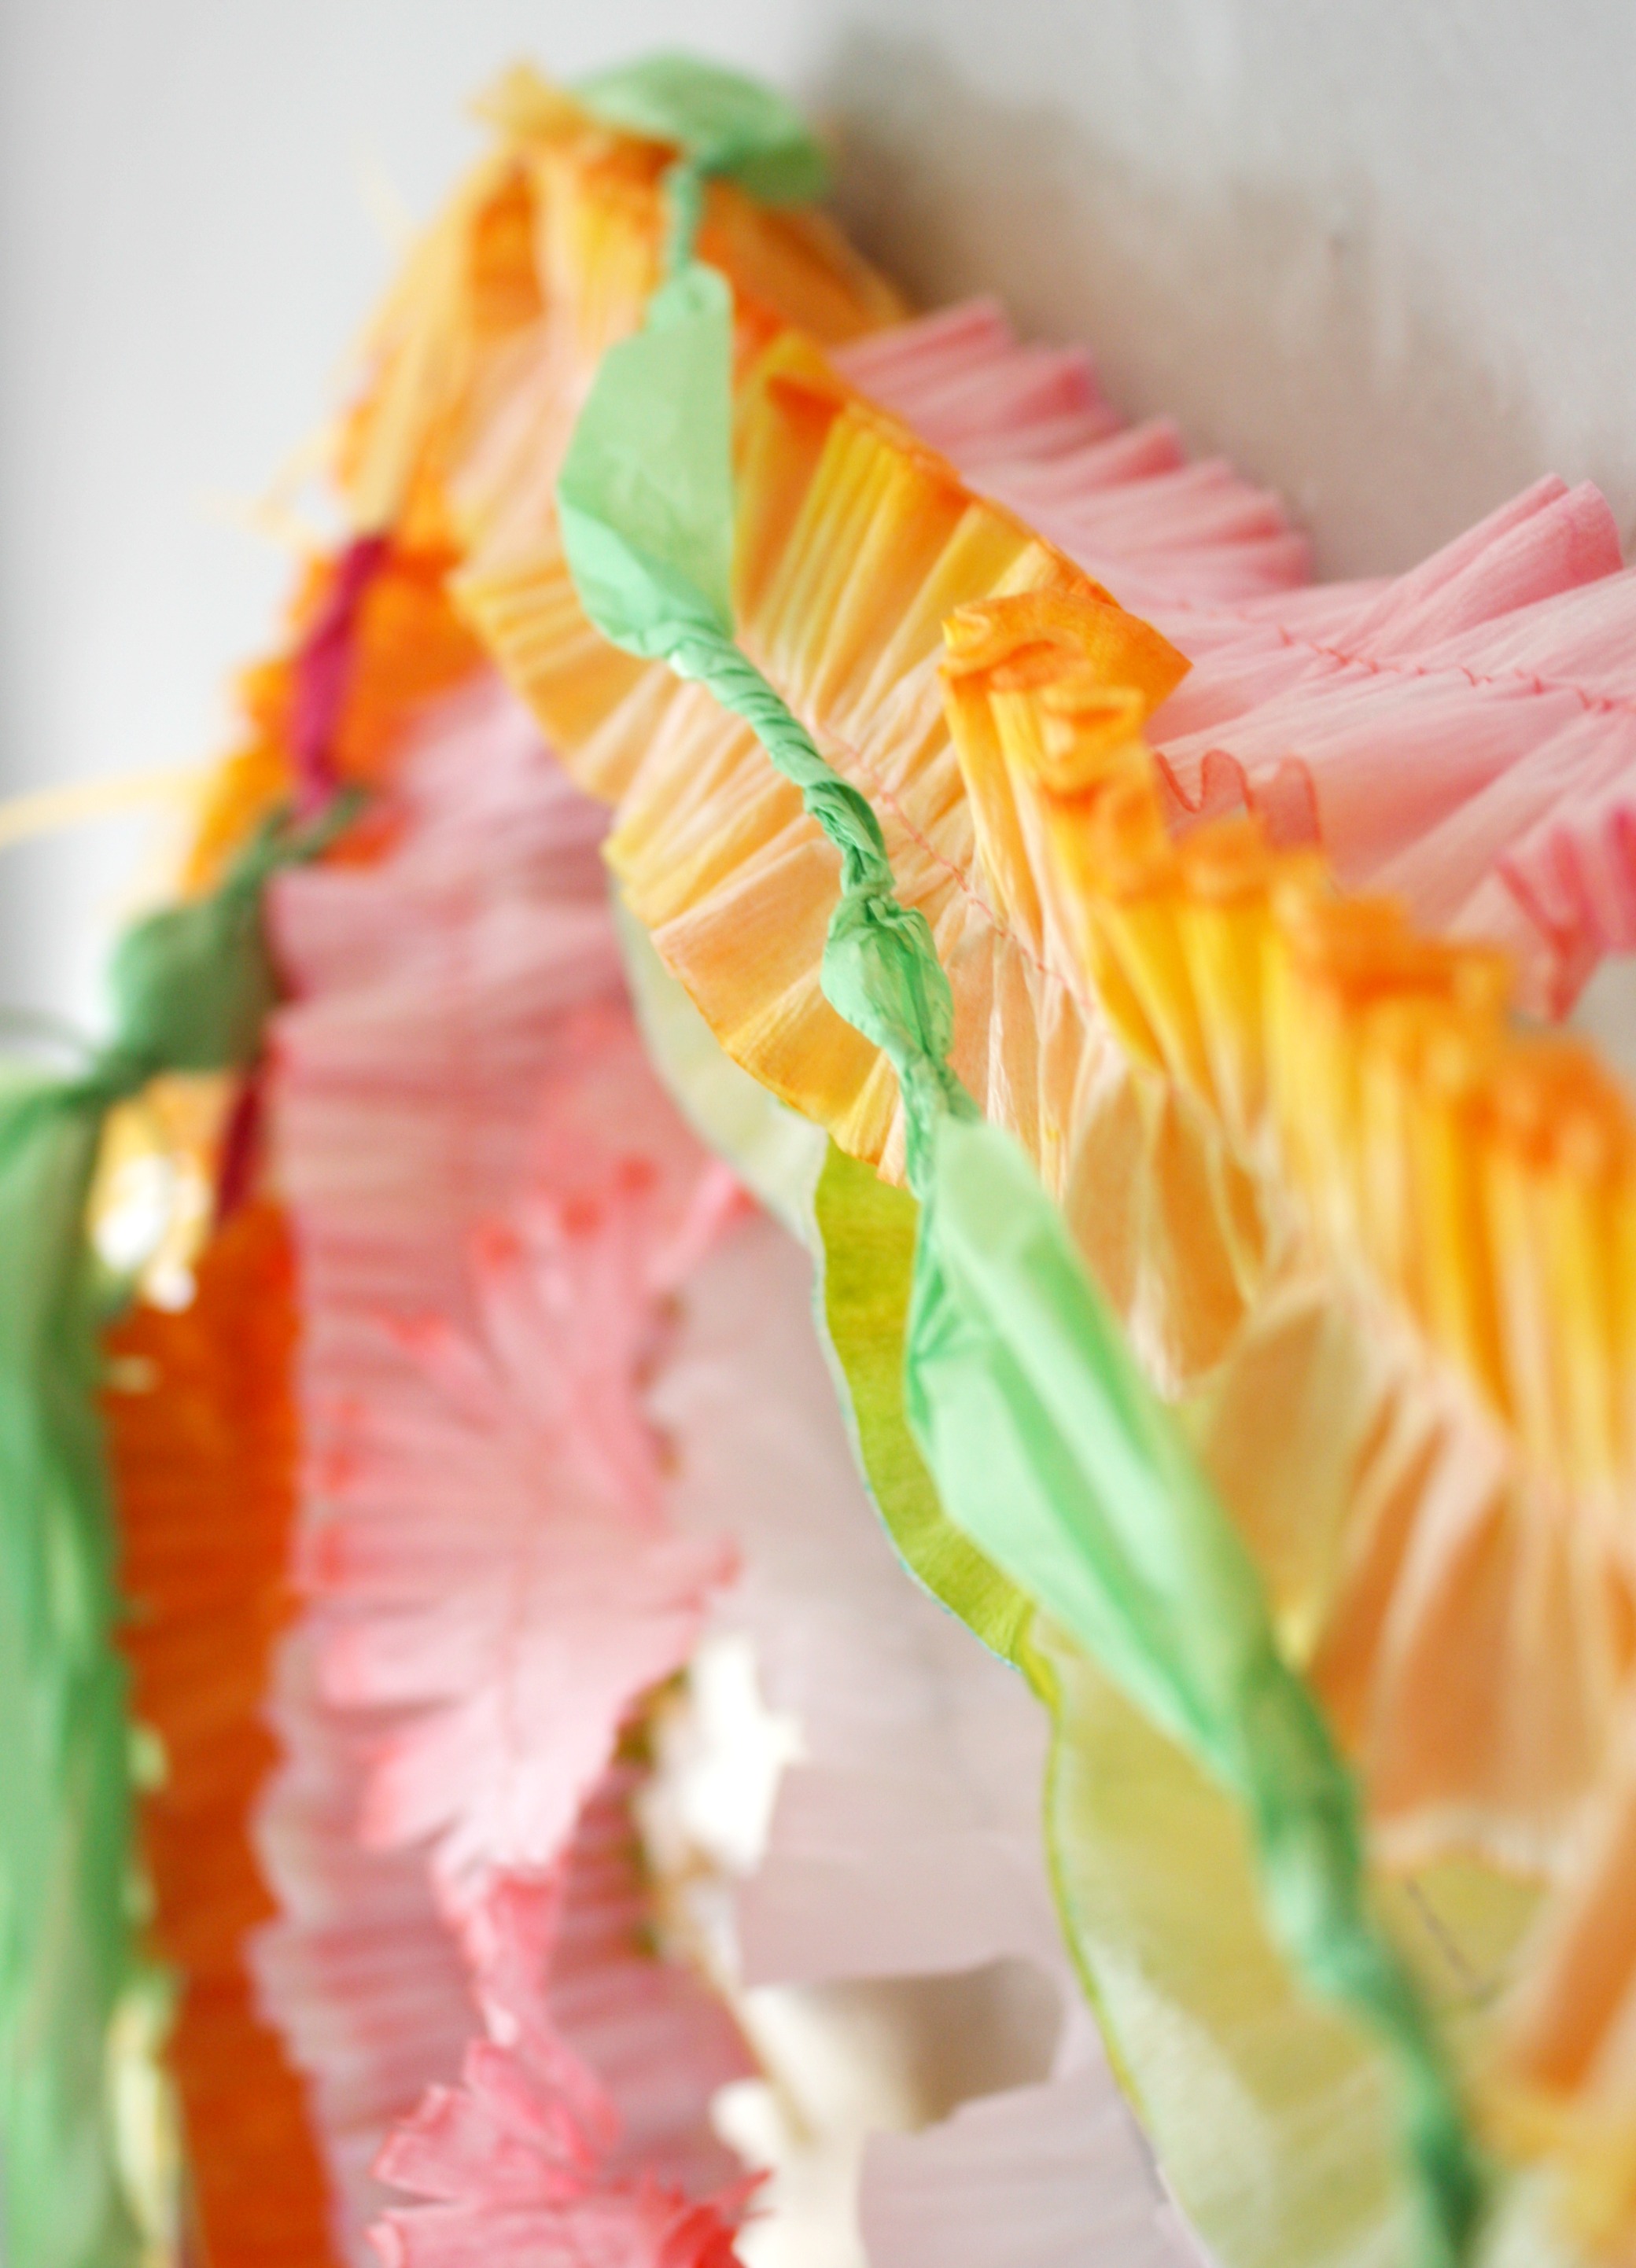
I need some Spring color!  Enter: an array of tissue and crepe paper garlands, tassels, and streamers. For a list of crepe paper tutorials on how to make each and every item shown scroll on down!  Instead of making the regular ho-hum mantel display I thought I would give my entryway some Spring umph.  As an added bonus I set up an area to take some pictures of the kids,using the decorations as a photo backdrop.

Crepe and tissue paper decorations
You’ll note that none of the kids are actually sitting nicely enough for pictures. So I used myself.  Yeah I am really that pale.

Crepe and tissue paper is inexpensive and can be turned into garlands, tassels, streamers, puffs.  Basically it is some versatile shiznit if you want some cheap and fancy looking decorations.  I really wanted a mix of textures and colors.  You can see a bit of the variety in this detail shot.  After making them all, I hung them from some lightweight command hooks.  Easiest thing to make a temporary display, plus crepe paper is so lightweight it takes nothing to hang them.

Crepe Paper Tutorials


Since I basically had a love affair with tissue and crepe paper I have a ton of tutorials to offer:

Crepe Paper Tutorials

In the mean time check out some of the details:

Crepe and tissue paper decoration detail

Enjoy these articles?  Get periodic updates by joining my mailing list (no spam, no way, no how) or subscribing to my RSS feed.

Posted on Leave a comment

Camping Birthday Party

Recently we celebrated my sons 2nd, 2nd birthday. Meaning his wonderful relatives in Durham had already had his and his cousin a joint 2nd birthday party. Of course I have next to no pictures of the first or second party since I get so caught up in the moment I forget to take pictures of the decorations. Suffice to say that both events were lovely! Since I had mentioned my idea to throw McClain a camping themed birthday party I thought I would share the very few pictures I had the presence of mind to take.

I made a simple “Happy Birthday” banner by enlarging the Pinewood font and cutting out the letters on my Silhouette craft machine. For a rustic camping look I clamped them to some hemp twine and strung them between branches I anchored in buckets on either side of the buffet table. While the color is washed out in the photo I used blue, red, and green embroidery floss to make friendship bracelet tassels.

We moved all the furniture to the edges of the room to open up play space for the kiddos and places a tepee in the corner near the fireplace. My mother let me borrow a number of plaid and striped wool camping blankets to use on the floor and as throws. Here she is enjoying one with McClain in the tepee.

Chocolate and vanilla cupcakes were topped with moss (green sugar in two shades) and woodland characters. I have to say I used my Silhouette again to find these cute little animals and cut them out. However, there are plenty of cartoon forest creatures available as free clipart you could use. Just print them out and mirror the other side. Then match the two sides and glue to a toothpick.

Here is a detail of the cupcake toppers. I also set (high above the children) candles, with various birds and moss. While not shown, I used mess-kits to serve many of the snacks and lanterns as decorations. The menu kept with the theme by serving campfire chili, cheese log, and smores icecream sandwiches.

McClain’s favorite part besides the obvious attention and presents was a toss up between the tepee and the cupcakes. Though for pure family use I’m going to have to go with the tepee. We kept it up for a week and everyone, including the felines, enjoyed their time sitting in it.