If you have read Craft Thyme for any length of time you have probably realized we aren’t a cooking blog! That being said, we (especially Adam) are decent cooks. In addition to gardening and DIY I’m a not too shabby baker, but one of my hidden talents is canning. If you do any type of vegetable gardening you will find that you have a surplus of something from time to time. Canning is a great way to use up that produce without composting or giving it away.
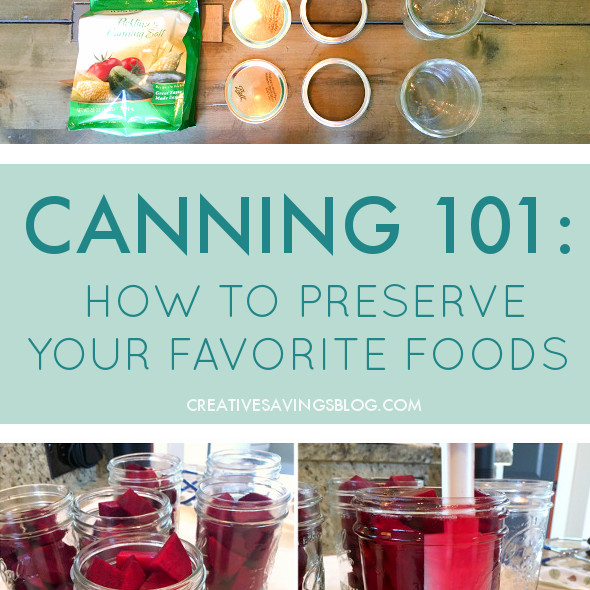
If you have never canned it is easy and fun and takes very few tools. I had the leisure of learning from my parents who make some amazing pickles, jams, and jellies. However, if you do not have a family tradition of canning it is really easy to learn. In fact, I wrote a guest post over at Creative Savings all about getting started with water bath canning!
Please make sure to go check out How to Can over at Kalyn’s website! Book mark and save it for later this summer when you are over run with beets, cucumbers, squash, etc. It will be a perfect way to save your produce and your dollars.
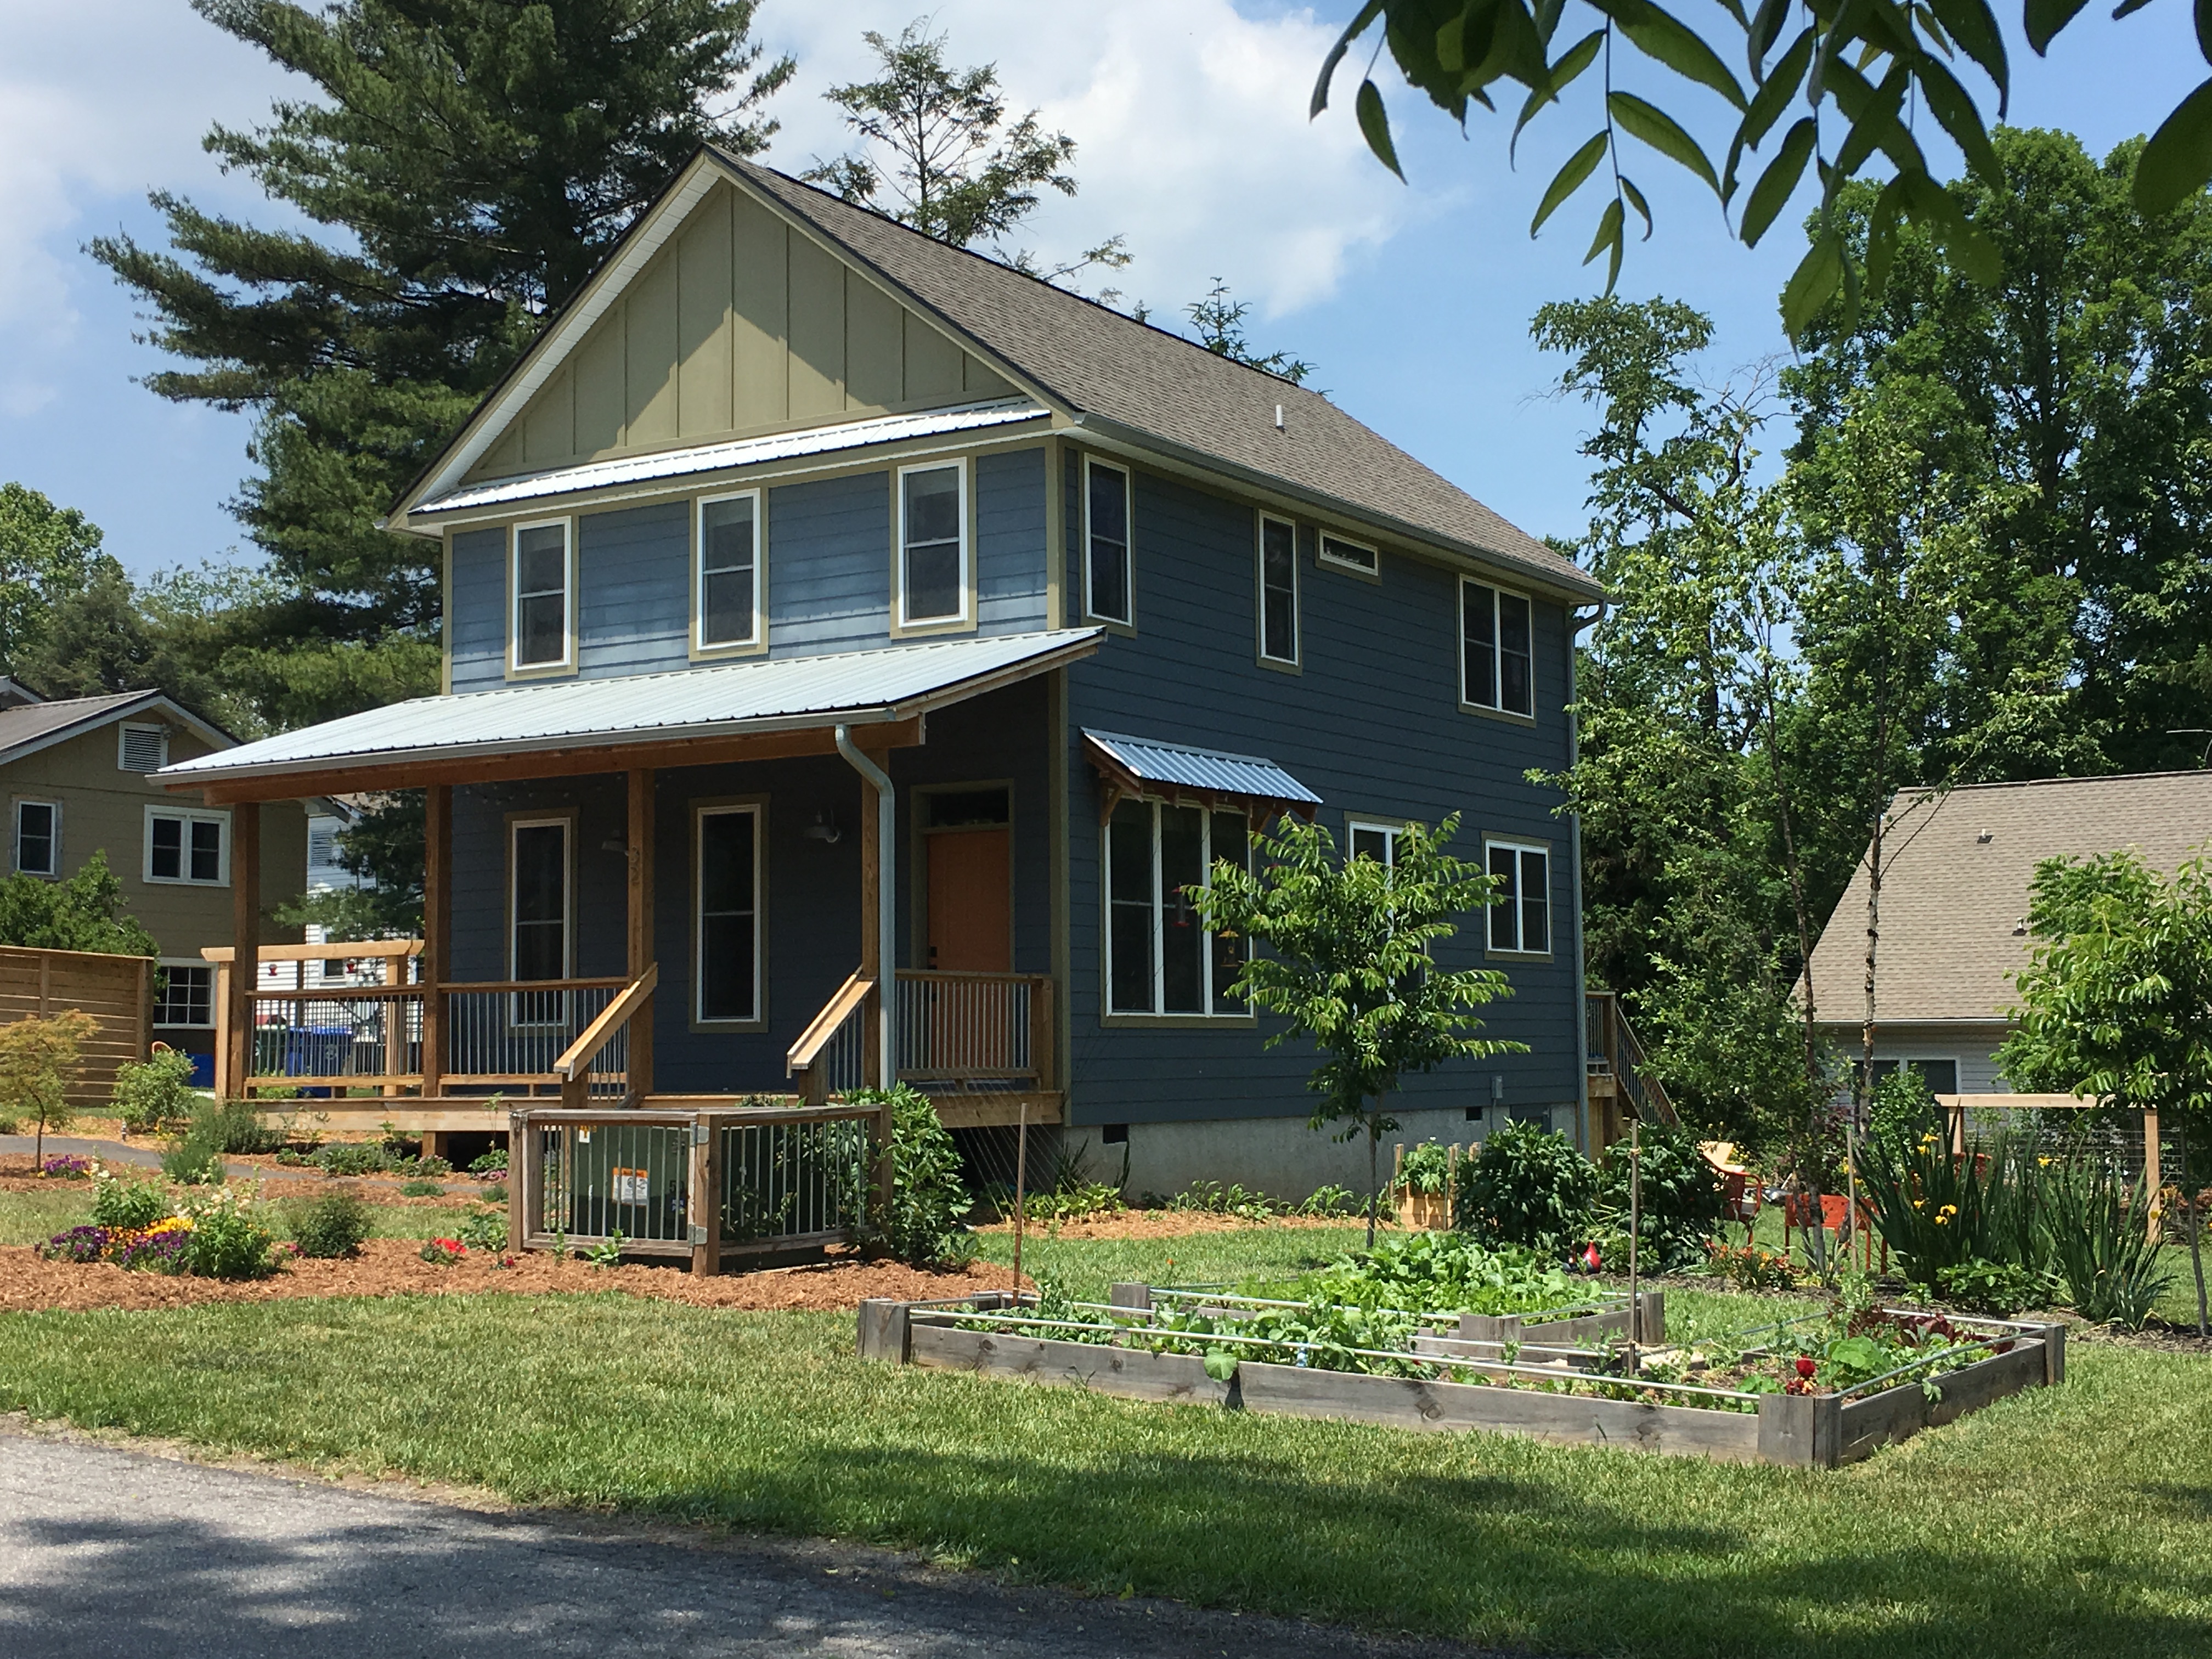
We have been meaning to do a home tour for-eveh! You know when the perfect time is to complete a home tour? When we are leaving… Yes, we have decided to sell our house and move down the street. We adore the location and the house! Personally, I LOVE this home, but we woefully under estimated how quickly we would need to expand the space when blending our families. Great news is we have located a larger family home less than two miles away. Once we get in, we’ll go over the new house in more detail. Until then let’s go over all the DIY goodness we have in our current home. Our focus with this house was to try to have a livable modern industrial decor with an attractive edible landscape. When we bought the house they had some great conduit railings and interesting bronze accents. We used those as our jumping off point to make a lot of pipe and Edison bulb fixtures. Honestly, we never even posted about all of our DIY projects. I have a ton of pictures and may try to go into more detail later.
Orange Front Door and a Blasted Landscape
While the house was attractive when we first bought it the landscape was a disaster. These first couple of photos show the labor of love and the final yard. We started by marking off and designing beds, bringing in birch, cherry, and Japanese maple trees. We built trellises to match the porch and boxed in the less attractive transformer, put in a mailbox with galvanized numbers, and built matching raised beds. The mulch alone was truck loads! Luckily we had a dear friend help us haul, dig, and haul some more. The front landscape wouldn’t look a tenth as good with out his help.
Our yard should have a sign that says created by Lowes clearance (in fact we wrote a post about how to save money at Lowes), but by scoring a lot of plants a low cost and nursing them back to health we were able to build up lots of edible perennials. What you don’t see in the details of the photos is tons of blackberries, raspberries, goji berries, strawberries, figs, and herbs of all kinds. Corn, beans, squashes, and more flowers are tucked in all types of beds. We even added decorative potato towers, a composting fence that holds yard waste and serves as an arbor for grapes with cranberries below, espalier orchard with apples, peaches, and pears and we built a large kiwi trellis (Kiwis are a discussion for next week).
I’ve never been great with flowers so we worked to added lots of bulbs, daisies, lavender, coreopsis, echinecia, and tons of annuals painstakingly brought back to life. I have learned a ton about bringing in color and in turn, pulling in pollinators. The landscaping continues around the back of the house with vertical shade planters and beds of herbs around the chicken coop. The chicken coop or chicken mansion as it has ended up getting named in the neighborhood is a feat of building all on it’s own. I’ll be sad to leave it behind, but the new owners are excited about the prospect of being chicken owners eventually. If nothing else it matches the house perfectly.
Speaking of the chicken coop! This coop is built on pre-existing concrete pad. Our guess was there was an old outbuilding or shed at some point. It certainly pre-dates our occupancy and we did not even realize it was there till we installed the chicken coop. We chose that location because the grass was not growing there very well; who knew… When we created the extension we made sure to line it with hardware cloth to keep anything from digging in. It was costly upfront, but so far we have yet to lose a chicken. Seems worth it to me. We painted the entire coop to match and it even has orange panels to close the windows off in the winter time. You may ask why we have orange windows well…
One of our final touches was to change the front door from a bland mauve to a nice pop of orange. I’m still really happy with the way it sets off the front of the house and felt like the chicken coop needed to have that matching touch. Only wish we had done it earlier! I always hated the prior mauve.
Industrial Decor and an Open Living Space
The bottom floor of the house is mostly an open living space. We transformed the mantel, built pipe curtain rods, jazzed up the bookcase, all the while adding pops of deep orange and navy blue. Adam, built an amazing show piece in our Edison light fixture. Everyone loves the multi-hued cloth covered cords and unique light bulbs. I faux painted the sockets to resemble cast iron with a bronze hue, and we made sure that every single light can be turned off and on. We added more pops of color by painting the powder room with an orange accent wall, making some custom art, and giving the pantry door a boost. We recently changed out the lights in the kitchen for some clean solid shades.
If you look closely you can see lots of our touches from gold leafed lamp shades to hand made coffee and side tables. We had started to play with different styles than just pipe as you can see from the tiny mail table in the entry. We had plans to make a custom bench for the entry as well. Obviously we were never stop the ideas!
Everyone always remarks on the dining room table. It is so fun to have the attached swivel seats. I’m not exactly sure how we are going to move this monstrous piece of iron and wood, but somehow this puppy is heading to the new house. The boys would be so sad to lose it! We did, sadly, agree to leave the light fixture. It really is an awesome show piece so I have no idea how we will match it in the new place, but we are already bouncing around ideas.
Industrial Shelves and Decals
One of the first things we did was replace a rickety contractor banister with a solid pipe one. It is substantial nad affixed with heavy duty mounts! The banisters move the industrial theme upstairs where we continue the pipe with a small built in office area with creatively constructed pipe shelves, and custom pipe desk, and a variety of hand made light fixtures in the Master. Adam, made the headboard as a surprise out of salvaged wood from various construction sites. The bed we made ourselves with bolts and thick boards. The platform is sturdy and great support!
The bathrooms already had great tile so we just continued the pipe through to the shower curtain rods and toilet paper holders. While we changed out the shower curtain in the boys rooms for showing the house, they had a great monster themed bathroom. Complete with a monster that eats/holds their toothbrushes.
Currently the boys share rooms and while they look very plain in the photos we actually had a space theme in one and a map theme in the other. For the purposes of showing we had to remove full wall murals of the solar system and world maps. Oh boy… Those no-stick decals… I am pretty sure my finger tips were bleeding after peeling off tons of tiny stars. I think we will just hand paint murals or find another creative way to decorate walls in the future. I made the map duvets and space themed quilt for both rooms. Thanks to the ridiculous bunk bed (That took waaaaayyyy to many hours to assemble) we have always had plenty of space to hide the toys. The boys are good about helping clean up at the end of the day. We make it easy by keeping drawers and bins where toys can just be dumped. Bookcases are hidden in the back corner and smaller interactive books are out in the open shelves. Everyone likes to sit and read so we are probably raising a herd of bookworms. Which I will consider a triumph!
We touched almost every single room, even if it was just painting accent walls (we removed a country yellow theme they had going on when we bought the place). It was an amazing two years worth of work that we truly enjoyed doing. I’m sure the next homeowners will want to put their stamp on the space, but hopefully we have given them a good start.
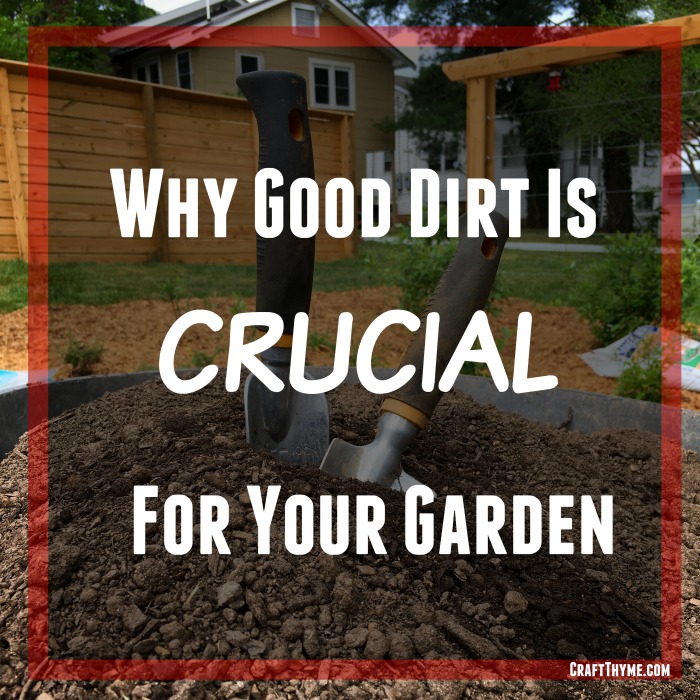
Let’s get the dirt on dirt. Preparing your garden dirt or garden soil is key to a successful growing season. It may sound silly but your soil is the basis by which everything happens. Good dirt is necessary to support, feed, and grow beautiful vegetables and flowers. Frankly, if I am going to go to the trouble to start seeds, plant starts, weed, fertilize, and water I am damn well going to want to have spectacular vegetables. Without a good base for the plants all those mentioned activities will still result in sad looking plants.
If we can all agree the soil is the basis for growing good specimens then we should all agree on the best way to prep the soil. Except that would be wrong, wrong, wrong! If you get in-depth with gardening you will find that every gardener has their own special technique, blend, and plan for their garden soil. Do not question them and do not try to change their mind. People can be terrifically rabid about this process so I just nod my head and agree that cracking 15 eggs and stirring them in the soil in February while singing positive songs of growth is absolutely essential to getting perfect tomatoes. I have my own rabid opinions on my garden, but what I am sharing with you about soil prep is the absolute essentials for a first time gardener.
Key Components of Good Garden Soil
Mineral
Organic Matter
Moisture
Air
Living Organisms
Mineral Balance in Good Dirt
Minerals are just the rock like particles you think of as dirt. If they are large then you end up with soil that seems sandy, if the particles are small you get the hard fired clay like baseball field that is my yard. (ask me how I really feel about my soil). I’m not going to go into all the different soil types, but what you hope you have is nice mix that is neither sand nor clay. Loam, as it is known will help maintain the delicate balance between having too much and too little moisture retention. it also allows for air to more easily be retained in the soil.
Organics Are Not Just For Groceries
Organic Matter is one of the key components of feeding your plants and living organisms but it also really impacts your moisture retention. The organic matter is decayed leaves, bugs, roots, etc that is mixed in the soil. Compost is a good example of a large heaping helping of organic matter. Plants will further break down organic matter and use the nutrients to feed themselves and the organic matter will absorb water trapping it in the soil and allowing plants to get moisture. High organic matter in your soil can really cut down how much you have to water as well as fertilize.
As I Live and Breathe
Air? Say what? Yep, air needs to be part of your soil. Roots need space to grow and actually need CO2 and oxygen in the soil to survive. Compacted and hard soil will cause roots to be small and stunted. In many cases this can cause the plant to die or at a minimum not thrive.
Icky Bugs Need Love Too
Living organisms. Yes, unfortunately all those creepy crawlies in your soil serve a purpose. Except spiders, spiders can burn in hell. Yeah, yeah, they actually serve a purpose too. Worms, borrowing insects, and a slew of microscopic organisms are important to your plants. They serve to aerate the soil, break down organic matter, and aid plants in absorbing nutrients. Did you know that with the proper bacteria nitrogen fixing plants like peas can actually add to your soil?!
Now this is some good dirt. Dark, rich, with small clumps of organic matter!
So How Do We Make Good Dirt
So how do you get such good dirt? Mix in a bunch of crap and go? Well not exactly. Let me get all hippy on you and say good soil is a “process man”.
We’re generally a no-till/digging kind of family BUT if this is the first year you are establishing a bed and you aren’t buying garden soil then you may have to avail yourself of some digging. You can till your garden or double dig. I prefer double digging, but it is an incredible amount of work. I think it sets up your garden soil for better long term usage but again, if the difference is between someone gardening or not because it is too much work then borrow a mechanical tiller from the neighbors and go to town. The key here is you are going to do this ONE TIME ONLY. So when you dig add in tons of organic material, ground up leaves, soil conditioner (ground up bark), and compost are my go-to amendments. DO NOT, I repeat DO NOT add sand to clay soil. Logically you would think that would help, but nope. Big old cup of nope. It will make some godawful concrete like substance when mixed directly with clay.
Sometimes you just have to dig. With a mattock. And a shovel. And a rake.
Digging and adding amendments are going to add the air and organic matter to your soil. The organic matter will help add moisture and attract organisms. Those organisms are the reason you are only going to dig this one time. I know fluffing the soil is fun, but to get really good soil you need to let nature take its course. Organisms will build colonies of bacteria and fungus, worms and ants will dig tunnels to bring in air, and all this will work together to give you nice healthy soil over time. The only thing you will need to do to fuel that is continually adding layers of organic matter to the top of the soil throughout the growing season and when you plant. Nature will do the rest.
Do note in some cases soil can just be horrifically terrible. You really might consider bringing in some commercial garden soil. I did! You can see we excavated all the grass, dug down some and raked. Call it lazy man’s double digging except that it wasn’t lazy. We had to use a mattock just to get the gravel and grass excavated. As you can see here we added about 4 inches of new soil. I really hate the pre-fertilized kind but I ended up getting some on such a deal I went with it. The reasons I have for disliking this type of commercial dirt is the fertilization benefits are fleeting. Good garden soil traps nutrients around organic matter, but the nitrogen in this commercial mix will used and washed out before the growing season is even over. However, I have a nice pile of compost and chicken bedding just chilling in the back for use later in the summer. I’ll start adding handfuls when the plants get a bit bigger. These bags of soil are just the base for many years of planting.
FYI, it takes way more soil than one would think to fill in a bed. Make sure you are using garden and not potting soil. Potting soil will dry out way too fast for your garden.
Protect Your Soil/Work Investment
You will need to protect your carefully dug and amended beds. You can keep nutrients from leaching away by covering non-growing areas with mulch. I tend to mulch after by seeds have turned fully into plants. The mulch will reduce weeding, runoff, and wind exposure. It also works to maintain moisture levels. Though with my heavy clay underbase this is not nearly as much of a concern once the plants get larger. Additionally, making permanent paths will keep you from compacting your planting areas by trouncing all over that painfully dug soil you just created. Remember to step lightly and reduce compaction whenever you can.
Bonus Tips
Once you have a good soil base established you can go crazy and start adding in some fun items. I tend to buy legume inoculates for any bed I have never planted peas or beans in. Legume what you say? Yeah you can actually buy bacteria to put in your soil. Rhizobium leguminosarum (Do not ask me how to pronounce that) works with legume roots to fix nitrogen into the roots. They actually add nutrients to the soil. I make sure to either leave the roots or compost the entire pea/bean plant to get the nitrogen back into my garden. You can buy worms, nematodes, minerals (Calcium is great for tomatoes and squash), and all kinds of fun things for your soil. Experimentation shows some benefits, but really you will be pretty good to go with just your basic soil/organic matter mix! If you do want to experiment here are some of my favorite addons (affiliate links to follow)
Legume Inoculate:
Worms:
Lady Bugs:
Remember the keys to good soil:
Mineral
Organic Matter
Moisture
Air
Living Organisms
Dig it the first time and add those organic materials and let nature do the rest.
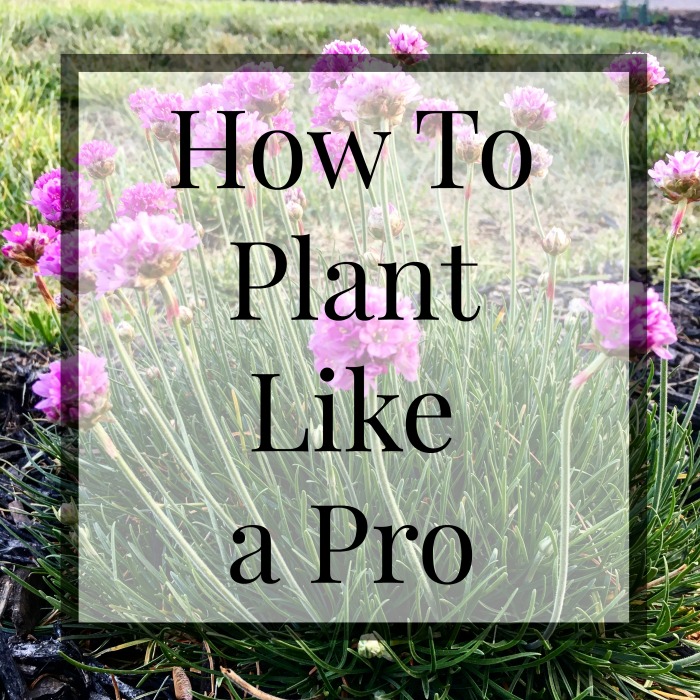
Want to know the trick to maximizing planting space like a pro? Just Say No To Rows and learn how to plant your garden. Yep, I said it. Put the hoe down, the tiller away, and stop with the traditional rows. It is the number one mistake home gardeners make! Why? Because it is labor intensive and more importantly, a waste of useful space that you could be growing food or flowers. Plant spacing is key to maximizing your harvest.
There are a number of techniques out there to plant your veggies and flowers in a non-row method. The biggy you will always hear about is ‘Square Foot Gardening’. I have actually checked the book out of the library and read the whole thing. Personally, I think it was a great guide on spacing plants, but I don’t subscribe to his method of soil creation. Peat is just ick to use most of the time. Not to say I haven’t used it from time to time, but I prefer not to do major applications with peat. ANYWHO, I’ll get off my peat soapbox and continue on to the important stuff. How to plant your garden in a meaningful and efficient use of space. This technique works with raised beds or in ground plots!
How to Calculate Plant Spacing
First thing to do is look at the back of your seed packet. You can read in detail about what you are looking for in my other post Seed Packet 101. Find the information about plant spacing. Ignore the row spacing. I saw you looking at the row spacing! Stop that right now :)
Have you found your number? It could range anywhere from 3″-24″ (3-60 cm) or more! You are going to take that number and divide it in half and place it like spokes on a wheel around your plant. So an eggplant that needs 24 inches would get planted with 12 inches on all sides. I tend to visualize a circle around the plant. Then just lay those circles out in a grid form. Yes, it is that easy!
BUT Wait! There’s More! (Infomercial voice)
There are a couple of things you need to think about before you start planting away. How to weed and how to harvest. Weeds are a fact of gardening life; if you use the above planting method they will be much lighter than traditional rows, but occasionally you are going to need to reach down and pull one out. So guess what that means? Your 6ft X 6ft (2m X 2m) bed? Yeah… You are barely going to be able to reach in the middle. (And yes, I might just have one of those). This is the reason you often see raised beds in 3ft increments. That is the usual distance a human can easily reach from one side. Let us pretend that you ended up with zero weeds, again, you will need to think about being able to reach and harvest your glorious tomatoes and plots of thick spinach. No one likes that smell of rotting squash in the middle of the patch. Yuck! (sometimes I have been known to get lazy on the harvesting)
Perhaps you have a traditional row garden plot. NO WORRIES! You can still use the same space. Divide the area into three foot sections and leave 2-3 ft (1m) pathways between the planting sections. Bonus points if you throw mulch on the pathways to keep yourself from having to weed and hoe the compacted garden paths. BTW, if you noticed I mentioned not tilling at the beginning. Once you have your happy soil you won’t need to be digging these beds and pathways up all the time. I get into more detail on establishing your soil and beds in other posts.
Grid It Out
Let us assume we have a prepared planting soil/space and we know how much space our plants need. The easiest process is to start plunking those puppies in a nice straight grid. Of course this is assuming you have vegetable or flower starts ready to go. Frankly, I plant a lot of veggies and flowers straight from seed into the ground. It gets a little trickier here to get good germination and clear spacing. Frankly, I am willing to waste a bit of seed, especially when it comes to tiny ones like carrots or cabbage. I am just too lazy to carefully plant out 2-3 seeds in each grid space. So I make mini-rows spaced correctly from each other and lightly spread seed down them. Then I just go back and thin the rows by cutting off the un-needed seedlings when they get 2-3 inches high. So why are we planting like this? We can get so many more vegetables in a smaller space. Let us use an example because we love the maths:
We have a 3 ft by 6ft bed (1m X 2m). We want to plant beets (I am the only one in my house but I freaking LOOOOOVVVVEEE beets) The package says row spacing 12 inches and plant spacing 3 inches.
Standard Row Planting: 72 beets (3 rows of 24 beets) Why beets? Because I freaking love beets! This (affiliate links to follow) Rainbow Blend from Sow True Seed is my absolute favorite. Do yourself a favor and order them today! You can plant them throughout the summer. Plus beet greens! Anyway enough about beets…
Grid Planting: 288 beets (plant 12 across and 24 down. Isn’t that number beet-uiful?!)
Straight grid versus offset planting. Both are superior to row planting to get the most in a small space.
The thing about numbers is they don’t usually lie. I used to say numbers never lie and then I worked in Business Intelligence and saw how people massage numbers… But for gardening 288 beets sounds a lot better than 72, well, if you like beets. Additional bonus from planting in this grid method? Whenever the vegetables get bigger their leaves shade the soil cutting off many weeds and maintaining soil quality from erosion. Less weeds = less weeding!
I learned a technique to completely maximize this planting structure. I have used it before but gotten lazy in the last bit and pretty much default to the grid. I often have too many vegetables to use and end up giving loads away so I no longer plant in an offset method. This technique is part of a full biointensive method of planting that is a lot more complicated and involves things like root depth etc. I’m not going there, it is hella fun to plan out and do, but it takes a lot of calculation and work. BUT this small portion is easy to adopt: instead of gridding off your plants you can use those circles to offset each plant squeezing just a few more inches into each bed. Additionally you can tuck in plantings to really cram those plants in there. That means if you have plants that need a lot of space like tomatoes, you can tuck in basil along the edges of the plantings. Personally I love to shove a few flowers, especially marigolds, in any extra room I have. It just makes the vegetable patches that much more attractive.
So what have we learned today? STOP the rows and plant your vegetables in a efficient layout.
Math is on your side and you can get so many more plants in a small place than you can with traditional row crops. Take a grid or offset method to get lots of veggies, but make sure that you remember to leave room for weeding and harvest.
The following is a real account of how our visit to see Holi in India went. It is a story format and makes a pretty fantastic tale. If you want tips and travel advice about seeing Holi or traveling to India let me know in the comments and I will get back to you or write up the information.
One year ago we visited India. I never wrote about our trip to India to see Holi because I wasn’t really writing anything personal about my life at the time and that is the kind of trip you need to digest over time. I’ve always wanted to go to the Holi Festival. Holi is basically the original color run. I mentioned my desire to go and how cool Holi was one lazy evening to my partner in crime. Plane tickets were bought, hotels in New Delhi, Vrindivan, and Jaipur were booked and away we went on a crazy adventure. You’ll note there was a lack of transport between locations… More on that in a bit.
Do I suggest making a trip to a foreign country of completely different values to see a festival of dubious nature? I most certainly do, IF you have the right temperament. We went on our own, without a tour, and without a super set plan. The culture shock alone keeps any trip like this from being a relaxing vacation. You are signing up for adventure. Adventure, as often left out of the books, involves a whole lot of fear, uncertainty, boundary pushing, and I imagine haggling for transport on your quest. Going to see Holi was all of the above, but completely worth it.
If you are thinking about visiting India, especially to see Holi, then do your research. We may not have planned every aspect but it still involved a whole lot of immunizations, visa purchases, and study of customs. Remember, Holi is a religious festival first and foremost. I was not about to go trounce upon another countries customs. At best it makes you seem like a turd of a tourist at worst it can get you arrested or killed in other countries.
So It Begins
You are looking at a 14-16 hour flight from the East Coast of the USA. Nothing like waking up from poor airline sleep to see your plane directly above Kabul, Afghanistan. But in reality it is after you leave the airplane that you realize there is no going back. Especially if you land in New Delhi. Customs is confusing, their hand print scanners are the things of nightmares, and the moment you walk out of the airport you are assaulted by the smell of wet, burnt firecrackers (pollution), people trying to hawk taxis and other items. Research pre-paid fares and make sure to find a stand that guarantees the amount to your destination and gives you a receipt. Otherwise you can get taken for a lot more money when you reach your destination. Basically always set a firm price before getting on any transportation. Oh and if you are like us make sure to do all of this at midnight India time. Cause there is nothing more exciting than being in an unfamiliar location in the dark.
If you are like us you will get in a car accident within you first hour, finally make it to an unbelievably posh hotel, and then have to face the fact you can’t open your mouth in the shower. Get 3-4 hours of sleep and then figure out how the hell you are going to get to Agra on your way to Vrindivan.
The Metro
Oh holy hell, I don’t even think I can describe the metro in morning rush hour in New Delhi. You would need to be there to experience it and that would be one suggestion I say skip if possible. My husband is a big guy. A Big. Red Bearded. Intimidating guy. That afforded us an additional 3 inches of room. If you do manage to brave that insanity then pick a place to meet if you get separated. We foolishly did not and I got ripped away from him by the physical push of the crowd. Panic ensued but some kind Indians physically pulled me from the train and threw me into his arms. Oh yeah, that actually happened and it is an experience i could have done without.
There is a huge long portion of the story where we meet one of the only other tourists we find on the trip. I nice Swede who had been there for a few weeks, taught us to haggle, and got us to a bus to Agra. Not a state bus just a bus. The kind you see in pictures with everyone and livestock piled inside, random stops in the middle of the highway, and no idea of where you are actually headed. It is hence forth the period where we were think “Well, shit, we have made a major mistake”. Luckily for both of us we are of the never give up temperament. Plus once you are stuck in a bus moving further and further away from the only airport that can get you home you kind of have to continue.
Note the look of fear and the mopeds hurtling towards us…
But in general people around the world are still people. We found some that were nice, pointed out where to get off, where to get tuk tuks (Also known as three wheeled mopeds of death), and how to navigate the city. Just remember that nice comes at a price in India. The whole economy works on kickbacks and friends Recommendations are based on this process so you can ask for a recommendation of taxi and a person will give you one, but it is likely their cousin or friend’s taxi service, not necessarily the best/cheapest one around.
The Red Fort. Ah-mazing! Yes, that is all hand cut red sandstone.
We saw the Taj Mahal from a distance. Don’t ever go with luggage as there is no good place to store it and they won’t let you take it in. Plus you have to fight a gauntlet of vendors and slums to get to any of the gates. The Red Fort was amazing but on the whole Agra was one of the poorest and dirtiest locations we saw. We managed to snag a taxi to Vrindivan find our surprisingly wonderful hotel and basically collapse. Holi was the next day, we had barely slept, and frankly the all day adrenaline charge we had had was more than enough to have us pass out.
Because the Red Fort also has white marble buildings inside.
See Holi, It Really Is That Wonderful
We made it. It was the start of Holi, we were in Krishna’s birth village, and it was the start of the festival. Despite our general misgivings we decided to walk the 1 mile to the village. We both wore outfits that we didn’t mind getting stained various colors. I also made sure to have a 3/4 sleeve loose blouse and full length skirt on. We planned on making our way to the main temple and I wanted to make sure to follow the general dress and customs.
Walking was the BEST PLAN Ever! As we got closer to the town a tuk tuk comes veering off the road. Apprehensively we stood our ground, but to our surprise and delight a number of men jumped out, give us gigantic bear hugs, wiped colored powder all over our foreheads, and jovially yelled “HAPPY HOLI” the whole time. This was the process that was to continue for the next two hours of our lives, EXCEPT it also included thousands of pictures. We had managed to find the authentic Holi experience, which meant we were some of the only tourists there. My husband’s height and beard made us of immediate interest from a distance, my blonde hair just drew everyone. For the first time ever I finally understood why celebrities lose it. There is something exhausting about only being able to make it three feet before someone grabs you and takes a picture. But we kept smiling because everyone seemed so delighted to wish us a happy Holi.
This is 1 of 10,000 selfies we were part of during the celebration
At one point I had, had a little more than I could take so we started cutting down some of the side streets. The crowds were less thick and we could watch the main happenings on the main street from a less involved distance. It was an amazing site to behold. Shouts of laughter as kids and adults chase each other around with colors while streams of brightly colored powder and liquid dye filled the air. Processions of orange robed Hindu Monks cut through all the chaos, reminding everyone that while this was a celebration it was also a religious festival.
Oh yeah, you get pelted by moving vehicles too!
As we stood watching we noticed a bit of chaos behind us at a gate. Seeing as we hadn’t died yet we, as in Adam, decided we should go check that out. As headed down the alley Adam screams simply “MONKEY!”. Yep a large, over waist high, temple monkey decides to jump down next to Adam. Because, you know, we hadn’t already seen pigs, cows, dogs, camels, and horses. Of course all I can think is that we weren’t in time to take the recommended rabies vaccine before our trip and their direction was to stay away from local animals… Yeah, that can’t happen in India. The animals are as thick as the people and you will be up close to all types of livestock and apparently monkeys. Since no one was bit by the monkey we continued to the chaos which was a number of people attempting to enter a temple. At that very moment they open the gate to let a number of people in and out. So what do we do? Well of course we just push ahead and enter the temple.
This is a small temple monkey. Some of them were almost chest high.So many cows…
It was an oasis in the middle of chaos. Everyone is hushed, you can hear chants and music across the courtyard. We had to remove our shoes (much to Adam’s worry as his have gotten stolen in the most unusual circumstances), but the cool marble of the temple walkways felt amazing in the warm sun. Light filtered through colorful nets and garlands containing thousands of marigolds and bells. A cool breeze blew as we entered the temple proper. The hush, sprinkled with the beautiful marble carvings, and spring decorations everywhere gave it the most surreal feel. The temple security made everyone back away from us so that we have a few moments of peace from the picture taking bonanza. We actually met one of the only other American’s on our trip. He was Krishna monk who helped us sneak out the back of the temple. As he showed us around he explained his life’s goal was to serve and help. That he could reach a state of grace through such acts. Hearing such conviction in such a setting will always stay with me and remind me that for every awful thing we see there are good things as well.
All those decorations are live flowers.
The Holi experience as a whole was amazing, we slipped around the back of the village making our way back to the hotel. We had only one rough experience where some young mean got a bit rough and handsy with me. Let’s just say I threw some elbows and my husband picked me up and carried me from the crowd. They actually ended up apologizing, but I would be wary to travel Holi as a single woman, alone. We never did make it to the main city temple, but I think that was good. Our trip led us to the back streets where we got to meet some of the residents. When we finally made it back to the hotel we had to spend close to 45 minutes removing as much color as we could. It still left my skin splotched and my hair a lovely shade of purple and hot pink. We snagged an evening massage and passed out with the knowledge we would have to figure out how to get halfway across the country to Jaipur in the morning.