Posted on 15 Comments

Goodnight Moon Theme Birthday

Details of how to create your own Goodnight Moon birthday Party
Goodnight Moon has been a staple throughout my Son’s lives.  I have to admit that I originally did not see the appeal but after reading the book 6+ years I have grown to love it.  It seemed fitting to have a Goodnight Moon theme party for our last son’s first birthday.

However, have you ever tried to find goodnight moon themed items for parties?  Apparently, this book hasn’t reached massive commercialization.  I found some good items on Etsy but instead of purchasing I decided to DIY it.  Never underestimate the power of a scanner!

One of the most notable parts of the book is the color scheme.  Can we say “Great Green Room”?  The shades of green, red, yellow, and blue are unmistakable.  I used those colors as the base for my decorations.  We purchased matching plates, napkins, and silverware in a mix of those colors.

Details of how to create your own Goodnight Moon birthday Party

Since I wasn’t using the book for my own commercial gain I felt inclined to scan away and looked through google images to find source material.  I printed out some of my favorite scenes to place in frames and make a centerpiece for the buffet.  I also sat out the tattered copy of Goodnight Moon and Our World (the companion book).  Adam, filled out that buffet space with lots of yummy grilled items!
Details of how to create your own Goodnight Moon birthday Party

It is possible to purchase some adorable mouse wrapping paper.  However, by the time I found it, it was too late to get it shipped to my house.  You know what does work?  Tiling images in Picmonkey and taping together sheets of paper.  Trust me, no one year old actually notices his present is made of lots of small sheets of paper.  For that matter I do not think anyone noticed and it added a pretty pop of on theme color.
Details of how to create your own Goodnight Moon birthday Party

Obviously, at a Goodnight Moon theme party you will need a moon of some sort.  I looked through my cardstock stash and found some metallic white and silver paper.  I used a plate to make a nice circle and cut out a moon and then hand cut lots of stars.  The cutting took a bit but it was fun.  I lightly drew lopsided stars in pencil and then cut out a couple of sheets at a time.  The book has all kinds of wonderful and playful star shapes so my hand cut items matched perfectly.  I simply taped them to fishing wire and hung everything from the light fixture Adam hand crafted.

Details of how to create your own Goodnight Moon birthday Party


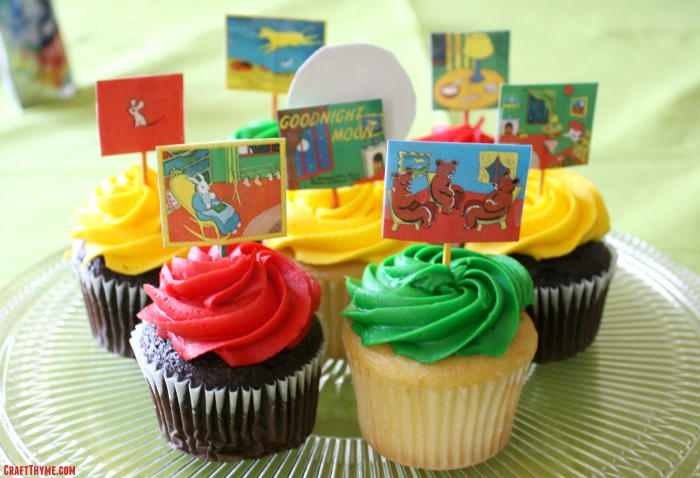
No first birthday party is complete without CAKE!  Well cupcakes in this case.  You may think what you like but I ordered them from Sam’s Club.  They were super helpful matching the colors and they tasted great.  To make them extra special we printed out tiny scenes from the book and made toppers with similarly colored toothpicks.  Keaton got a special moon on top of his too!  I would say he very much enjoyed his treat!


Details of how to create your own Goodnight Moon birthday Party


Finally, I made a fun game for both the adults and kids in attendance.  I printed out 10 1/2″ images of the elusive mouse from the books.  I then took the tiny mouse and taped him throughout the downstairs to windowsills, doors, Keaton’s highchair, etc.  Everyone spent the day trying to find all 10!

With just a little ingenuity and a lot of Goodnight Moon inspiration we were able to come up with a creative and affordable theme party to celebrate the last first birthday in our house.  Well that is until we have the grandkids.  :)  If you are not into DIY like we are or wanted some great gifts Amazon has some adorable merchandise.  Affiliate links below.


Details of how to create your own Goodnight Moon birthday Party

Posted on 3 Comments

Thanksgiving Mantel Decorations

Thanksgiving, for me, is about food, family, and giving thanks for all my friends and loved ones.  Plus it is the calm before the Christmas bonanza.  My mantel decorations are simplistic to reflect that.  Plus I like to have a nice clean look before the gobs of Christmas Decorations begin.

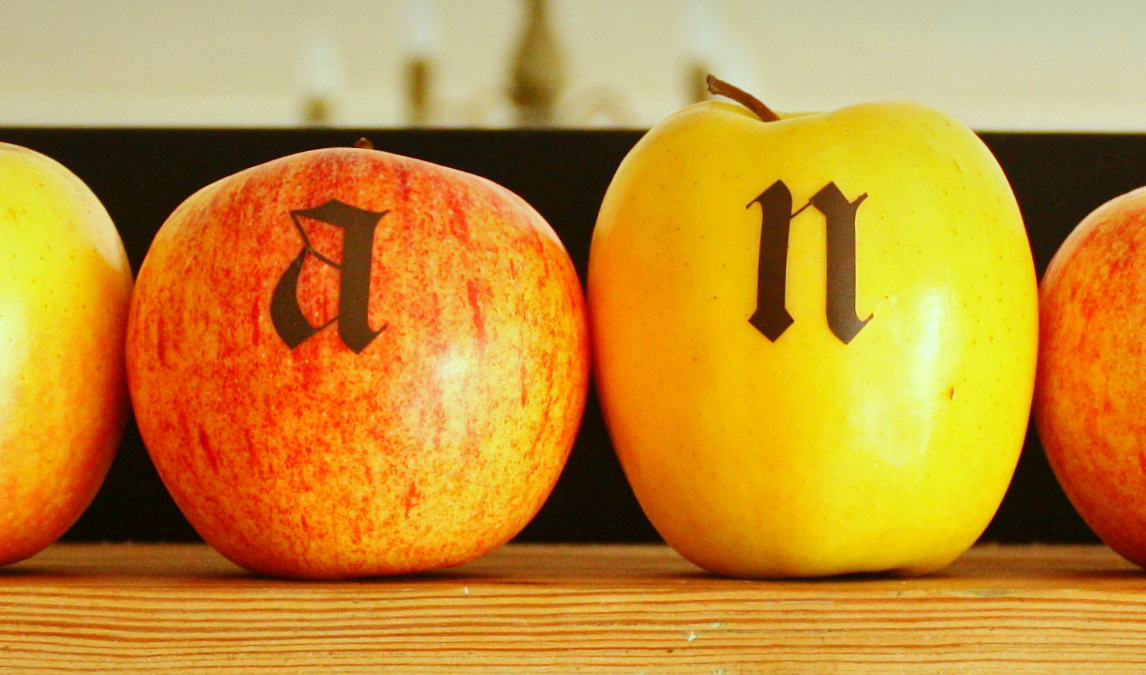
Thanks, spelled out from apples
Do as I say, in the apple tutorial and line up your letters. Not as I do :).

Thanksgiving is still about Fall for me.  I want to reflect the warm browns, russets, deep reds, and last golds of the season before giving over to the cold, crisp winter.  Plus I have a fruit decor obsession.

Details of Thanksgiving decorations using apples and aged papers
Told you all those aged papers would come in handy

So enjoy the last days of fall and relaxation before the excitement of Christmas.

Tutorials Used:

Golden Apples

Aging Paper with Tea or Coffee

How To Easily Cover a Book

Simple Thanksgiving Mantel
Just keeping it simple.

Enjoy these articles? Get biweekly updates by joining my mailing list (no spam, no way, no how)

See more DIY and Decor at these great link parties: Dream A Little Bigger

Posted on 7 Comments

Two Ways To Age Paper (Coffee & Tea)

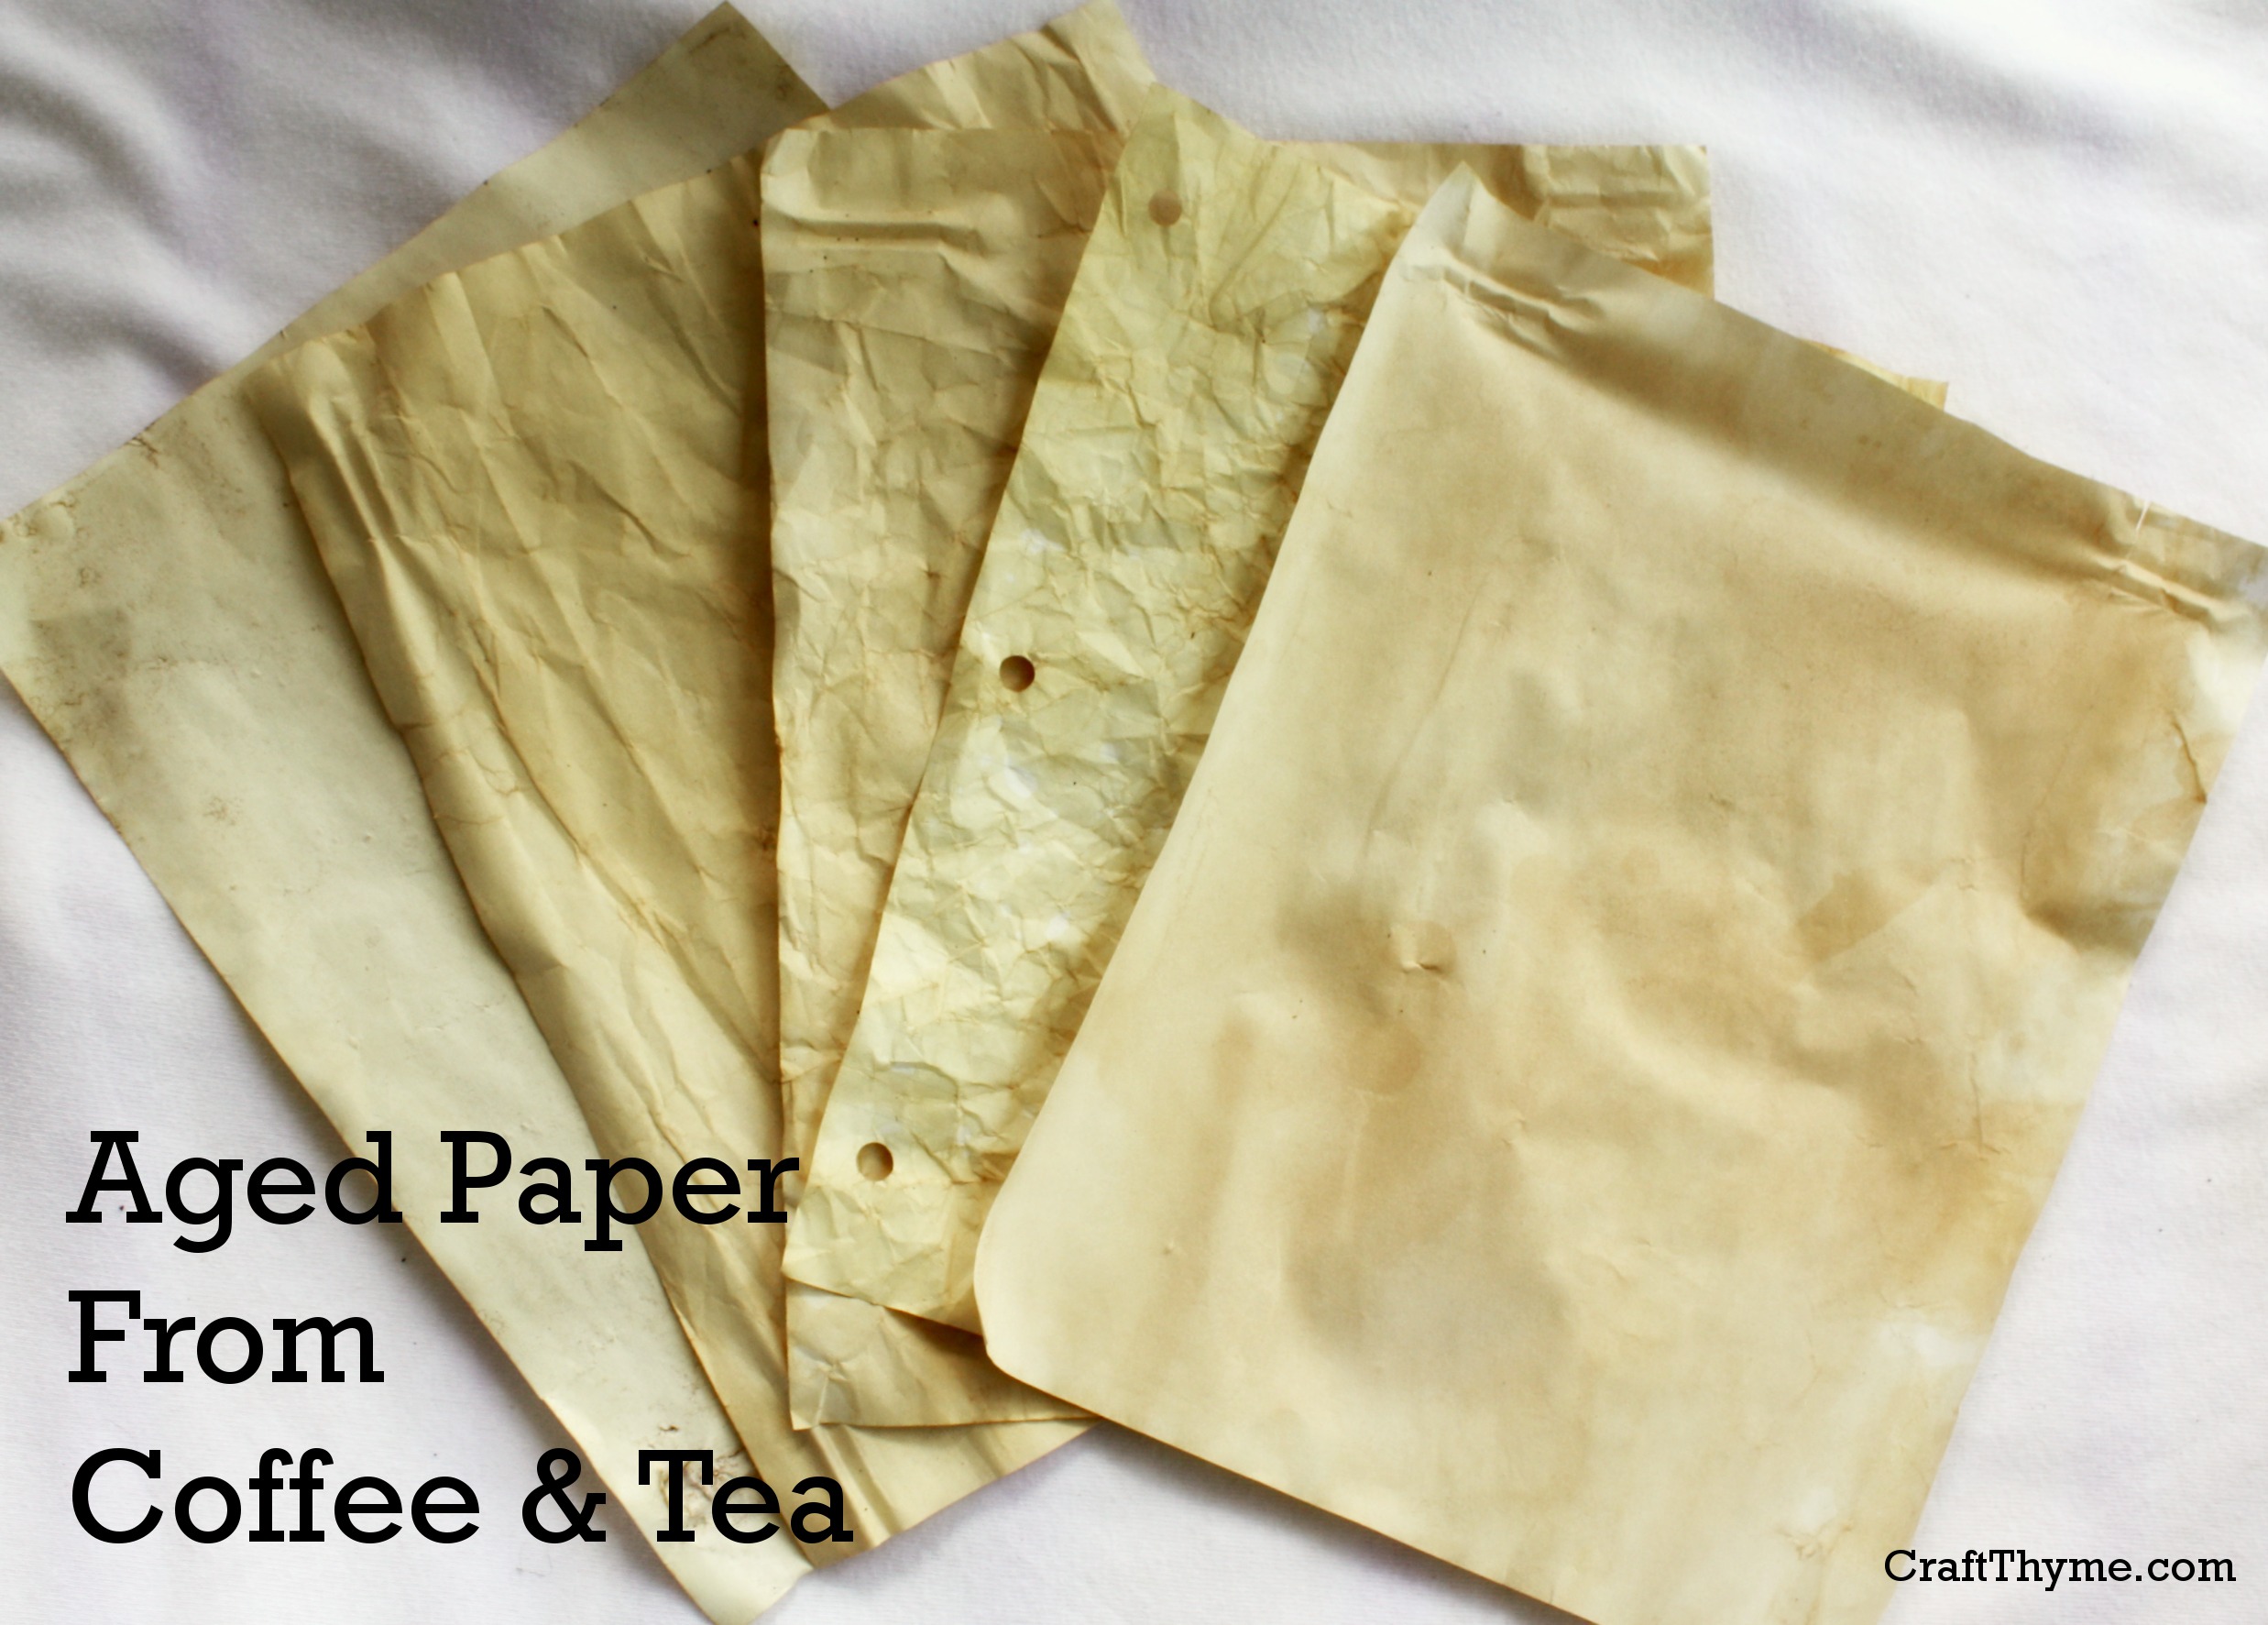
Aged Paper from Coffee and Tea

I wanted a variety of aged papers to cover books for my Thanksgiving Mantel.  Not having any walnut ink on hand, but having plenty of old coffee grounds (One needs to appear slightly perky at work after blogging all night) I thought why not give it a try. It just grew there and I tried tea as well.  Enter the tutorial on aging paper with coffee and tea:

Aged Paper from Coffee and Tea

Supplies

Got Paper?

Got Coffee or Tea?

Got Water?

You are good to go.

Coffee Steps

Mix some old coffee grounds in a shallow pan with hot water.  Put the paper in and stir and press the coffee grounds around the paper.  I let mine sit for a couple minutes to suck up the brown and then pulled the sheet out grounds intact and laid it on a old towel.  If you look at #3 I had some cheapo kids clothes hangers I used to hand up each sheet to dry.  The extra coffee brushes off when the paper is fully dry.

Aging Paper with Coffee

Tea Steps

Um… See coffee but leave it in longer and scrunch/squish the old tea bags onto the paper periodically.  You can see in #4 how wrinkling the paper makes such a difference from #2.  Not necessarily better, just an option for further aging the paper.

Aging Paper With Tea

You can see how I used these papers on my Thanksgiving Mantel.

Enjoy these articles? Get biweekly updates by joining my mailing list (no spam, no way, no how)

See other great DIY, Crafts, and Decor at these link parties: Pin Junkie, My Romantic Home, Twigg Studios, Dream A Little Bigger, Craft-o-Maniac


Posted on 6 Comments

August Package Pals: Why I Can’t Be Trusted

I have a thing for craft supplies.  So, when I saw the chance to sign up for Package Pals hosted by C.R.A.F.T  and Stars & Sunshine I jumped at the chance.  What is it?

August 2013 package pals button

It is a sign up where you and another crafty person get matched together to send each other crafty items.  Unknown Craft Items?  Don’t mind if I do.

Do Not Trust Me

Here is where I can’t be trusted.  Laura, the awesome person behind Experimental Home was matched with me.  Having just made a huge move from my state of North Carolina to Texas she was still able to get it together, send a wonderful package, take pictures of her package to me, blog about her package, obviously take pictures of what I sent her, probably blog about that too, and most likely making something clever and amazing with what I sent her.  While, probably throwing together a perfect graphic to explain the whole process.  Yeah I’m SOOOO jealous of how she has it together, but in a good way. :)

What did I do?  Immediately rip into my package like a kid on Christmas morning!  Did I take photos of her lovely orange twine packaging? No.  Did I stop to find the card? No.

August Package Pals: Picture of opening my craft package
Note the torn paper and twine… I may, or may not have used my teeth to remove the twine since finding scissors would take to long.

In the presence of unknown craft supplies I turn into some sort of ravaging craft animal.  Incapable of thinking about things like blog posts and photos.  I ripped it open and ran my fingers over the journal yelling to my husband, “Oh shit, she hand-embroidered this journal I bet!”  To which I believe he may have made some non-committal grunt and/or reminded me to watch my language in front of the kids (A sailor mouth is a hard habit to break).  However, I don’t know because I was flipping through patterned paper, caressing fresh bunting , and marveling over a matching clipboard.

August Package Pals: Detail of the package
Look at this journal! Look! She crafted me a craft item. It is like Craftception.

Then, and only then, it dawned on me.  Oh crap, I should have taken pictures.

Luck Would Have It

Luckily, Laura has saved the day again by nicely documenting the items she sent me.  You can read all about her thoughtful and awesome choices over at Experimental Home.

In the next couple of weeks I’ll be documenting what I made with all of her awesome supplies.  I’ll give you a hint and it starts with ‘Halloween Mantel’.  Until then I have to thank Laura for making Package Pals a fun, and in her case, professional blogging experience.  I hope to sign up again and keep in touch with my new Package Pal!

Posted on 12 Comments

Old Fashioned Paper Bag Book Covers

DIY book covers from paper bags with a modern twist.

Creating your own paper bag book covers is as simple as this 4 step how to. Of course, I am way past my school years and my kids aren’t quite to the ‘back to school’ point, but the back to school fever got me thinking I needed a decorating refresh before I start putting up Halloween items. I used the basic paper bag book cover and then embellished it. The tape based embellishments work perfectly to reinforce the covers for students and decorate the covers for me.

DIY book covers from paper bags with a modern twist.

Supplies (Not Shown, because I think we all know what a ruler looks like)

Paper (paper bags can be split at the seams and laid flat, thick craft paper works just as well)

Ruler

Scissors

Pen or Pencil

Decorative Tape (for embellishing)

Step 1: Can you trace?

Lay out the book on your paper. If the paper is decorative make sure the ugly side is up so you can mark on it. Open the book in the middle so the spin is wide open. Trace around the edges.

Step 1 to DIY book covers

Step 2: Add Allowance

Place the book off to the side and grab the ruler. Add about 1.5 inches along the top sides of the tracing and 4 inches along the sides. No one is going to come mark you down if you fudge the measurements a bit.

Step 2 in DIY book cover creation
That is not an over exposed photo. My arms really are that white.

Step 3: Cut and Fold

Cut along the allowance you just drew. Fold the top and bottom inward along the original book line you traced.

Step 3 in how to make a paper bag book cover
I bet everyone can cut… This photo is more about folding the right direction.

Step 4: Putting the book into the grooves, fold, slots, pocket… Whatever you want to call the paper thing you just folded.

Take the book and open it back up to one of the covers. Align that cover with one of the sides you traced. Take the edge of the paper and start feeding the cover into the folds you made. Feed enough in until you are close the the original tracing line. Then close the cover, flip the book over and repeat on the other side. You will get the sharpest crease if you pull the jacket over the closed book and kind of crease it along the edge before feeding the cover into the slots. (see the last image)Final step in paper bag book cover creation

Voila you are done!

Embellish

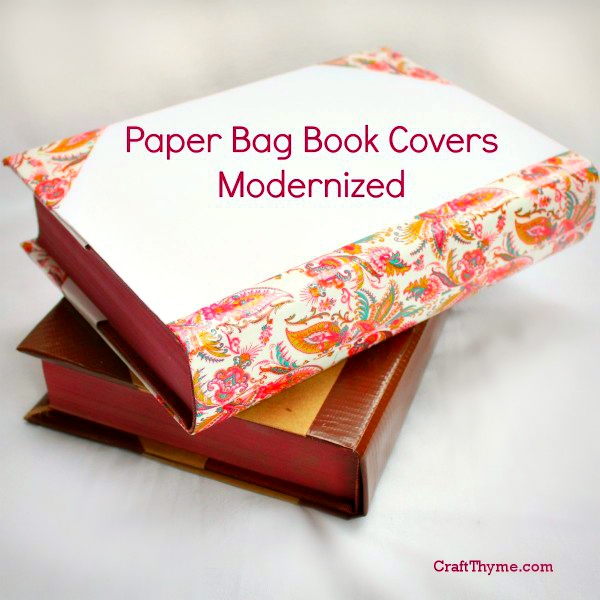
I always remember how my book jackets would tear at the corners and bottom of the spine as a kid. To solve this and add some pep to the cover I took decorative tape and covered the spine and sealed the corners.

The ‘classic’ bag paper book is edged in faux leather aka brown duck tape and the ‘modern’ white book got trimmed in paisley duck tape.

Enjoy these articles? Get periodic updates by joining my mailing list (no spam, no way, no how) or subscribing to my RSS feed.

See more great crafts and decor at these link parties: Craftberry Bush, Young and Crafty, Craftionary, Pin Junkie, The Jenny Evolution, The Stitchin Mommy, DIY Vintage Chic, By Stephanie Lynn