Posted on Leave a comment

A Felt Christmas

We want to wish you a Merry Felt-mas!  While much of our Christmas decor was Star Wars themed the other side of the house was all about felt Christmas.  I fell in love with some small felt Christmas birds a couple of years ago and the felt just grew from there.  Now we have even more felt birds, banners, trees, wreaths, table runners…  The felt list goes on and on.  You name it and we have felt Christmas’d it.  So to finish out this year’s Christmas posts and give you a final tour we welcome you to our felt Christmas.

Felt Christmas Decorations

In keeping with the felt Christmas theme we try to keep everything simple, cozy, and shades of red, green, and white.  The mantel features enough stockings for our family of six, a simple cut fabric banner, felt wreath, and some little felt animals.  We have a few Christmas pillows, that while not felt, have a warm crewel embroidered snowflake and birds.  Oddly, enough I don’t really even like birds that much IRL.  Apparently, I just like the felt ones.

Felt Christmas Mantel

In case you need some of your own felt Christmas birds I found these adorable ones on Amazon. (Affiliate links to follow)

Felt Christmas Birds

Since this is our main living room we put the live Christmas tree in there.  You will notice that the wreath is hung with the same ribbon on the tree.  I try to be all uniform and snazzy like that.  I have finally managed to replace 95% of my plastic ornaments with glass ones.  If you look closely you can see some mercury glass ornaments with everyone’s initials.  That was a splurge (even when they were on sale) from Anthropologie last year.  To add some pops we have started collecting white ceramic and glass ornaments.  Nothing really pops like white on a dark green tree.  Adam and I spent a lot of time carefully placing and re-placing each other’s ornaments.  Until we gave up on either of us getting them exactly like we wanted them.  Compromise is the soul of Christmas right?

Mercury glass letter Christmas ornaments

We add LOTs of lights (Cause why not make it glow like a thousand suns?!), crystals, but also some pretty cardboard stars to keep it glimmery but in keeping with the rustic felt Christmas theme.

Red, white, and gold Christmas tree in a felt Christmas living room.

The TV stand features a cut snowflake runner in… you got it… red felt.  With a matching tree like the one on the mantel and, of course, more felt animals.

Finally the bookcase showcases my true obsession with felt animals.  In case the fox and squirrel vignette wasn’t enough we also have a quartet of birds in felt camping and snow gear.  Don’t worry there are also Christmas books for the kids on the bookcase and a nice wooden ‘JOY’ sign to break up all the felt goodness.

Felt Christmas Animal Vignette

So if you are feeling our felt (and even if you aren’t) we just want you to know we wish you a Merry Christmas and a Happy New Year… felt Christmas style!

–Sincerely,

Adam & Brianna

Felt Christmas Birds

Posted on 6 Comments

Faux Snowballs: Soap Flocking Style

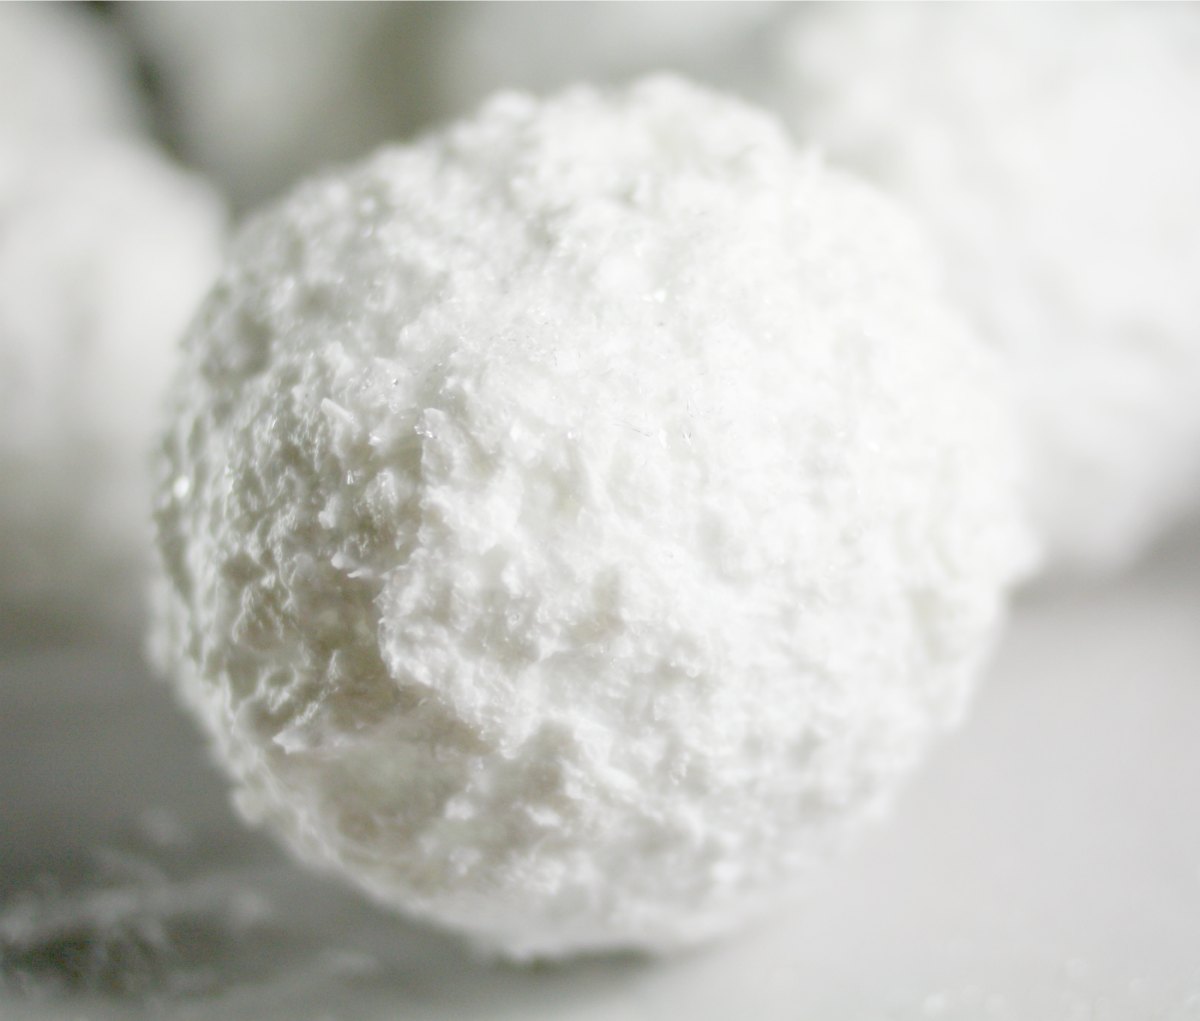
Faux snowball made from ivory soap

I had many comments about using an Ivory Snow Flocking Recipe to cover Styrofoam trees and make various scenes.  It made me think it might be very easy to make faux snowballs using the same technique.  This Christmas craft turned out even better than I expected.  Which, for crafting is amazing…  You should see all the fails I have behind the scenes.

Anyway, on to the faux snowball tutorial:How to make perfect faux snowballs

Supplies

Faux Snowball Ingredients

Step 1 When it Grates it Snows

Make the ivory soap snow.  The only thing that differed from my original recipe was that I found some actual powdered laundry starch (Yippy for the 1950’s supplies hidden at the grocery).  I made a double strength batch to use instead of spray starch.  It worked even better and gave a nice hard surface when dry.

Step 2 Moosh Is Now A Technical Term

Reach down into the faux snow while it is still nice and warm and make sure to get some of the chunky bits out of the bottom of the bowl.  Roll the styrofoam ball in your hands leaving finger prints and an uneven surface.  Basically pretend you are packing up a snowball. Except it is gonna be a lot mooshier and smell a lot like soap.

Cover all your snowballs setting them aside to dry.

Mooshing faux snow on the styrofoam balls
Invest in some hand lotion cause this soap is going to dry your hands out.

Step 3  The Herpes of Crafts: Glitter Time

After covering your dozen snowballs pour some clear glitter in your hand.  Pick up the first snowball and moosh the glitter on the surface.  Kinda like you would if you were baking and covered your hands with flour.  Except it is glitter, and it will be all over you forever.  FOREVER.

The soap-snow will have cooled slightly and started setting up at this point.  It will give you a chance to round out the snowball and remove and sharp peaks that don’t really look anything like snow.

Set them aside to fully dry overnight after completing the same process on all the snowballs.

The next morning they should be perfectly hard and dry.  Ready to use in any of your Christmas decor.

Faux snowball made from ivory soap

Enjoy these articles? Get biweekly updates by joining my mailing list (no spam, no way, no how)

*These are affiliate links.  I only get money from these links if you decide to buy.  I was not compensated to mention this product and spent my own money purchasing, testing, and using similar items in developing these tutorials.

See other great DIY, Decor, and Crafts at these link parties: Twigg Studios, Dream A Little Bigger, Craft-O-Maniac

Posted on 1 Comment

Canton Christmas Tour of Homes 2010 – Part II

I wanted to thank everyone that has started following our blog in the last few weeks! Also, thanks to those people that have followed us through the last year; even though we lost all of the gloriousness that was our blog. We have really appreciated all the comments and are planning on revamping and creating some cohesion to our posting… maybe… Well I promise some cohesion in 2011, but I can’t vouch for Patrick. Or McClain. You never know what the menfolk will get into.

“This heres gonna be tha lasta the Tour, younguns.” Just thought I would put that in my WNC mountain-talk for you. I’m ready to move on to newer things. What things exactly? Ask me tomorrow. Until then here are the last few images of the Canton Christmas Tour of Homes 2010. (Insert drumroll here)

Enjoy the details, and feel free to ask any questions your heart may desire or share a link to your own holiday decorating in the comments. I would love to check out your decor.

Living room and Christmas tree details
Dining room and Kitchen details
Bath & Bedrooms
Posted on 10 Comments

Canton Christmas Tour of Homes 2010 – Part I

We finally made it! We finished the tour today, Patrick just threw another log on the fire, and I’m getting ready to crack open some frothy goodness. I’m going to give you the run through the tour (we didn’t open the guest room, basement, or attic to tourees) which featured the main rooms of the house and tomorrow I’ll post detail shots of the tree, garland, etc. Unfortunately or fortunately it flurried all day to day. Sadly, it decreased the usual tour attendance, but the flurries really made it feel like Christmas. Let the tour begin:

In the immortal words of Bill Engvall “Here’s your sign.” or in our case here is our sign.

As you rapidly spring from your car and rush through the cold you might glance at the entry way. The little alpine trees had to be held down with bricks to keep from blowing away. Of course I only figured this out after I reset the damn entryway three times. I’m a slow learner at times.

Then we have split the living room into an entryway behind the love seat. On the console table I created a snowy vignette in a wardian case that Patrick gave me a few years ago.

Moving on to the living room.

Patrick and I had some helpers in the form of “The Granny”, Papaw (not pictured), and the neighbors’ kids. Their house was also on the tour so they went back and forth between houses. The often come by and are a real hoot. It is so nice to live in a town with fun, friendly neighbors. I’m not sure if they are posting pictures of their house but if they do it will likely be at their blog 21 Penn.

The fact that their house is so radically different than ours, makes the Tour of Homes worth participating in. I love their breezy whites, pennant garland, and covet their black bedroom. If only I had the ceiling height I would totally steal their ideas. However, what works for one house doesn’t for the next. It makes each stopn on the tour unique. Back to the helpers:

One of the features we love most is that the living room opens into the dining room through a double set of french doors (we found in the basement and rehung). I like the open floor plan, but it is a bit of a challenge to unify the public areas of the living room, dining room, and kitchen. We chose various shades of grey for the wall color and metallics for the decorations.

Personally, I would like to rip out all of the cabinetry, revamp the floor plan, and basically start fresh in the kitchen. However, we are on a modest budget, so after painting the walls (the life of the cabinetry has yet to be decided) we opted for a warmer Christmas feel after all the metallic and used springs of bittersweet and oranges to fill out the space. We did use similar greenery to tie it to the other adjoining rooms. For more sensory input we boiled a mix of cinnamon, cloves, and star anise to give the hint of fresh Christmas baking.

There is a nice sized hallway that separates the public areas from the private bath and bedrooms. We decorated the hallway just for us. One of our gothic/nerdy habits is collecting gargoyles (grotesques for the history purists). We picked the first one up in France in the form of this owl from Avignon. We haven’t looked back sense. We used them in the hallway topping our copious bookcases.

The best thing about having a child is getting to do child-like things again. I wanted color and fun in the boy’s room. Since we haven’t repainted it yet (next on the list) we have not hung pictures. It is hard to add color in a white room with white walls. The granny had a cute white Christmas tree we borrowed plus she managed to find colored Christmas lights on white wire (no small feat). Then we added a lot of figurative glass ornaments, plus the family ones. We also used McClain’s toys and some Christmas beanies for decoration.

The bathroom was so awesome that we actually put a sign up saying it was “Still under renovation. Unless you like it, then this is how we meant for it to be.” So, here’s you obligatory picture of the toilet vignette. Nothing says Christmas like a sparkly toilet topper.

The bedroom gets two photos. 1. Because I actually made the bed (We almost always pull the bed straight, but who actually uses this many pillows?):

Don’t you just love those beige-pink walls? Especially with the red bedding. Trust me one of the two is on the docket to change… 2. I used my collection of green glass to add a touch of Christmas to the bedroom dresser.

That’s all for now, but tomorrow you can see some of the closeups and a more in-depth descriptions of the Christmas tree and vignettes. Then, maybe, we can be done with Christmas until the 25th.

To see part II click here.

Posted on 32 Comments

The Metallic-Frosty Christmas Mantel

I promised a preview of my Christmas mantel and by damn I finally delivered (Yes, this is the same fireplace that included the saga of (removing 6 layers of paint from brick). If you’re just following this blog then I should let you know we are decorating for charity. We are on the Canton Christmas Tour of Homes this year so I feel the need to kill myself by going over the top with handmade wreaths, fresh garland, and a lot of bling. Anyway enough with the talking here she blows:

The mantel incorporates fresh, handmade evergreen garland, various DIY candle holders, antiqued mirrors, and a shit-ton of candles. If your interested in how to make garland I will be posting a tutorial tomorrow. It incorporates fraser fir. white pine, some other random pinetree, leyland cypress, and ivy. For now here are a few details of the mantel.

Please ignore the fact I need to dust.

The second candle holder that is grooved it actually a cut glass sugar holder from Goodwill. After painting and antiquing it achieved a burnished metallic look I was pleased with.

The metallic-frosty look was a little cold so I decided to add a few pops of cranberry to the mix. Also, you can see how to create the antique gold of the candelabra here.

I don’t want go go into how many photos it took to get a picture without myself being reflected in the mirror. I’m not exactly part of the Christmas decor.

Final detail shows my altar inspiration.

So what do you all think? Did I get the glowing but shiny Christmas from my inspiration? I would love to hear your comments/critiques before I show this puppy off at the tour on Sunday. I’m thinking I’m close but I still have till December 5th to mess with it. If your interested in the garland I’ll add a link to this post tomorrow.

Edit: Here’s the link for DIY evergreen garland