In the previous post we looked out various types of gold leaf, foil, gold paint etc. Basically a run down of all the different types of methods you can use to gold leaf items. A lot of those techniques work better with certain materials. Whaaaa???? Trust me, gold foil is going to look a lot nicer on fabric than spray paint! Not all methods work with all materials, though, traditional gold leaf is going to be pretty dang versatile and look the closest to, well… gold leaf. If you are looking for gold leaf by technique check out Part I, otherwise on to the list by material that you are gold leafing:
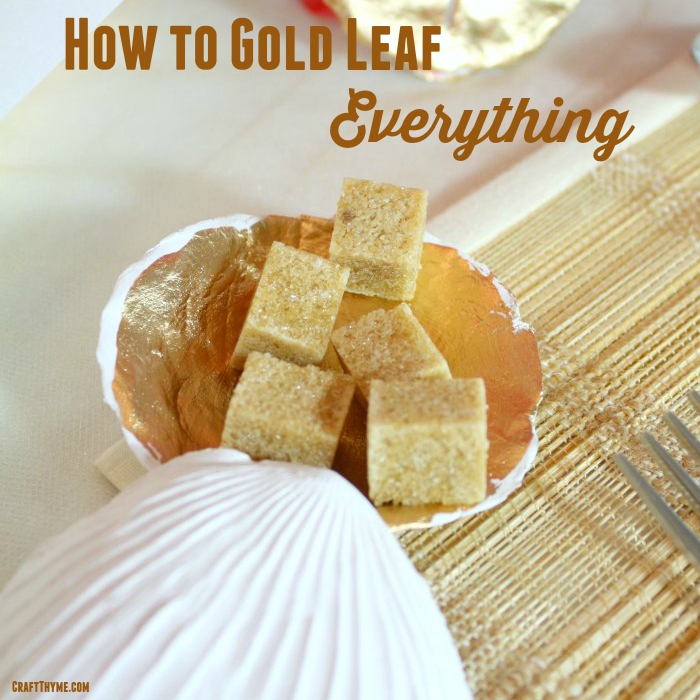
How to Gold Leaf Anything and Everything Part II
Looking for Part I where we break down tutorials by techniques like traditional leaf, Rub N Buff and much more? Look no further! PART I


Fabric
While you can use traditional gold leaf on fabric, if you really want a nice, smooth, washable gold then gold foil is the way to go.

Gold Foil, the Right Way to Gold Leaf Fabric Step by step tutorial on how to use Gold Foil to add accents to DIY napkins
3 Fabulous Ways to Use Foils on Fabric – Cecile’s Unique Stitching Blog Highlights three different ways to apply fabric foils
DIY Gold Foil Pillow – Honest to Nod Using iron on fabric gold foil
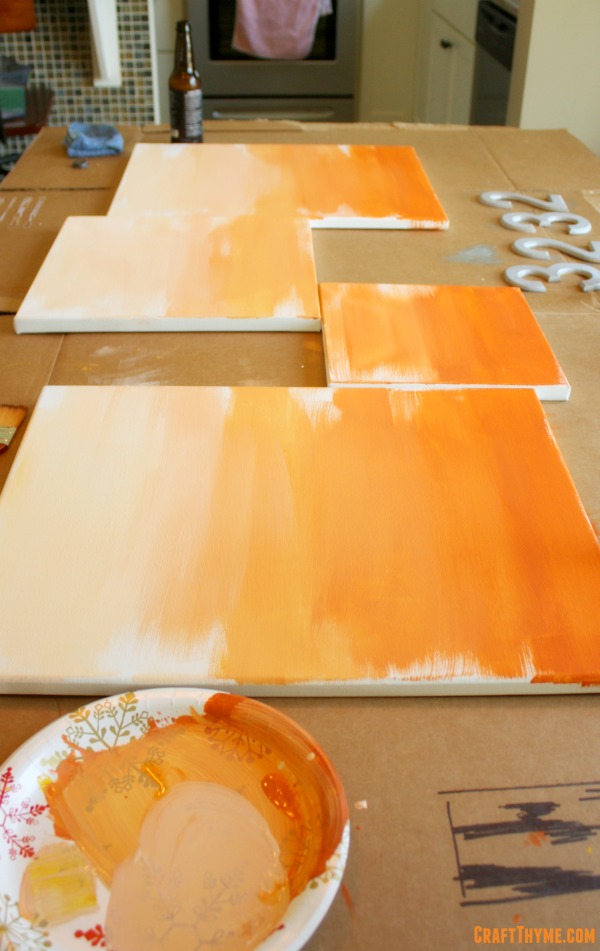
Modern Art: Concrete Style – Gold leaf and concrete on cotton canvas
Food
Sprays, powders, and actual edible leaf exist to decorate your food and give you interior some bling!

Golden Birthday Cupcakes – Betty Crocker Using edible gold luster dust
Homemade Cotton Candy – Cooking Books Looks like spun gold, just from sugar!
DIY Gold Feather Cupcakes – The Cake Blog Using gold luster dust to make a paint for fondant feathers
Glass/Finished Ceramics

While you can use just about any technique for a real resilient finish you are going to want a gold leaf pen or specialty glass paint
Gold Leaf Painted Mugs – Winthrop Chronicles Using a gold leaf paint for permanent finish
DIY Gold Dot Vases – Lilikoi Joy Using gold paint pen on glass
DIY Gift Guide: Mother’s Day Mugs – Lauren Conrad Gold leaf been to make washable ceramic mugs
Metal

Pretty much everything is a go. Spray paint can come off looking a bit ‘fake’, but can easily be toned down with other techniques.
Goodwill Rocks, Rub ‘n Buff for a Gold Leaf Luster Combo of spray paint and Rub N Buff creates an antique gold finish on a metal candlestick
DIY Brass Etagere – Gold Leafed Ikea Vittsjo Hack!– Honey Sweet Home Cons of spray paint and finish with traditional gold leaf
DIY Gold Leaf Flower Pots – Crafts Unleashed Rusted metal flower pots get gold leaf arrow accents
Paper
Pretty much everything goes. This one is really open to all types of techniques from liquid leaf to hot transfer gold foil.

Liquid Leaf and Paper Clay Paper based clay can have gold leaf too!
10 Minute Fall Decorating: Gold “Leaf” Wall Art – I Heart Organizing Create a gold leaf out line with Rub N Buff
The New Minc Foil Applicator – It’s Always Autumn Heat Transfer foil on paper
Gilded Business Cards – Camille Styles Take business cards to a new level with gilded edges
Plastic
Say it don’t spray it… No wait! Just spray it. Getting a good gold spray paint base can give you the ability to add more layers like Rub N Buff to give it a more authentic look

DIY Gold Christmas Decor: Mantel Decorations – Landeelu Make plastic Christmas lights look expensive with gold
Golden Safari Mason Jars – Giggling Caravan Plastic animals become fancy jar toppers
Gold Leaf, Glue Gun, & a Dollar Store Plastic Easter Egg – Magia Mia Plastic Easter Eggs turned into faceted golden eggs
Wood
Wood is the base of paper, which makes it kind of like paper. Open to all types of applications! Just remember to prime in certain cases so the wood doesn’t suck up gold paints and rubs.

Before & After – Wooden Bowls with Gold Leaf – This Heart of Mine Wooden bowls with gold leaf touches
15 minute DIY: Gold Leaf on Wood – Beautiful Hello Blog Use and adhesive pen to add gold leaf to rustic board
Gold Dipped Log Candle Holders Lifeovereasy – Etsy Blog Using gold paint to achieve a shiny mirror metal finish on logs
Miscellaneous
Did you know you can add gold leaf to shoes? feathers? rocks? Read on for some fabulous tutorials on all types of strange materials

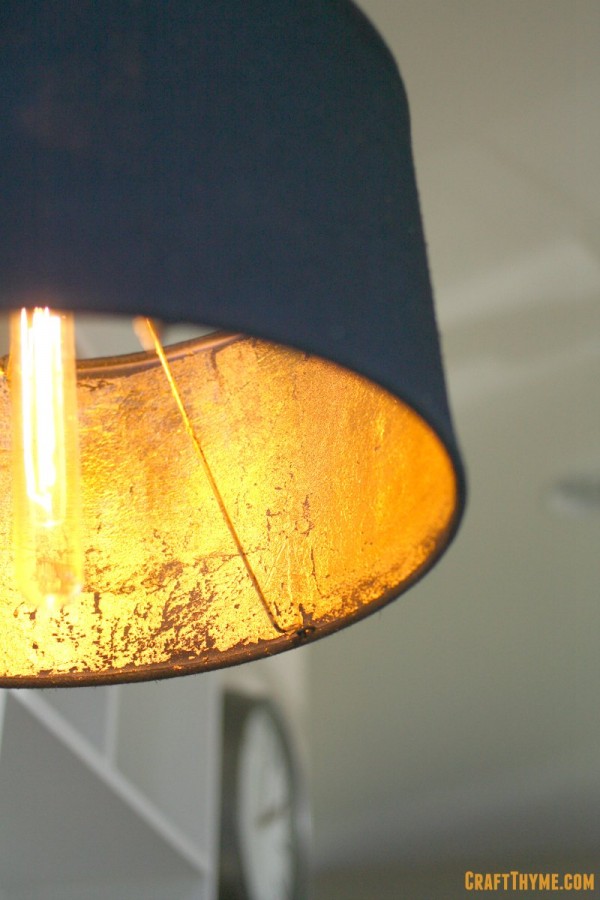
How to Gold Leaf a Lampshade How to use Traditional Gold Leaf Sheets
Gold Leaf Feathers – B@H Make gold tipped feathers
Golden Glitter Slime – Fun at Home With Kids Not really gold leaf but who doesn’t love some gold slime!
DIY Gold Staples – House of Huntley Make fancy gold staples from regular office supplies
Making a Golden Apple Using gold spray paint to make Thanksgiving Decorations


